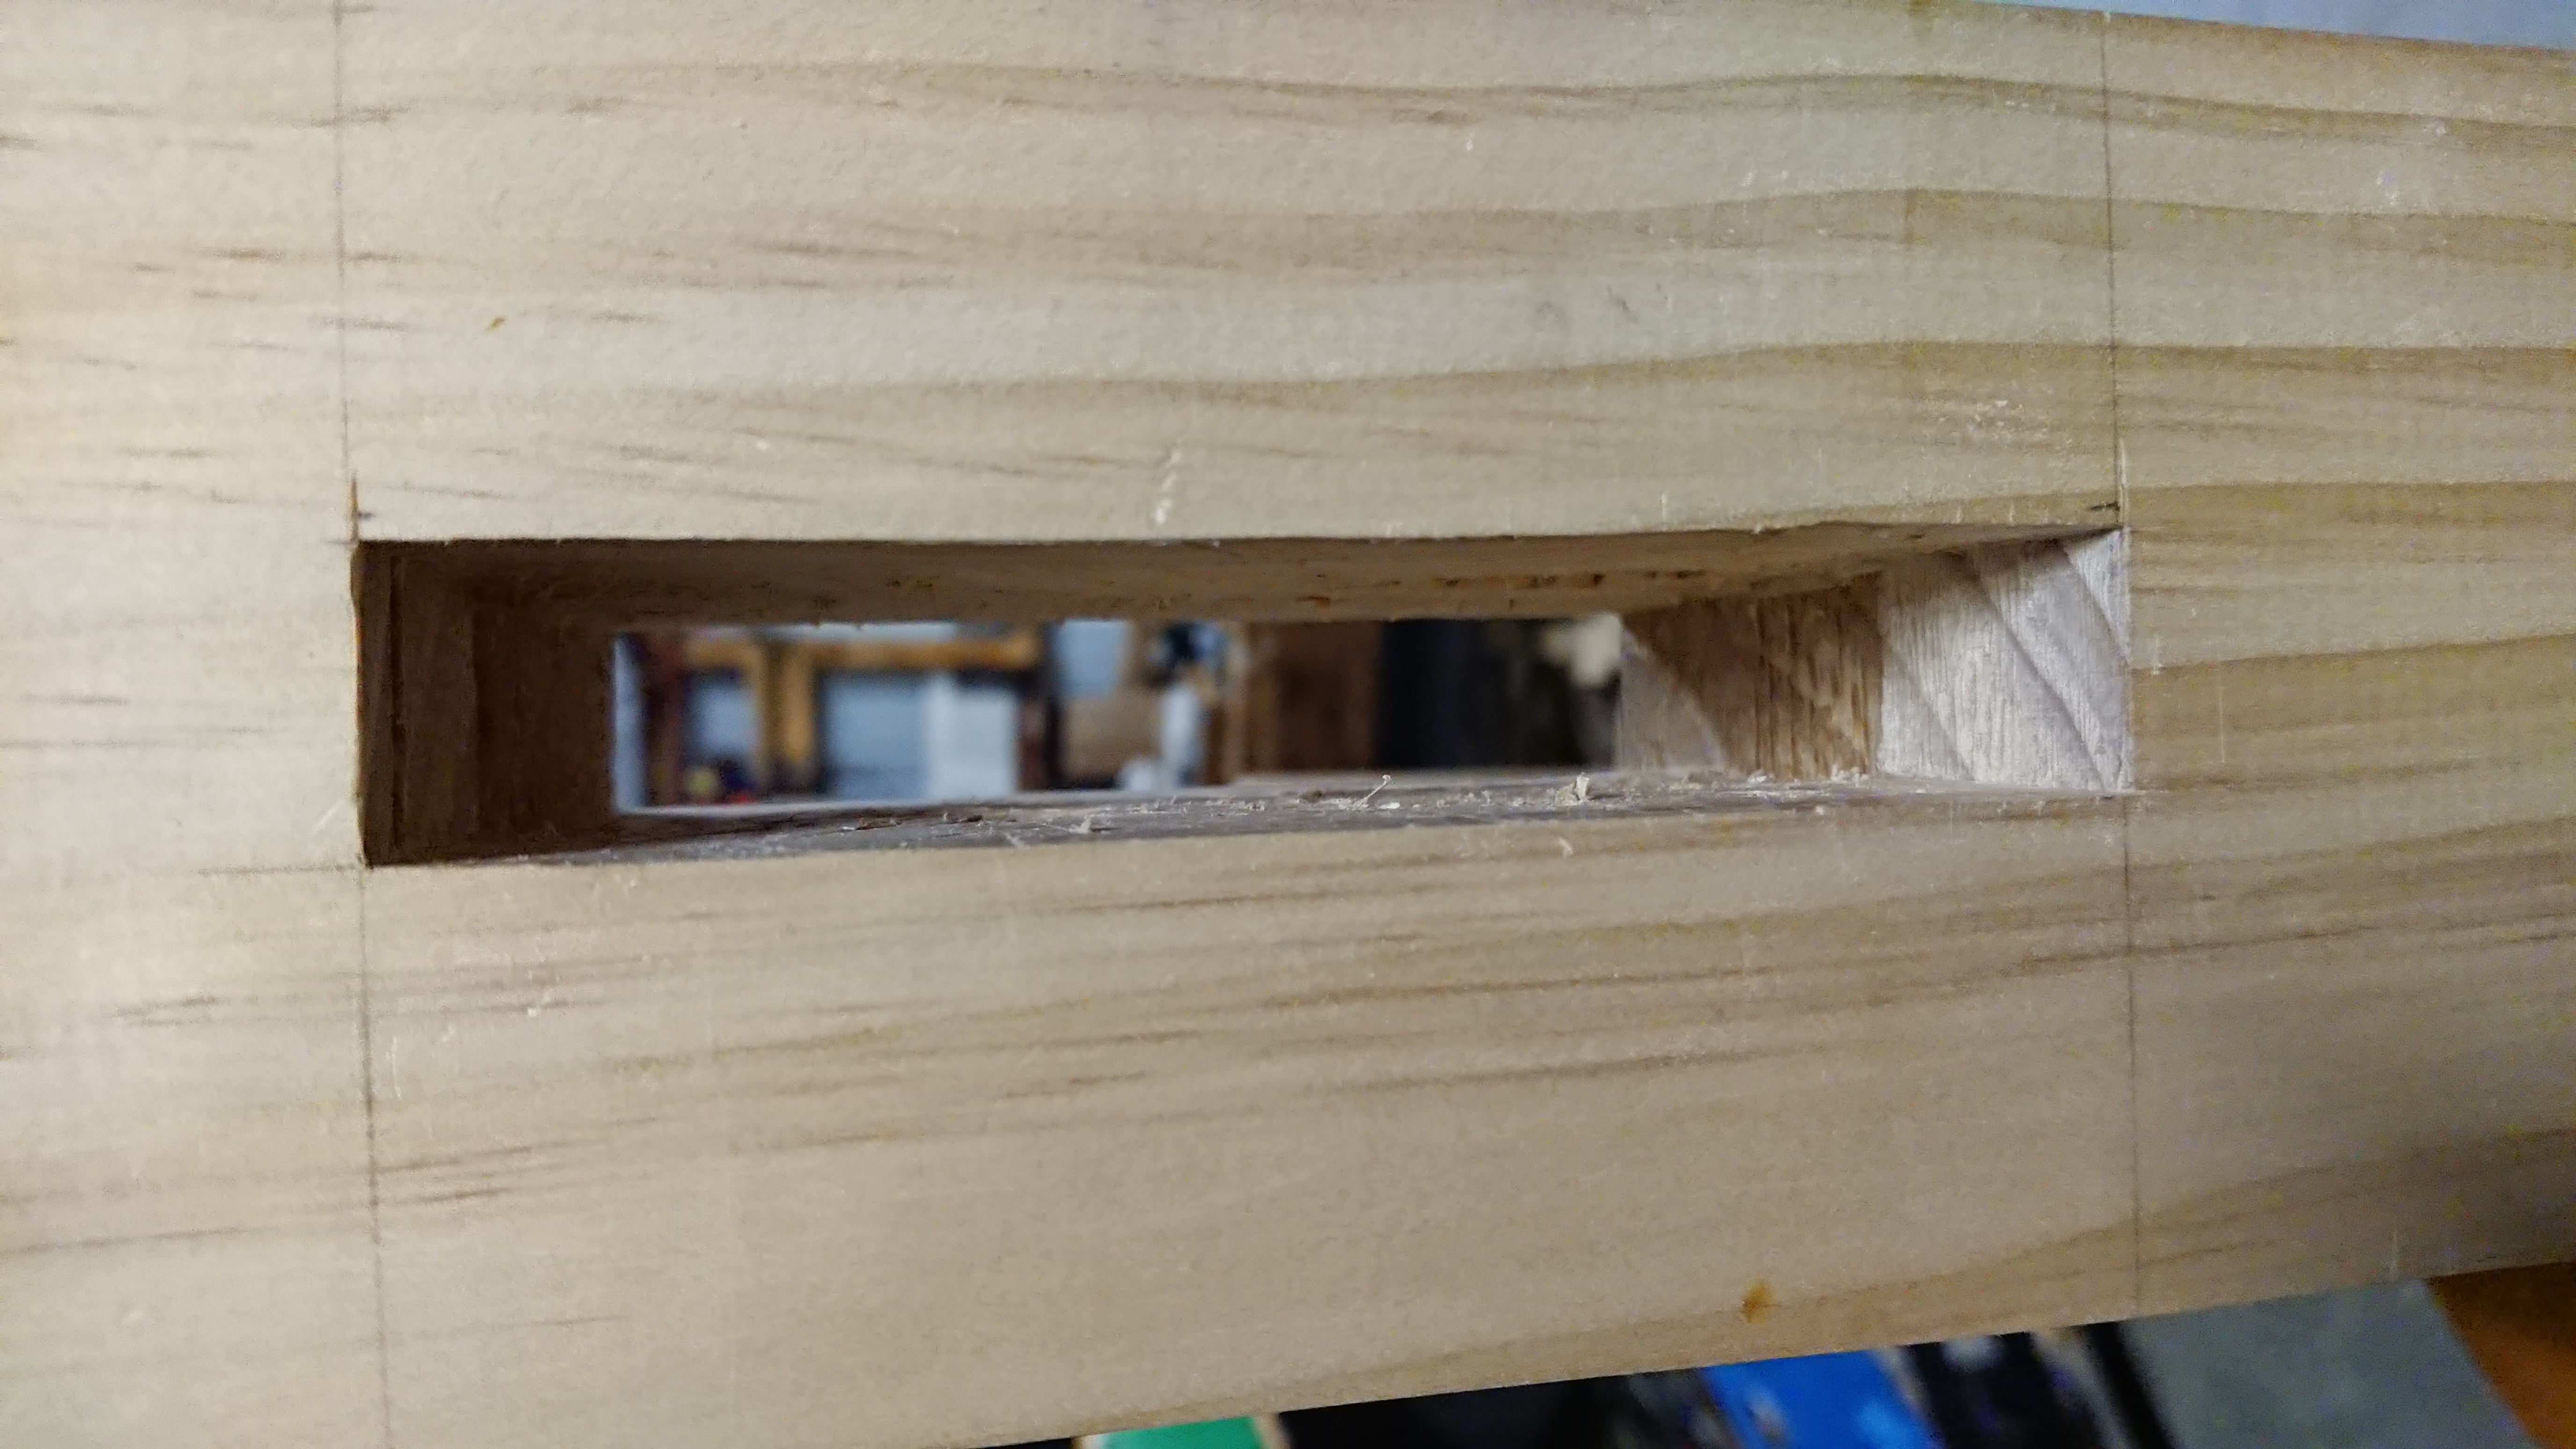
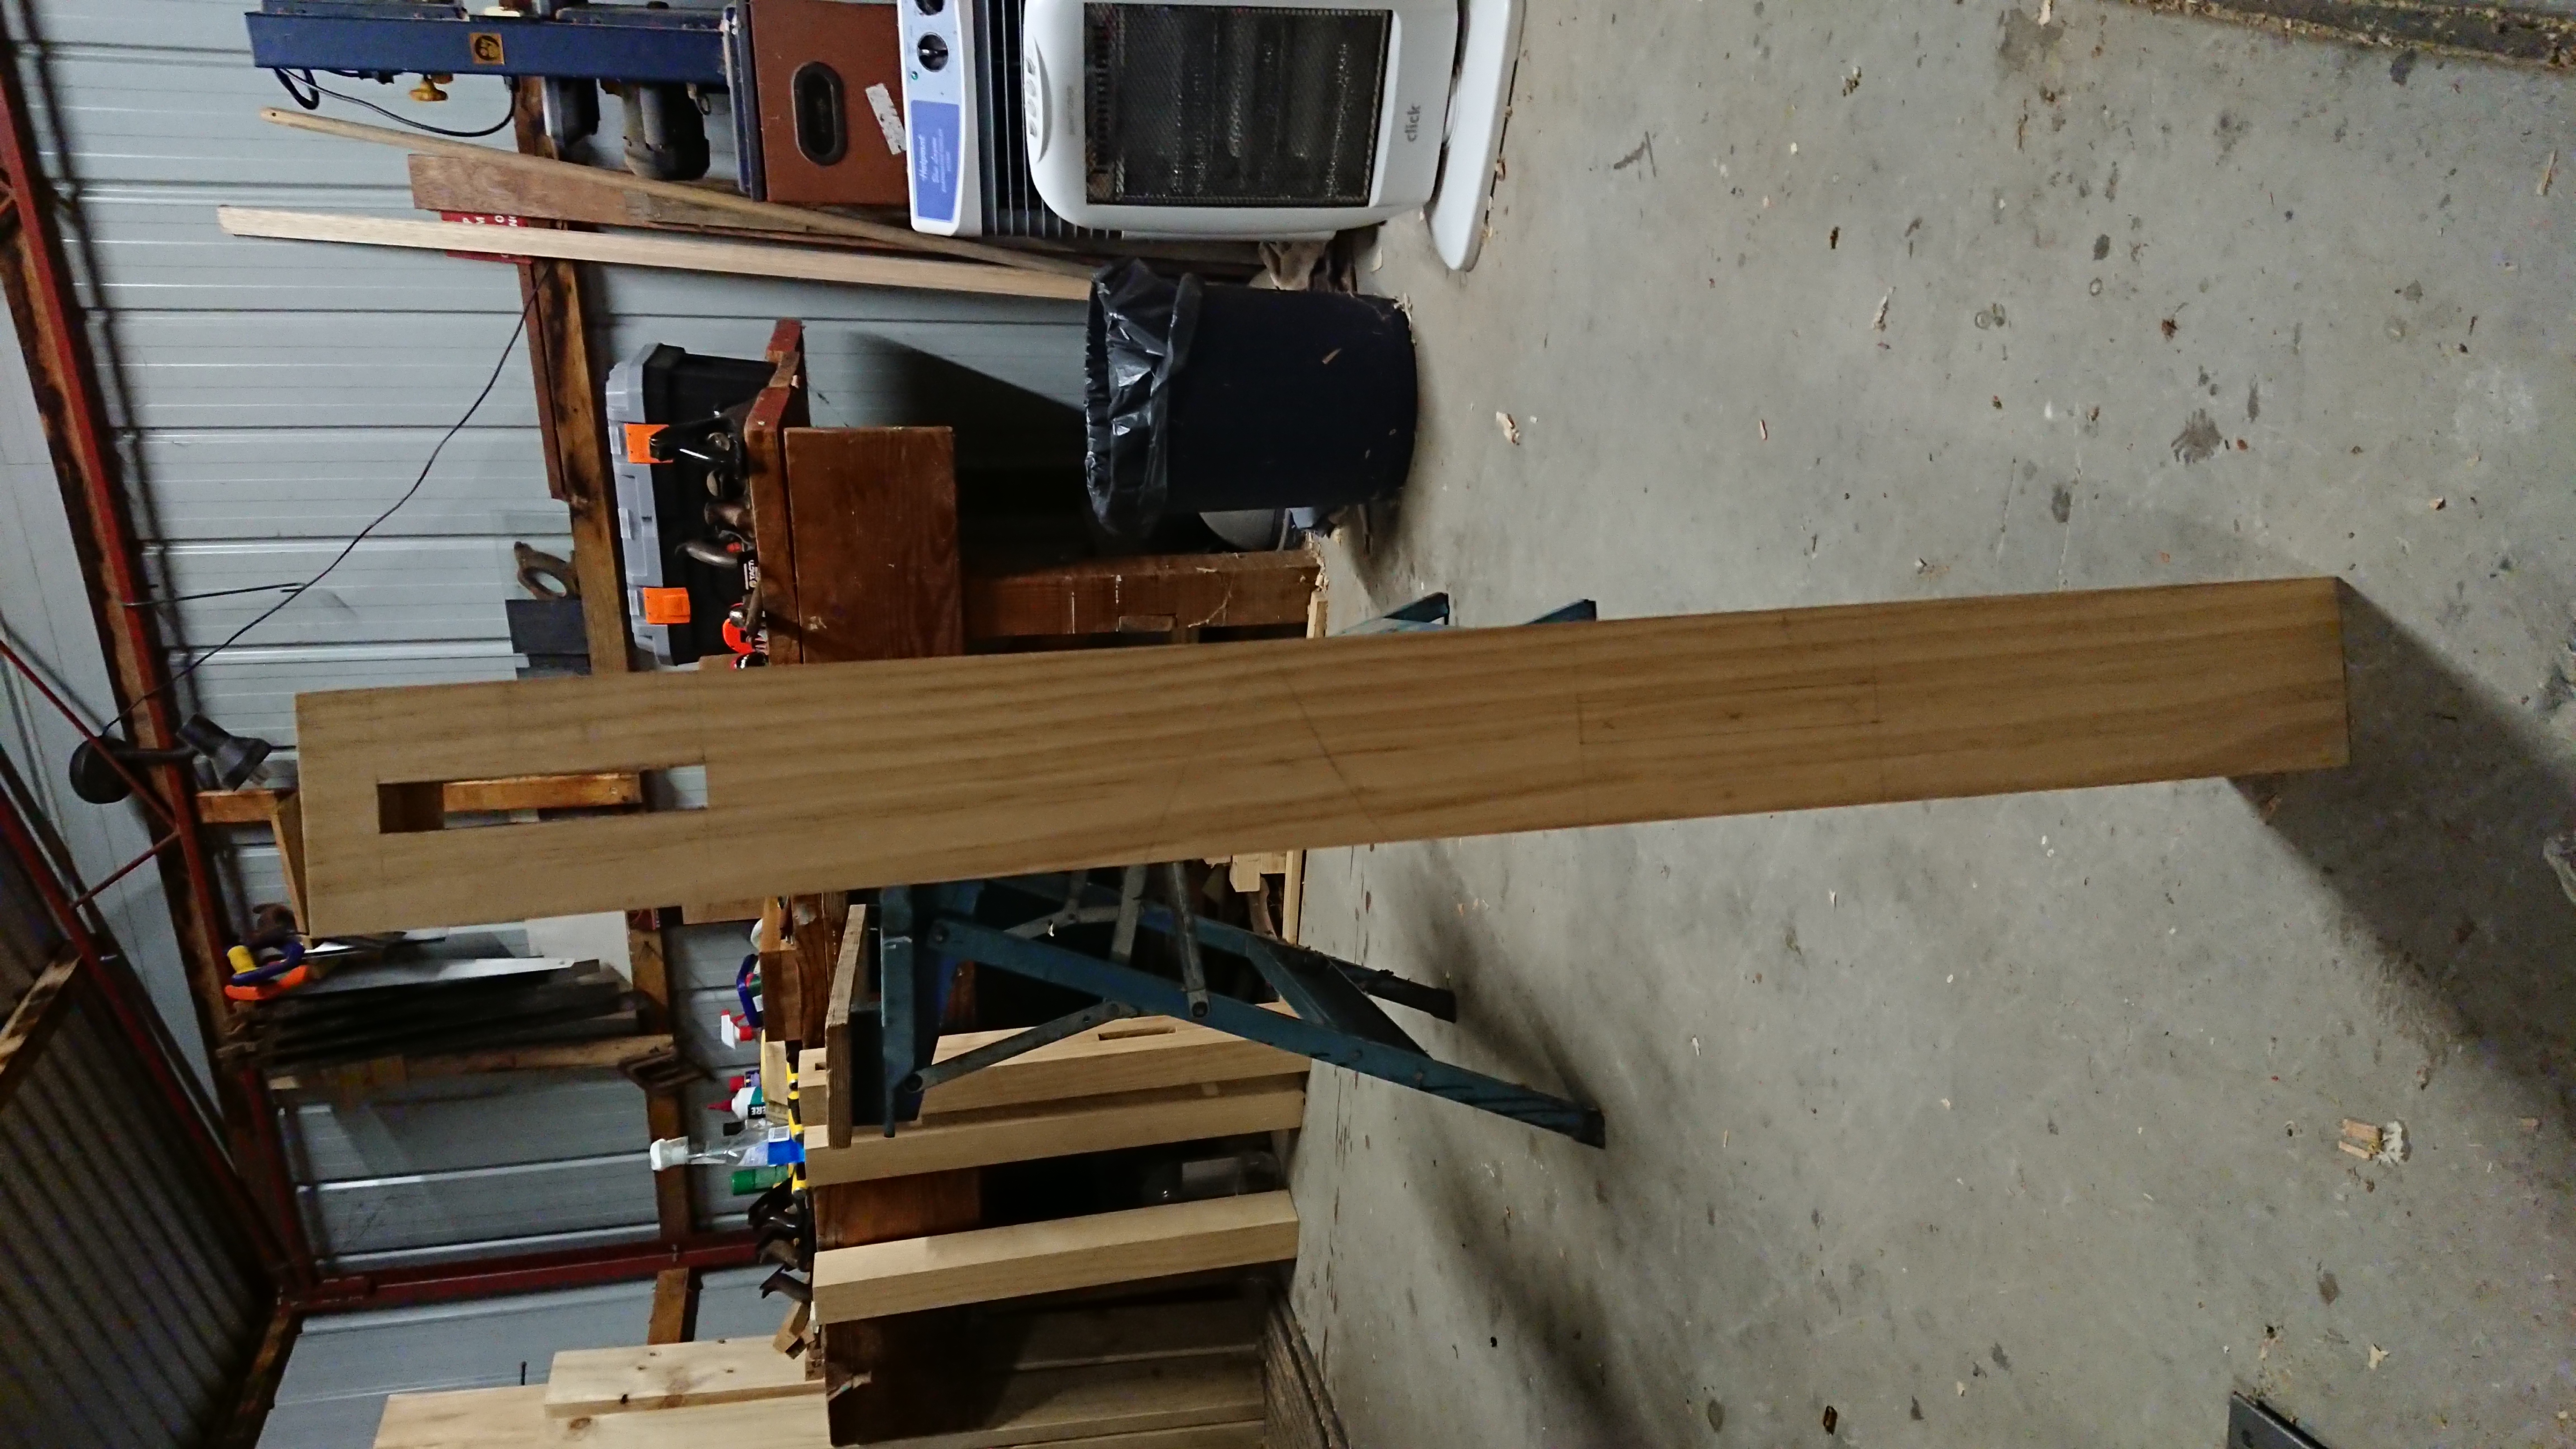
Turns out, the third time *is* a charm

I transferred the mortise layout from the first leg onto the second. Before I started to cut the third mortise, however, I decided to take some time to refine the edge on my 18mm chisel.
I had noticed that the edge of the chisel was not square to the sides of the chisel, and on the theory that this might be causing the chisel to twist in the cut, I took it to my diamond stones and worked the bevel down until I had it properly square, then sharpened up again.
Then I got to work on the third mortise, which was the upper rail mortise on leg number 2.
I think that the extra work on the chisel edge really did help. I did some some twisting on the chisel while chopping, but it didn’t seem as forceful as before.
I also drew some lines across the endgrain to mark the position of the mortise relative to the sides. This was another visual guide to help me keep my chisel properly vertical while chopping.
The results were really excellent! The deviation where the two holes met was trivial, 1mm at the most. When I broke through, and the chisel went all the way down into the mortise, it was a fantastic moment. All the work I put in with the chisel, and all the extra attention to detail on keeping the chisel vertical, completely paid off.

Next, it will be on to the lower mortise on the second leg, which is going to be a challenge as I can’t easily position myself at the end of the leg while cutting – the mortise is pretty much in the middle of the leg. I’ll need to find other ways to keep myself on the vertical.
After that mortise is done, I will cut my rails to length, plane them down and prepare to cut some tenons!
Lessons learned
- Take your time when cutting a mortise. Speed is irrelevant, accuracy is the only thing that matters.
- Use as many visual aids as you can bring to the task, to keep your chisel aimed on the vertical.
- Don’t bother trying to use a chisel that has an out-of-square cutting edge. Fix it and get back to work.