-
Posted on
Finished!
Read the full post ...I put the second and final coat of oil on the bench and moved it into position in my shed.
-
Posted on
Applying the finish, and dismantling the old bench
Read the full post ...I applied my first coat of finish to the new bench. I think it’s coming up really nicely. The finish I’m using is Monocel outdoor furniture oil. It’s supposed to be a minimum of 2 coats, with 24 hours between each coat.
-
Posted on
Vise liners, wellboard beading & wedge retainers
Read the full post ...I bought a couple lengths of triangular quad beading to install on the top of my wellboard, to make it easier to keep the wellboard clean. I just attached these to the rear apron and benchtop with some tacking nails.
-
Posted on
It's a workbench!
Read the full post ...I cut and fit the wellboard piece between the benchtop and the rear apron. The original plan called for a tongue-and-groove joint on both sides of the wellboard, but this seemed like a very difficult joint to do well over such a length, even if I had a fully functional plough plane and rebate plane (which I do not). So in the end I decided not to do the groove at all, and just fit the wellboard in. If this turns out to allow too much flex in the bench overall, I can always install battens against the rear apron and screw the wellboard to those.
-
Posted on
Fitting the front apron
Read the full post ...I completed cutting the leg recesses on the front apron and did a test fit of both aprons to the leg frames.
-
Posted on
Cutting the rear apron leg recesses
Read the full post ...I went back to the apron pieces that I laminated about a year ago, and spent some time working on them with the plane to get them flat(ish) and squared up for layout.
-
Posted on
Installing the leg frame bearers
Read the full post ...I got my second leg frame out of the clamps after the glue had time to set, and chiselled out the excess glue.
-
Posted on
Completing the second leg frame
Read the full post ...I finished cutting and fitting the tenons on the bottom rail, then went straight on to planing all the pieces of the second frame smooth, trimming the top tenons and rounding over the bottom tenons, then gluing up the frame.
-
Posted on
Fitting the second top rail
Read the full post ...I’ve got both of the tenons on the new top rail to the point where they roughly fit into the second frame.
-
Posted on
Finishing the second frame mortises
Read the full post ...Over the last few days I’ve been cutting the mortises in the final leg and it’s been going really well.
-
Posted on
Starting the second leg frame
Read the full post ...After taking the first leg frame out of its clamps and trimming the glue out, I made a start on the second leg frame.
-
Posted on
Gluing up the frame
Read the full post ...There was nothing left to do on the first frame but to get on with the glue up.
-
Posted on
Preparing the frame for glue-up
Read the full post ...After a test assembly of the first leg frame, I found that the rotation in the rear leg post was unacceptable.
-
Posted on
Fitting the fourth tenon & assembling the leg frame
Read the full post ...Over the past few days I’ve been working on the 4th and final tenon of this first leg frame, on the bottom rail.
-
Posted on
Fitting the third tenon
Read the full post ...With both tenons on the top rail fitted, it was time to move on to the bottom rail for the same leg frame. As before, I laid out my tenon lines with the mortise marking gauge.
-
Posted on
Fitting the second tenon
Read the full post ...For the second tenon, looking at the grain direction I decided it was worth trying to split off one side instead of sawing it. Apart from a knotty section at the end, I think that ended up being a good call.
-
Posted on
Fitting the first tenon
Read the full post ...Over the last three weeks I’ve been slowly working away at fitting my first tenon.
-
Posted on
Two legs complete!
Read the full post ...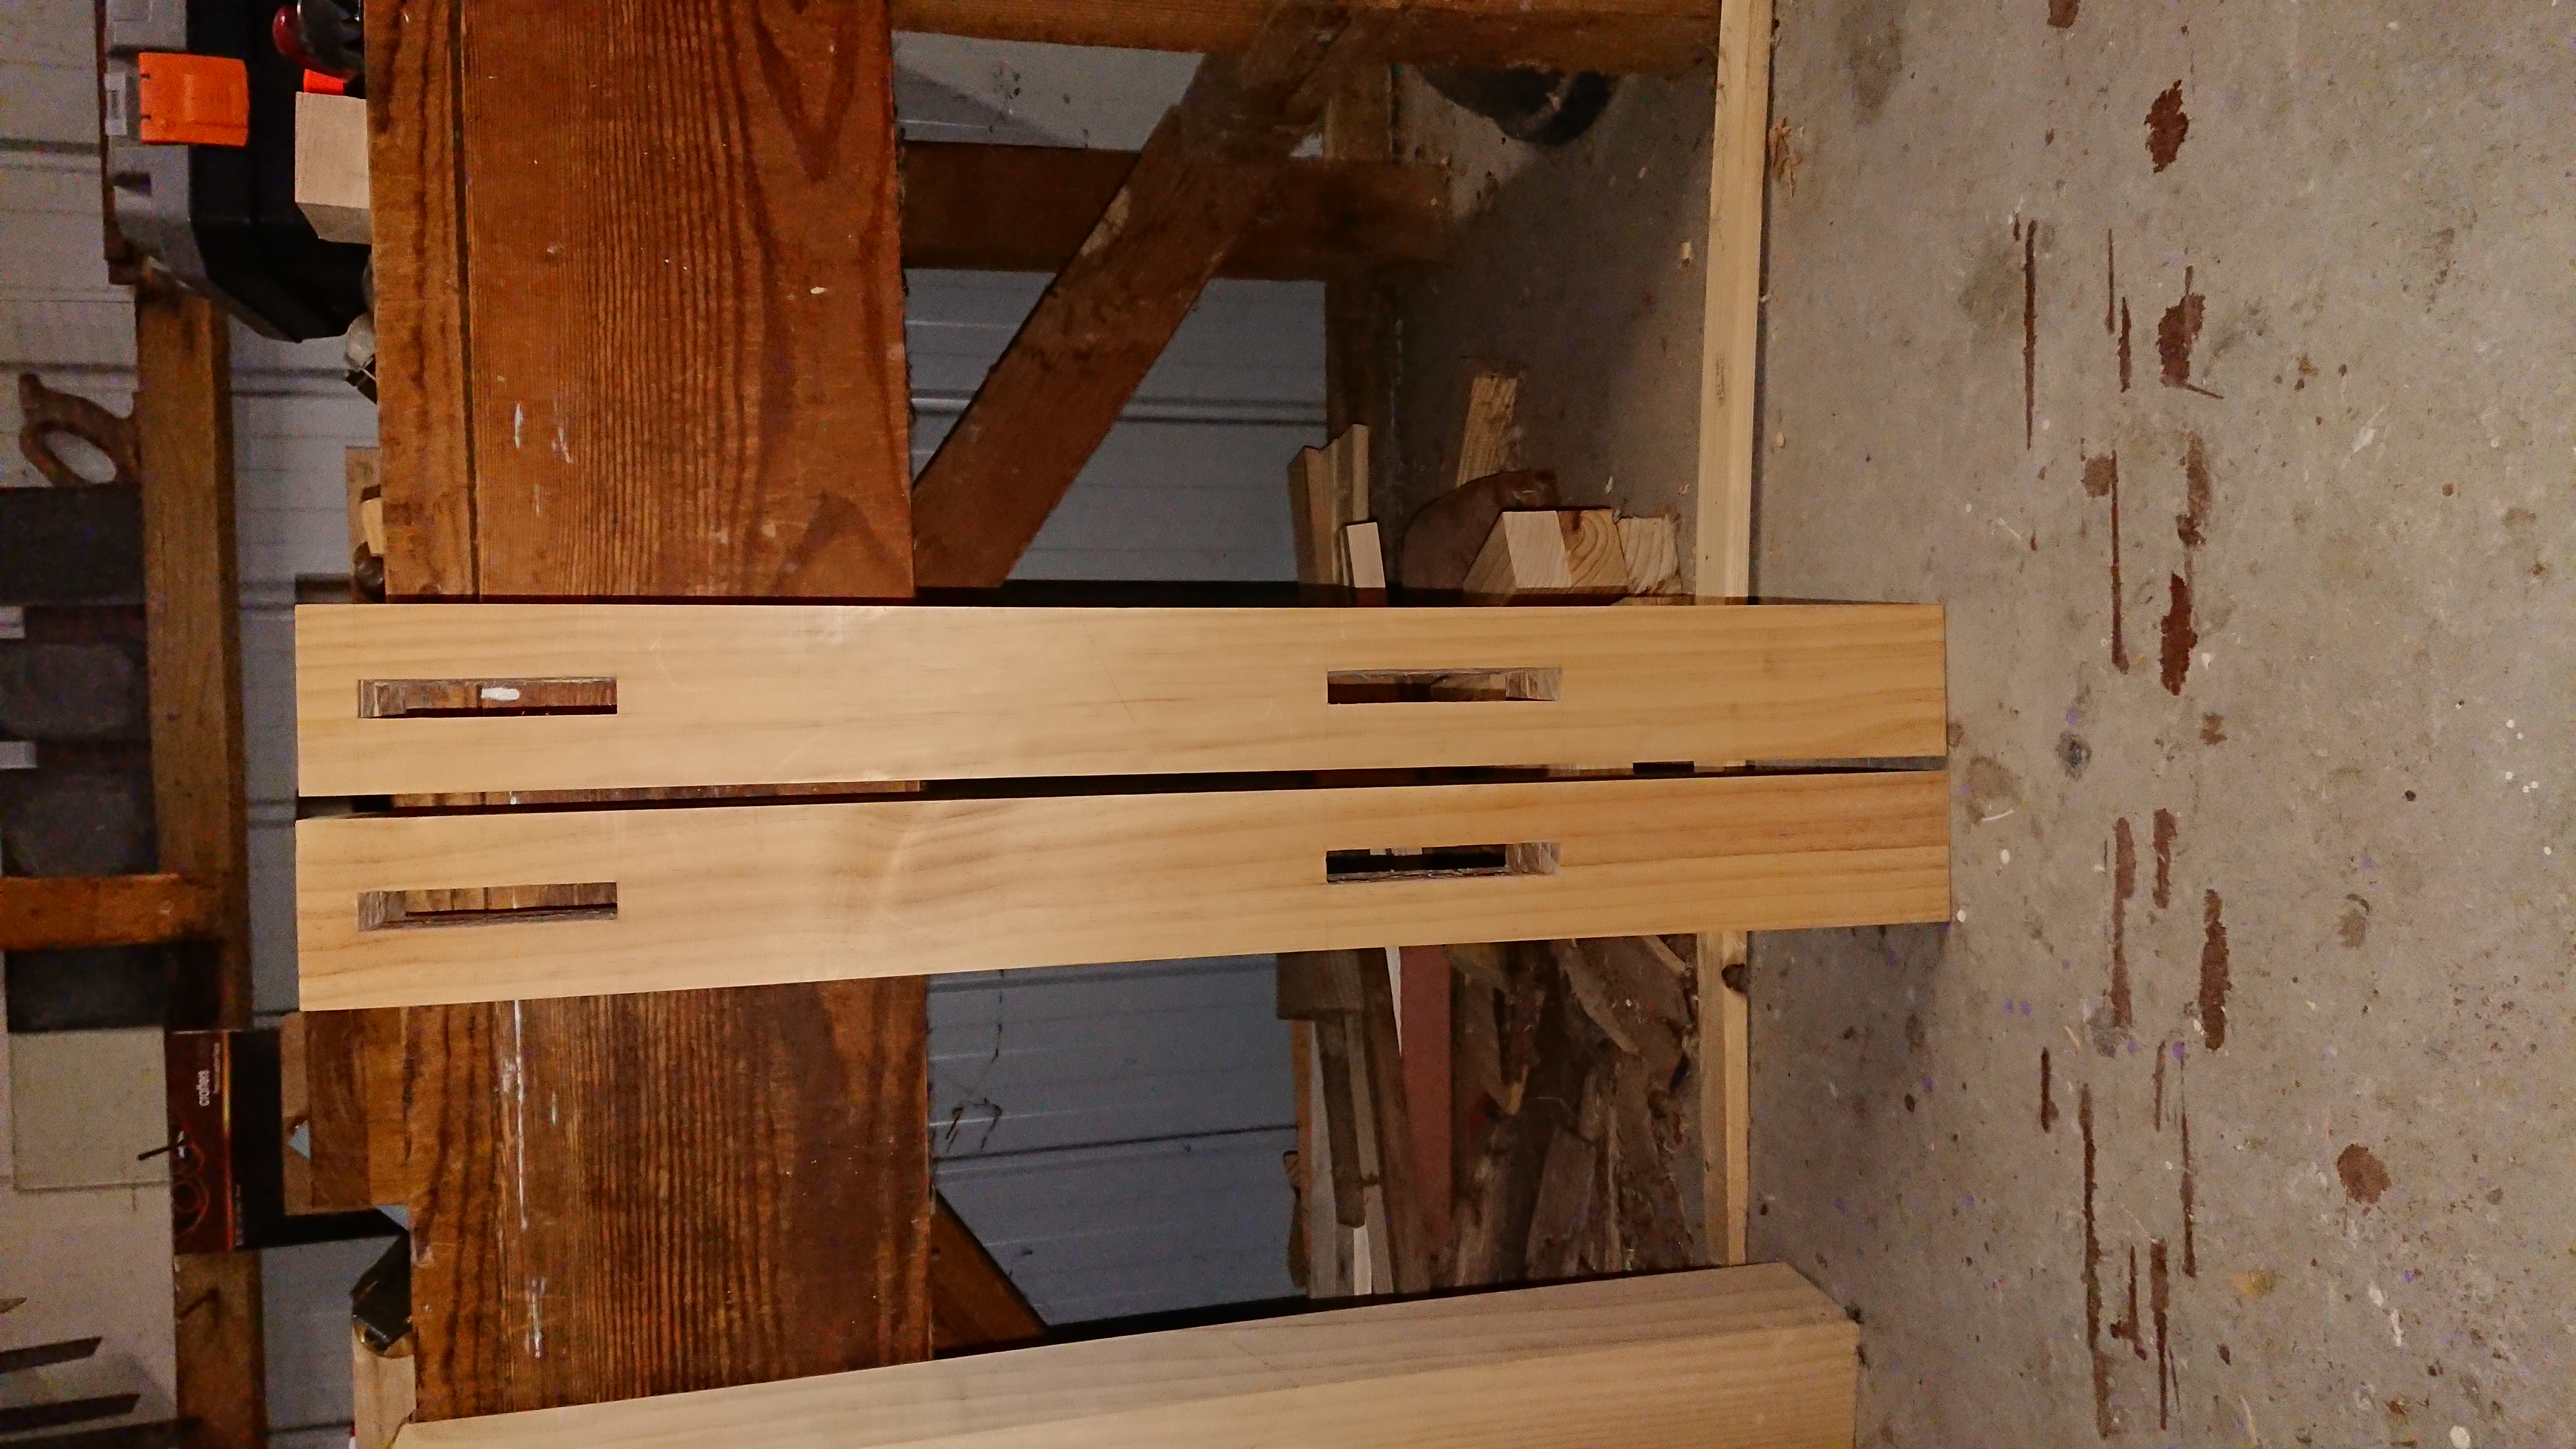
Four mortises completed -
Posted on
Turns out, the third time *is* a charm
Read the full post ...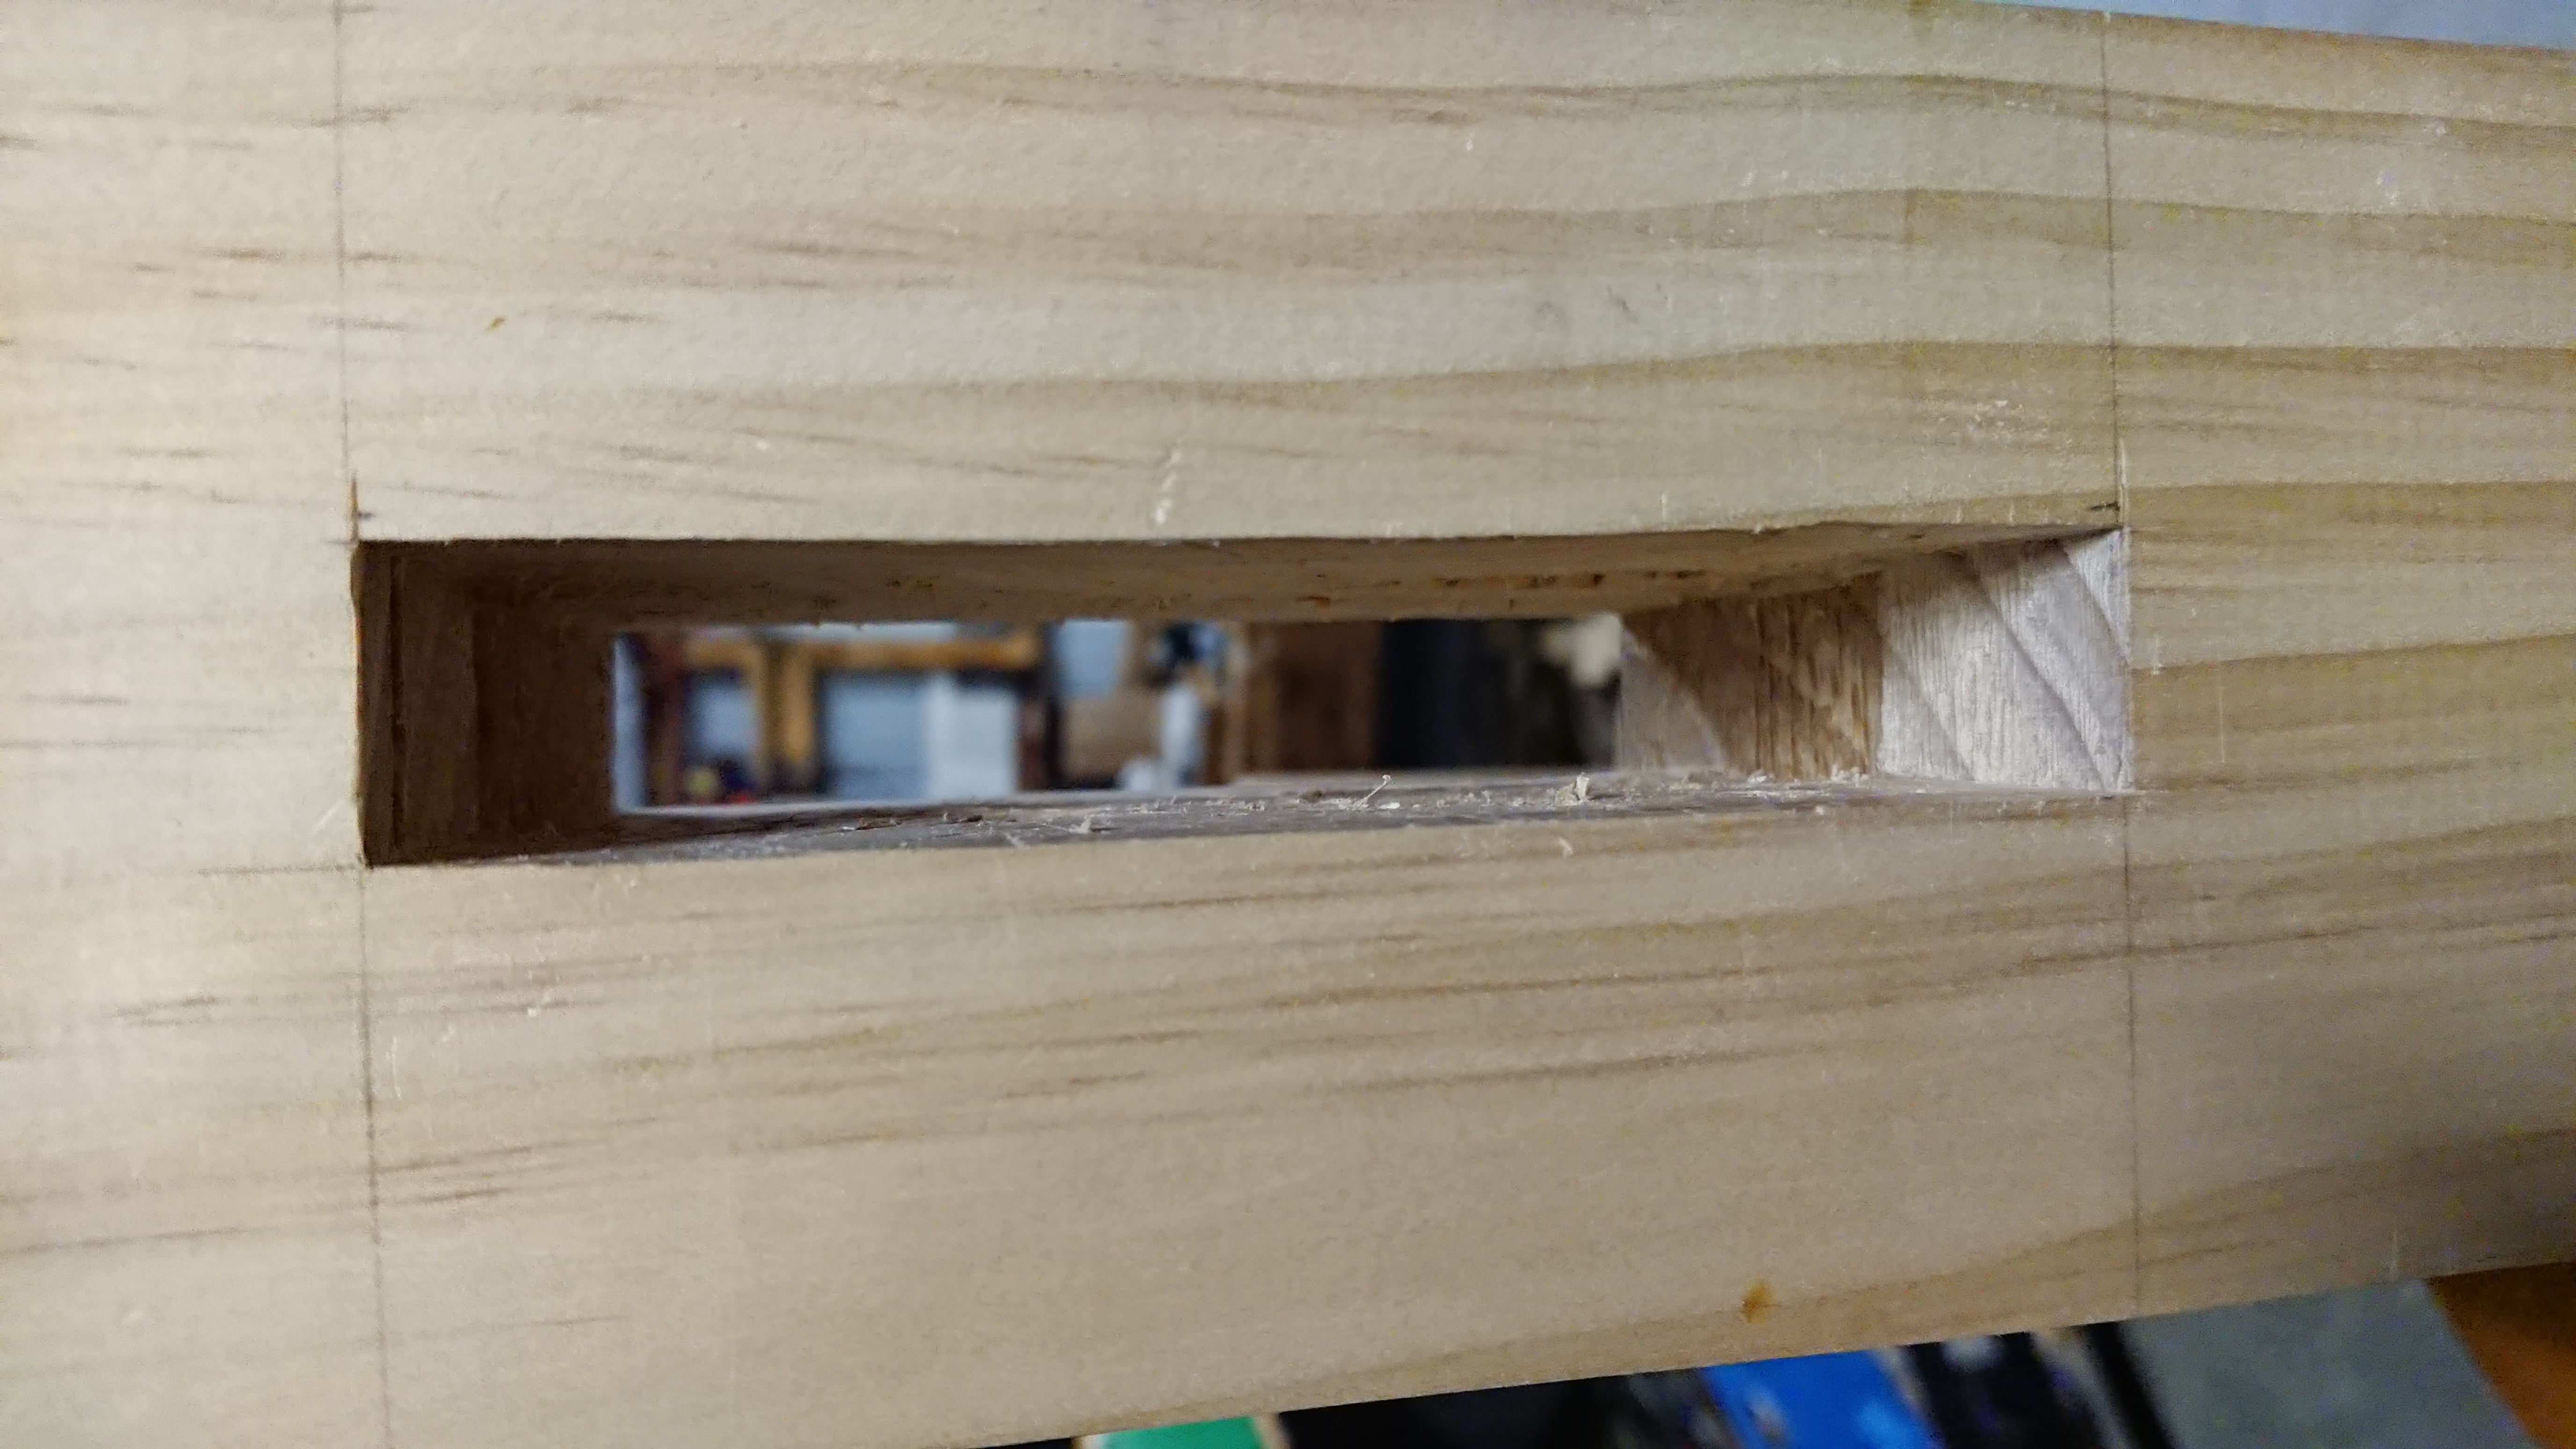
The third mortise completed -
Posted on
Finishing the first leg
Read the full post ...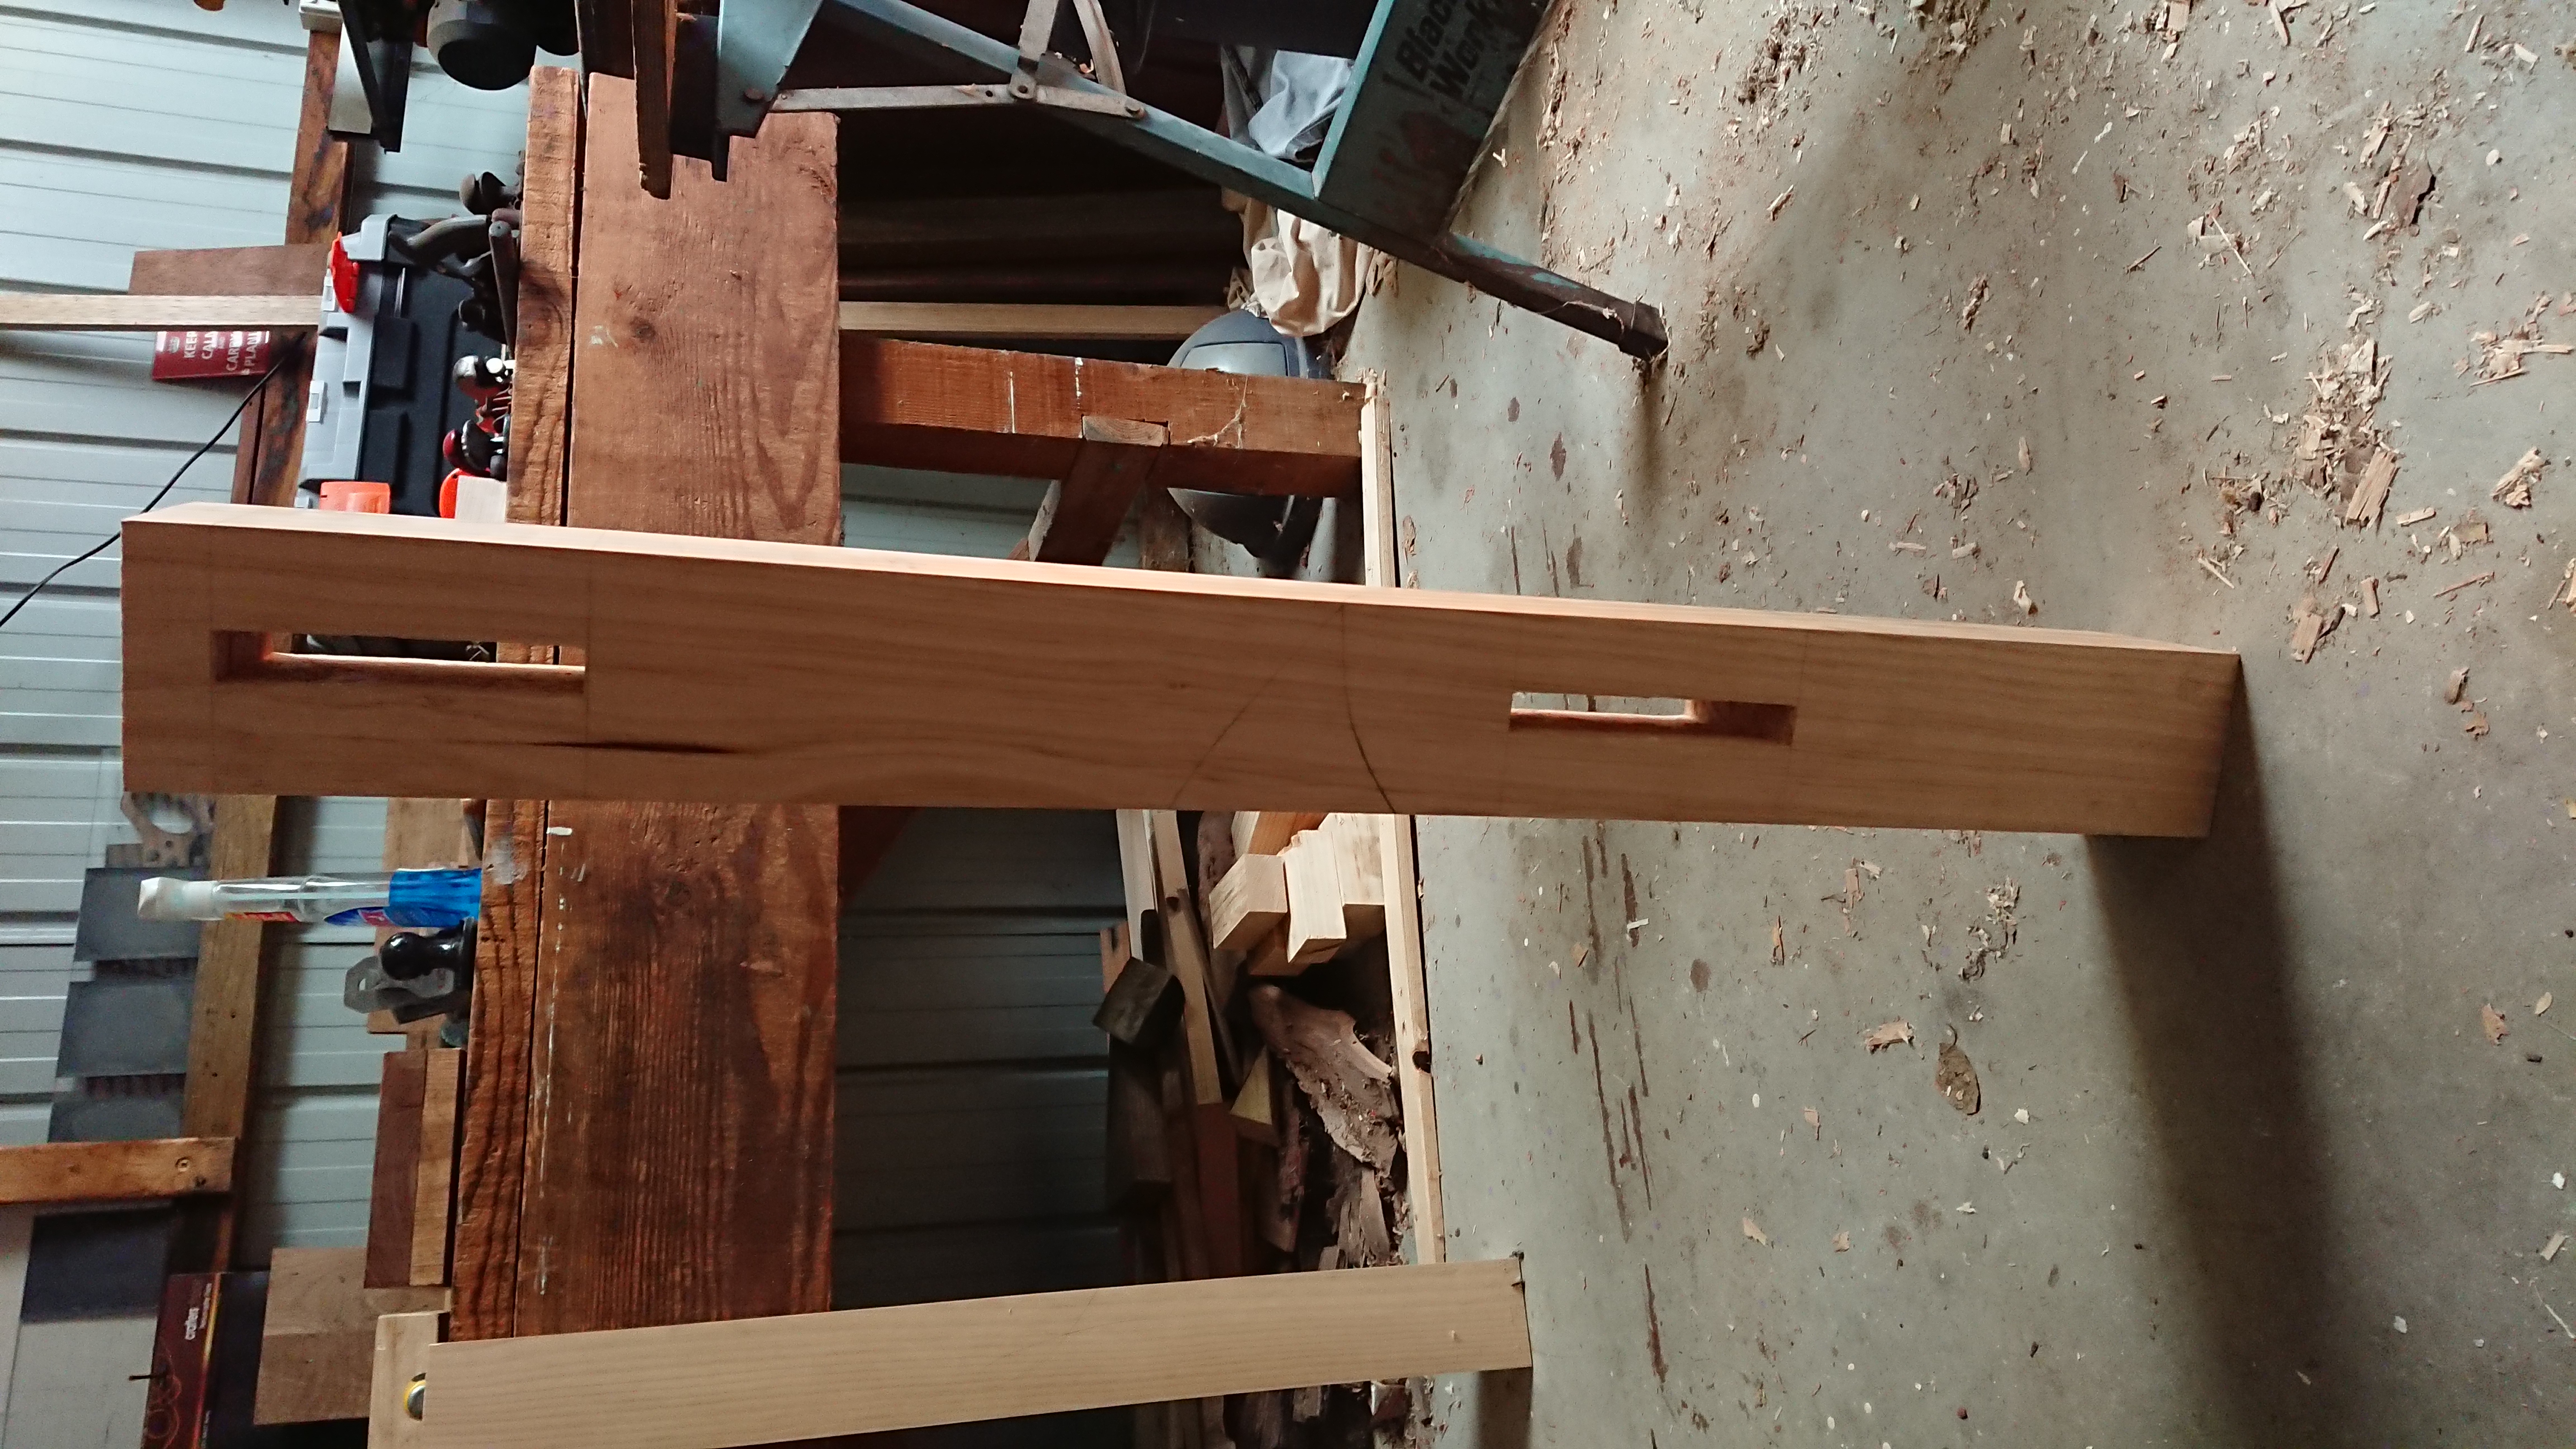
The first leg completed -
Posted on
Starting to cut the second mortise
Read the full post ...
The second leg mortise -
Posted on
Finding a skew in the first leg mortise
Read the full post ...
Uh oh ... -
Posted on
Cutting the first leg mortise
Read the full post ...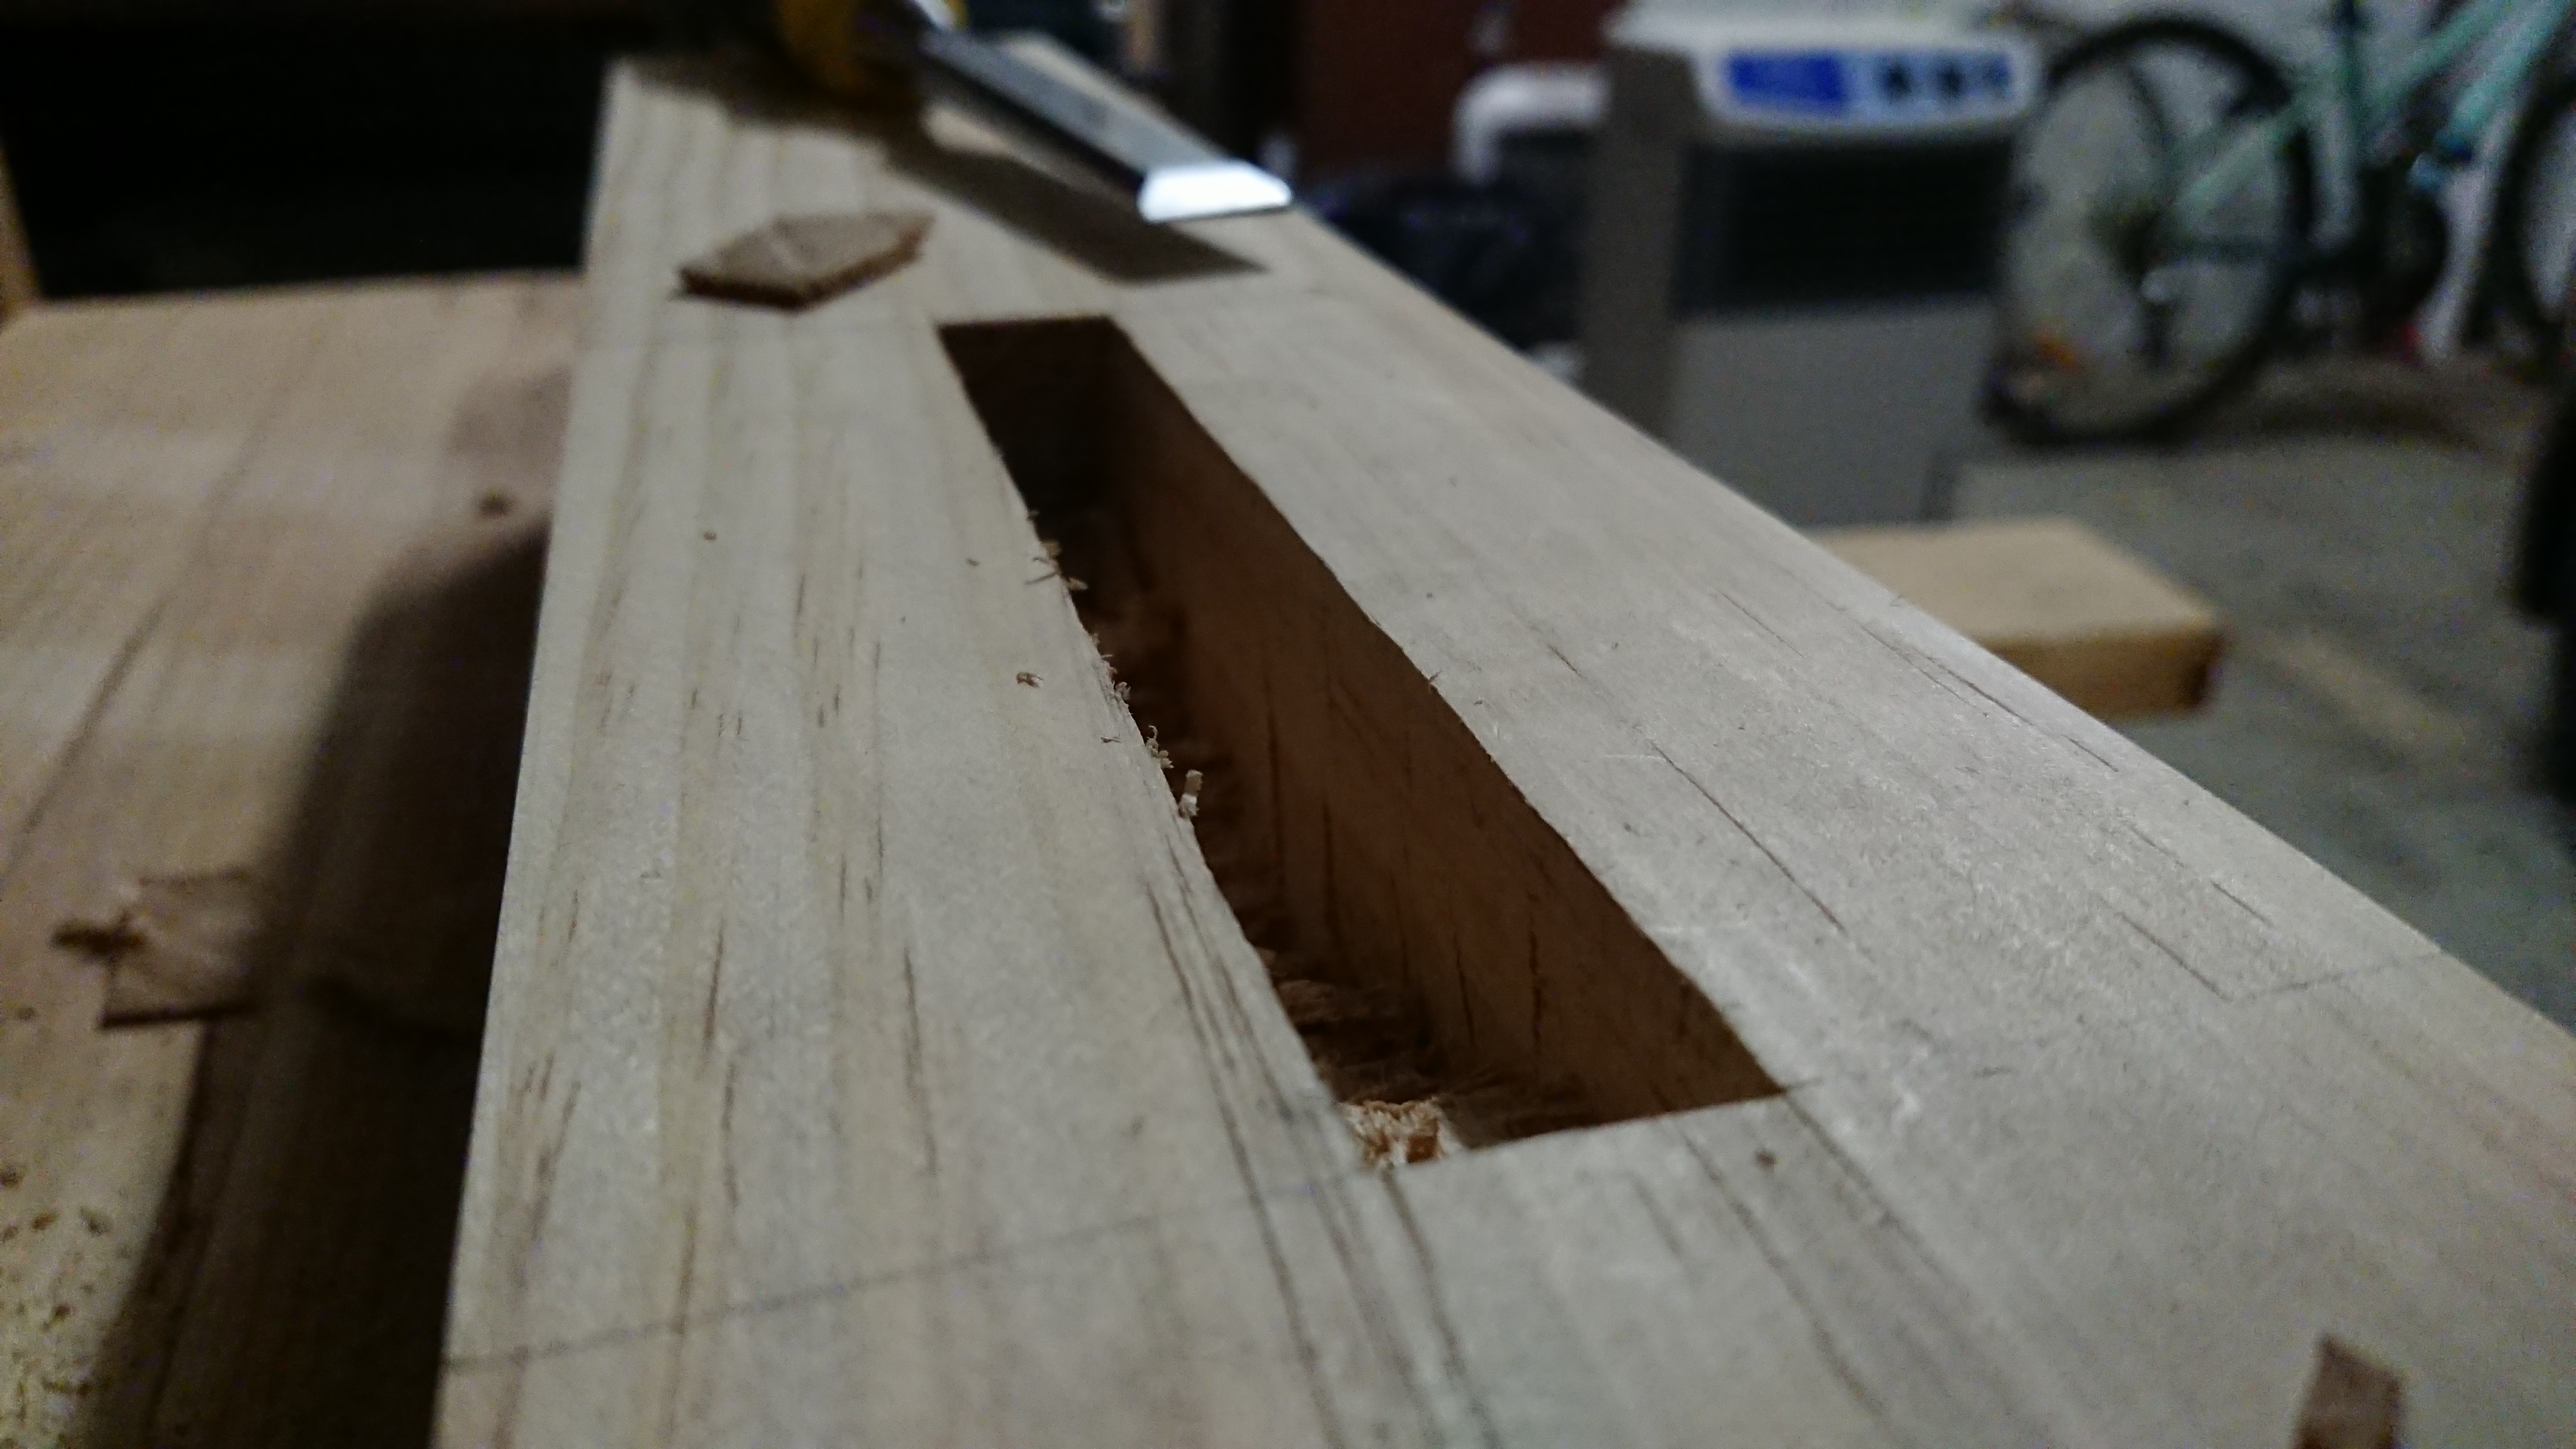
Starting to cut the leg mortises -
Posted on
Laying out the leg mortises
Read the full post ...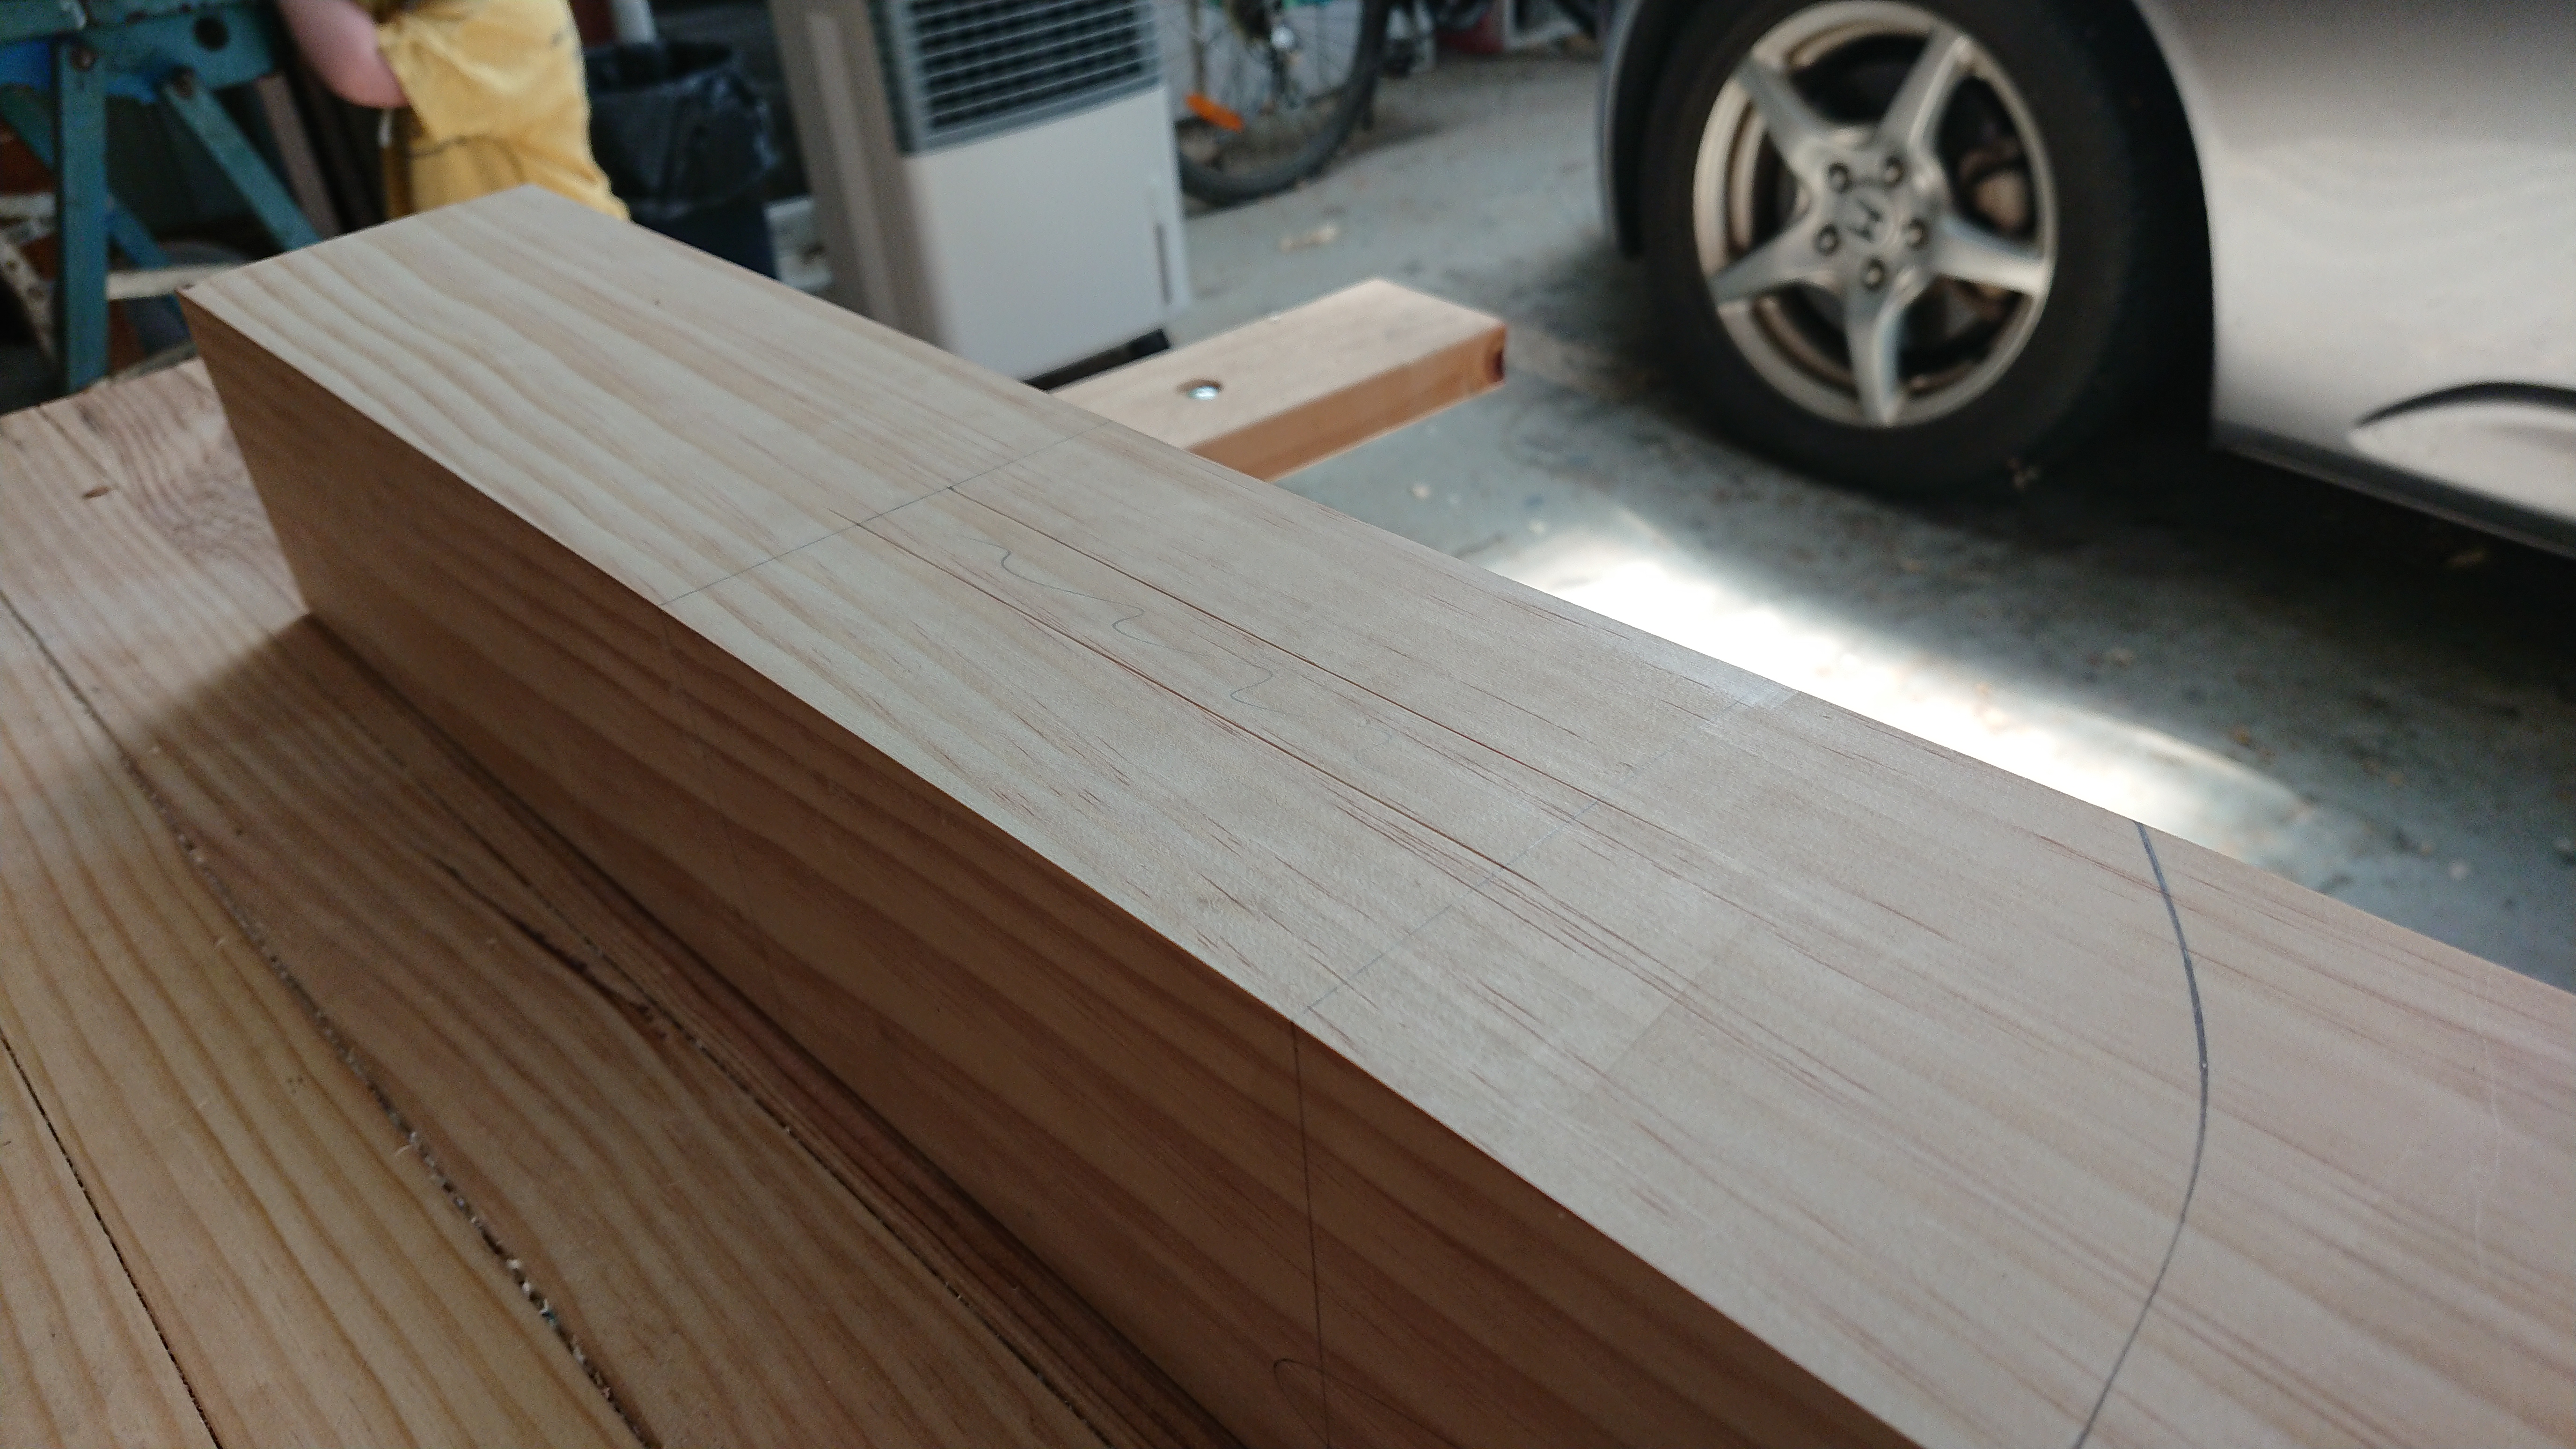
Laying out the leg mortises -
Posted on
Planing the laminated aprons
Read the full post ...Both aprons are now laminated, and the results aren’t bad at all. I think that the pieces could have been a little more flat relative to each other, but the joins do seem to be very solid.
-
Posted on
Untwisting the final apron piece
Read the full post ...Today I worked on flattening, untwisting and squaring up the final piece for the second apron.
-
Posted on
Sharpening the plane blade
Read the full post ...I stopped to take a picture of my plane blade just after sharpening it, for no other reason than I think it looks cool, and I’m proud of how sharp I can now get this thing in just a few minutes of effort.
-
Posted on
Preparing the second apron
Read the full post ...Yesterday I unclamped the first apron lamination and had a look. I think it was a success. Definitely a more consistently tight join than what I had on the benchtop.
-
Posted on
Laminating the first apron
Read the full post ...Today I unclamped the re-laminated benchtop, and it looks pretty good! Definitely a join where once there was a gap. So that’s a win. I spent some time planing down the benchtop to remove excess dried glue, and to reflatten now that the gap has closed.
-
Posted on
Repairing the failed lamination
Read the full post ...Over the last few sessions I’ve been flattening and untwisting my first two apron pieces, but I decided it was about time I did something about the partially failed lamination in the benchtop. I noticed that the gap between the planks was accumulating dust and shavings, and figured that this would probably force the gap to continue to widen. It seemed like the longer I ignored this problem, the harder it was going to be to recover from.
-
Posted on
Cutting the benchtop to length
Read the full post ...Today I completed two jobs: swept up the mountains of pine shavings produced so far, and cut the benchtop to length!
-
Posted on
Trimming the benchtop end
Read the full post ...Today I trimmed the end of the benchtop. I cut a knife line about 10mm from the end, squared off from the front edge, down the top side and underside, and then cut along the line with a handsaw.
-
Posted on
Planing the benchtop underside
Read the full post ...Today’s effort was to plane down the underside face of the benchtop. The plane continued to perform admirably, and even thought the underside was considerably more rugged than the topside, I was able to complete the surface in one session.
-
Posted on
Planing the benchtop surface
Read the full post ...I continued to plane down the top face of the benchtop. After a considerable effort I am fairly satisfied with how flat the surface is, and my next task will be to flip the piece over and start to work on the underside.
-
Posted on
Finished the benchtop lamination
Read the full post ...I removed the clamps from the lamination and had a look at the results.
-
Posted on
Laminating the benchtop
Read the full post ...I selected the eight best benchtop pieces, selected the best edge for each piece to make up the upper face of the benchtop, and decided what order to put them in. A few of the pieces were significantly bowed, so I tried to arrange them in such a way that the bowed pieces would straighten up under clamping.
-
Posted on
Preparing the clamps
Read the full post ...Having successfully borrowed three pipe clamps from my dad, I spent some time preparing the clamps for the lamination effort. I cut out small pieces of marine plywood, and used double-sided tape to stick them onto the jaws of the clamps. Not a difficult job, but with 14 jaws in total to do, it certainly took a while.
-
Posted on
The remaining clamps arrive
Read the full post ...My back-ordered clamps from Timbecon arrived, so I now have a full set of four very substantial 1200mm T-bar clamps.
-
Posted on
Vice arrives
Read the full post ...My shipment of tools from Timbecon arrived, with my new vice, but with only two of my four T-bar clamps. I looked back at the invoice that had been emailled out to me, and sure enough in the notes it said that only two of the clamps had been shipped, and that the other two were on “back order”. That’s the kind of thing it would be handy to send a dude a separate email about.
-
Posted on
Shopping success!
Read the full post ...After a lot of phone calls to hardware shops around Canberra, many of which were closed for the holidays, I finally found a business that would sell me some untreated structural pine: Home Timber and Hardware on Yass Rd in Queanbeyan. They had two sizes that I could use in MGP10, 45×70 and 45×140. I worked out that the 140 size would work for my leg frame rails, and could also make up the aprons if I laminate two boards together edge-on.
-
Posted on
The treated pine blues
Read the full post ...After I duly consulted the website and carefully made a shopping list of all the timber I was going to need, Dad and I set off to Bunnings. Only, upon arriving at the store, we discovered that all of the structural pine they had in stock was treated. It turns out that the Bunnings website lists all of the products that are available at any Bunnings across Australia, so it really does pay to check whether a given store has the thing you need before driving out there!
subscribe via RSS