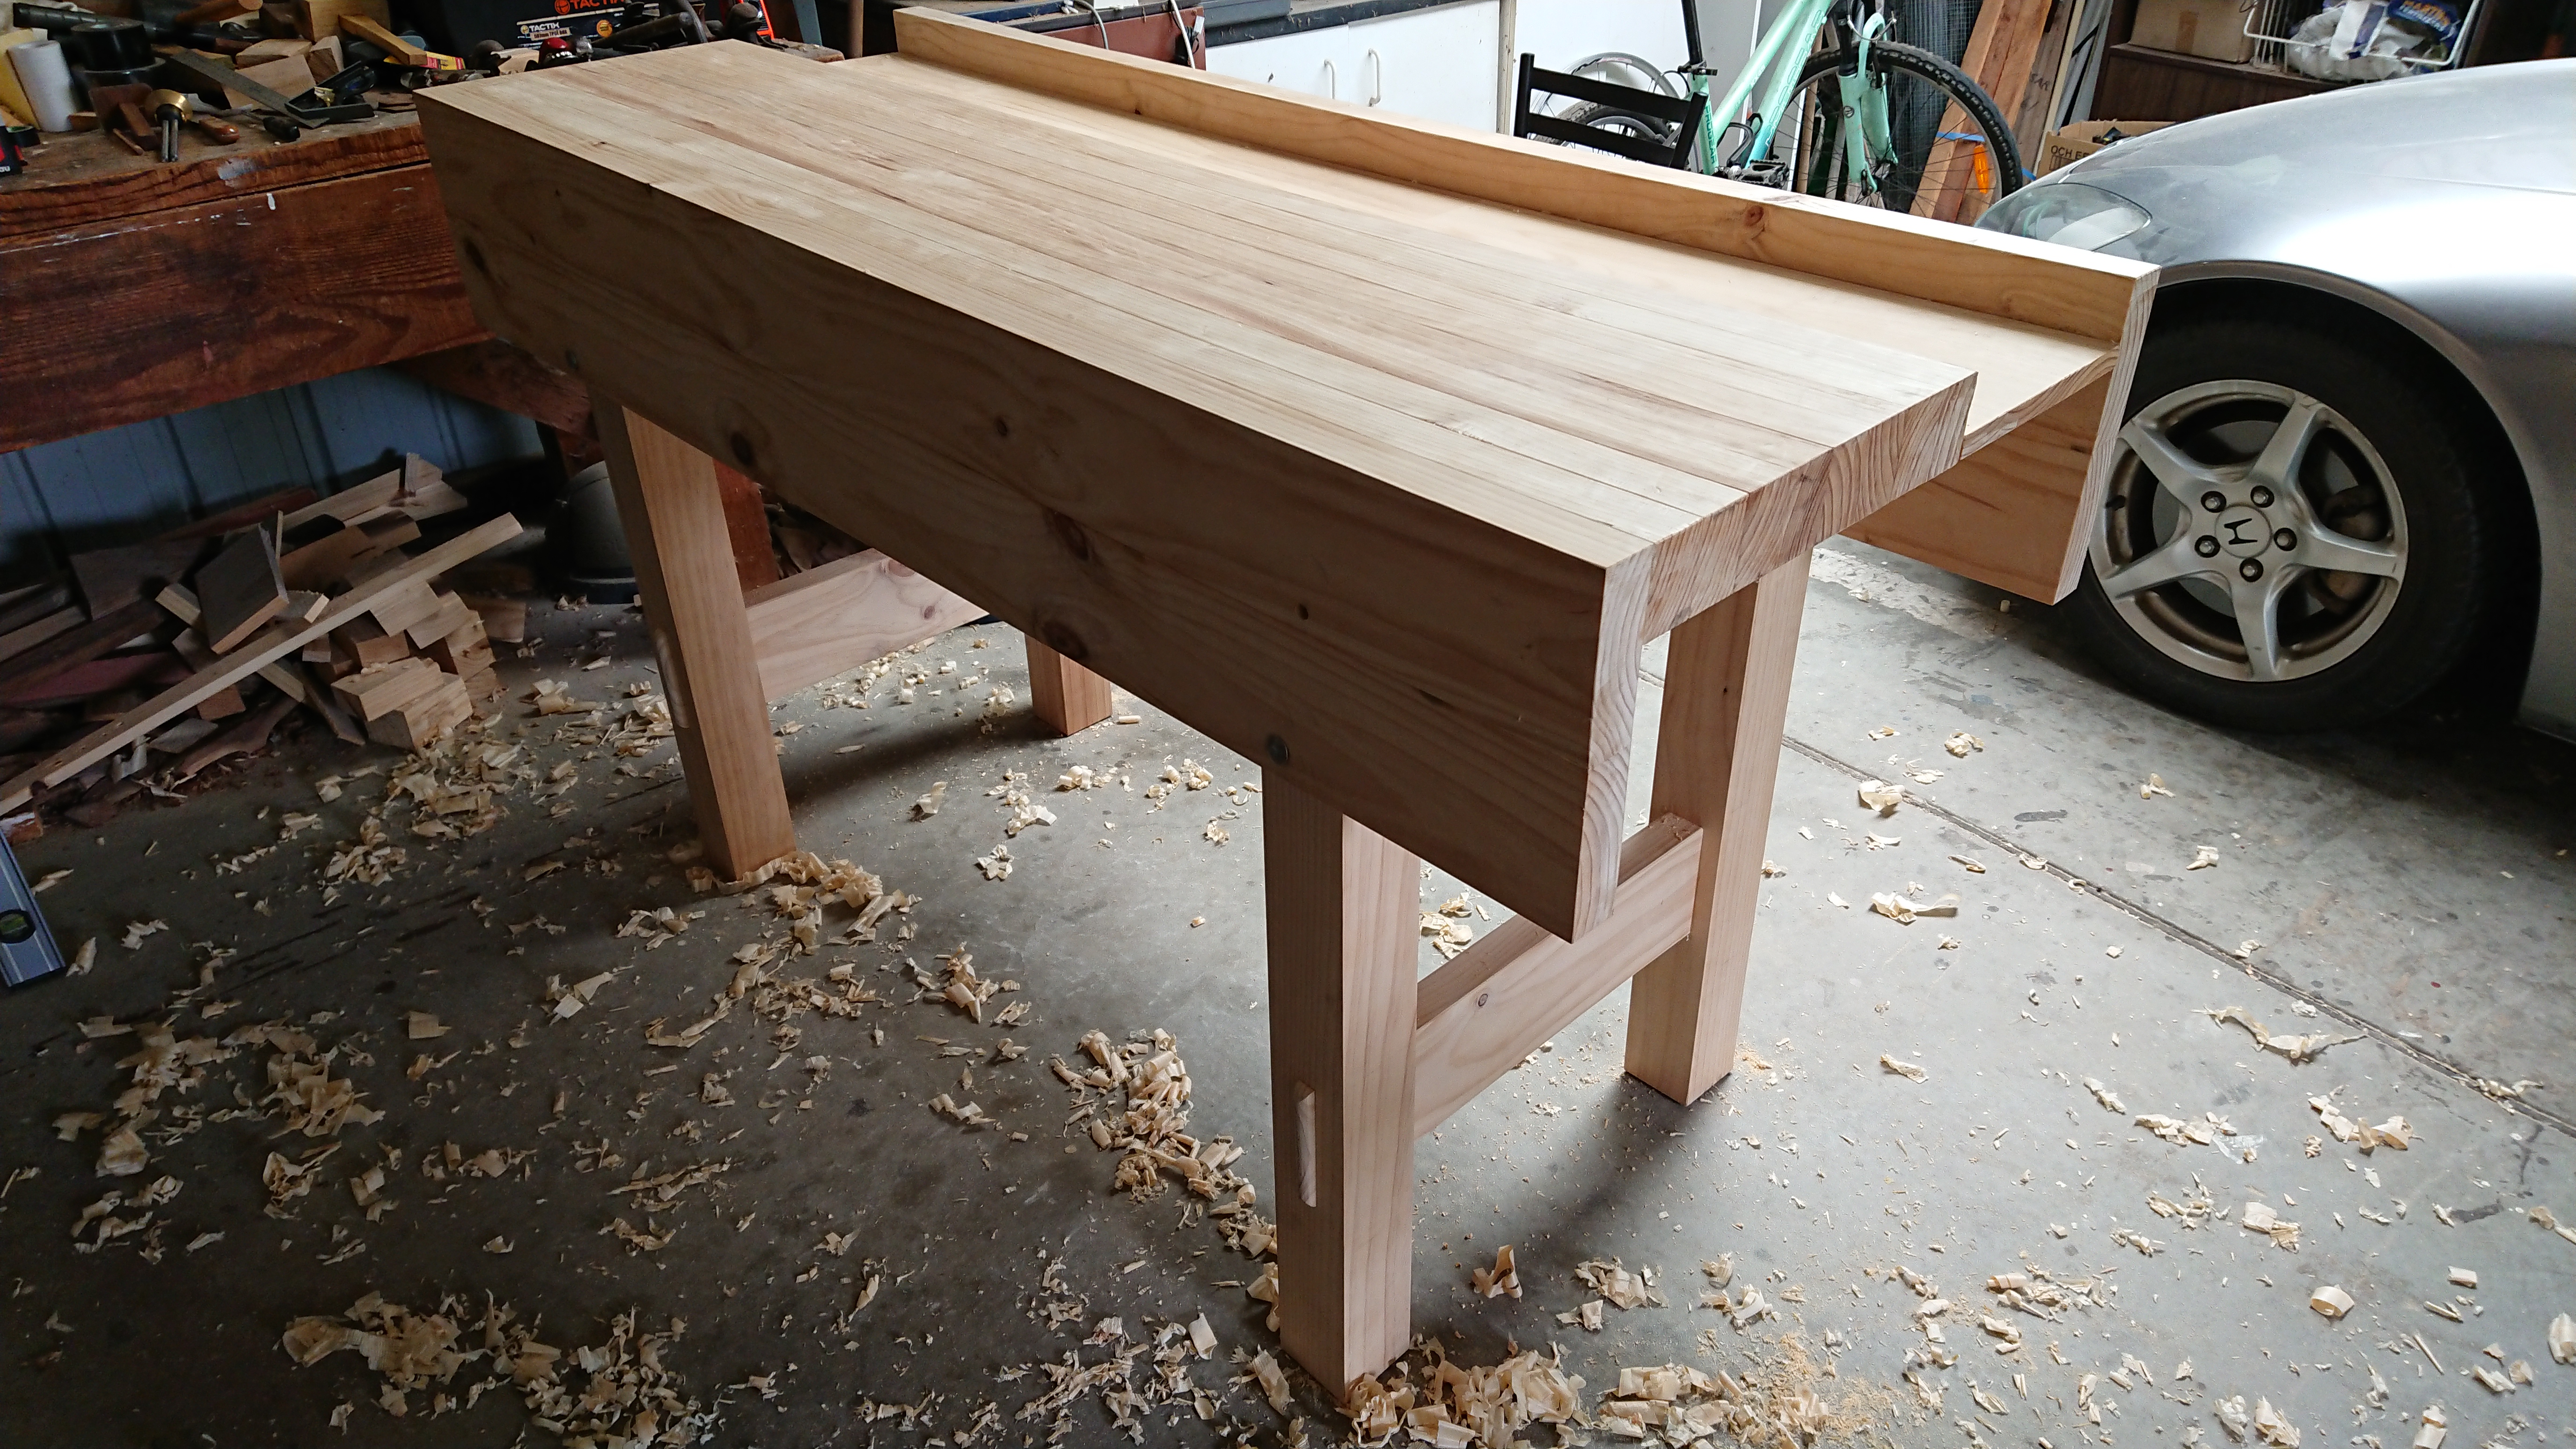
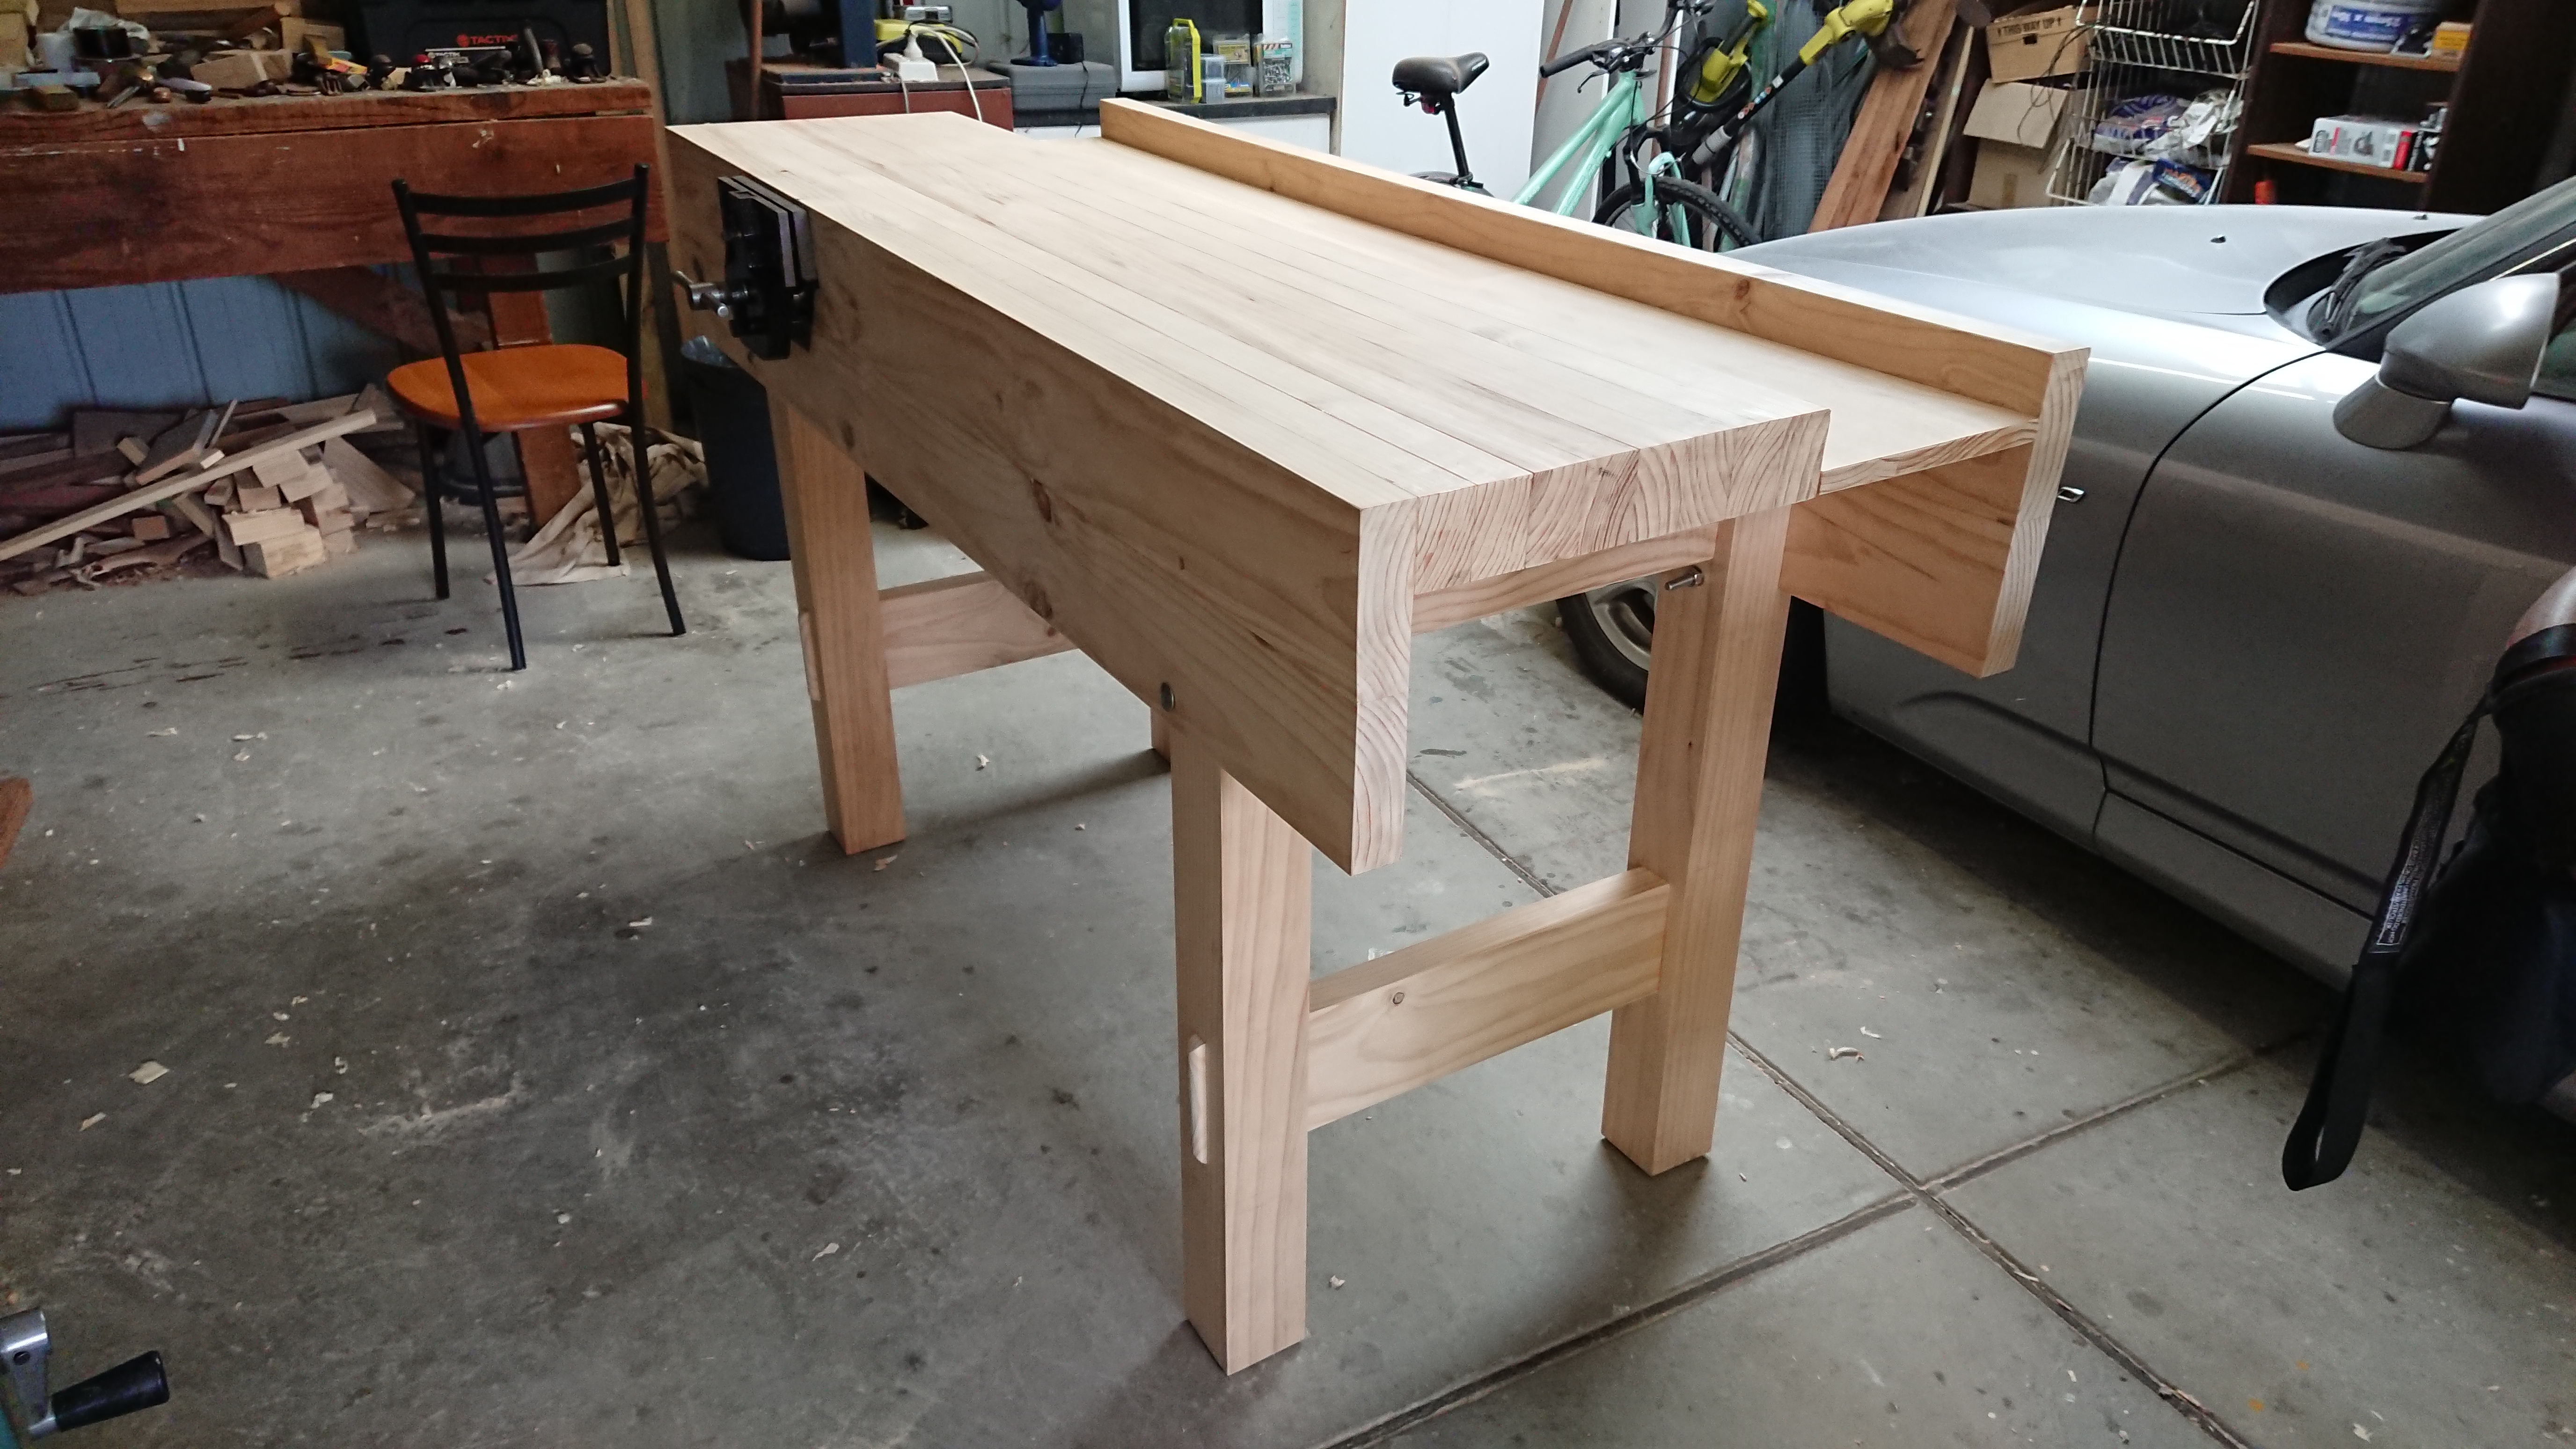
It's a workbench!
I cut and fit the wellboard piece between the benchtop and the rear apron. The original plan called for a tongue-and-groove joint on both sides of the wellboard, but this seemed like a very difficult joint to do well over such a length, even if I had a fully functional plough plane and rebate plane (which I do not). So in the end I decided not to do the groove at all, and just fit the wellboard in. If this turns out to allow too much flex in the bench overall, I can always install battens against the rear apron and screw the wellboard to those.
It wouldn’t be a terrible idea to get some quadrant beading to run along the top of the wellboard just to make it a bit easier to keep it clean. I’ve noticed that there is already a fair bit of debris accumulating inside the small gap on either side of the wellboard.
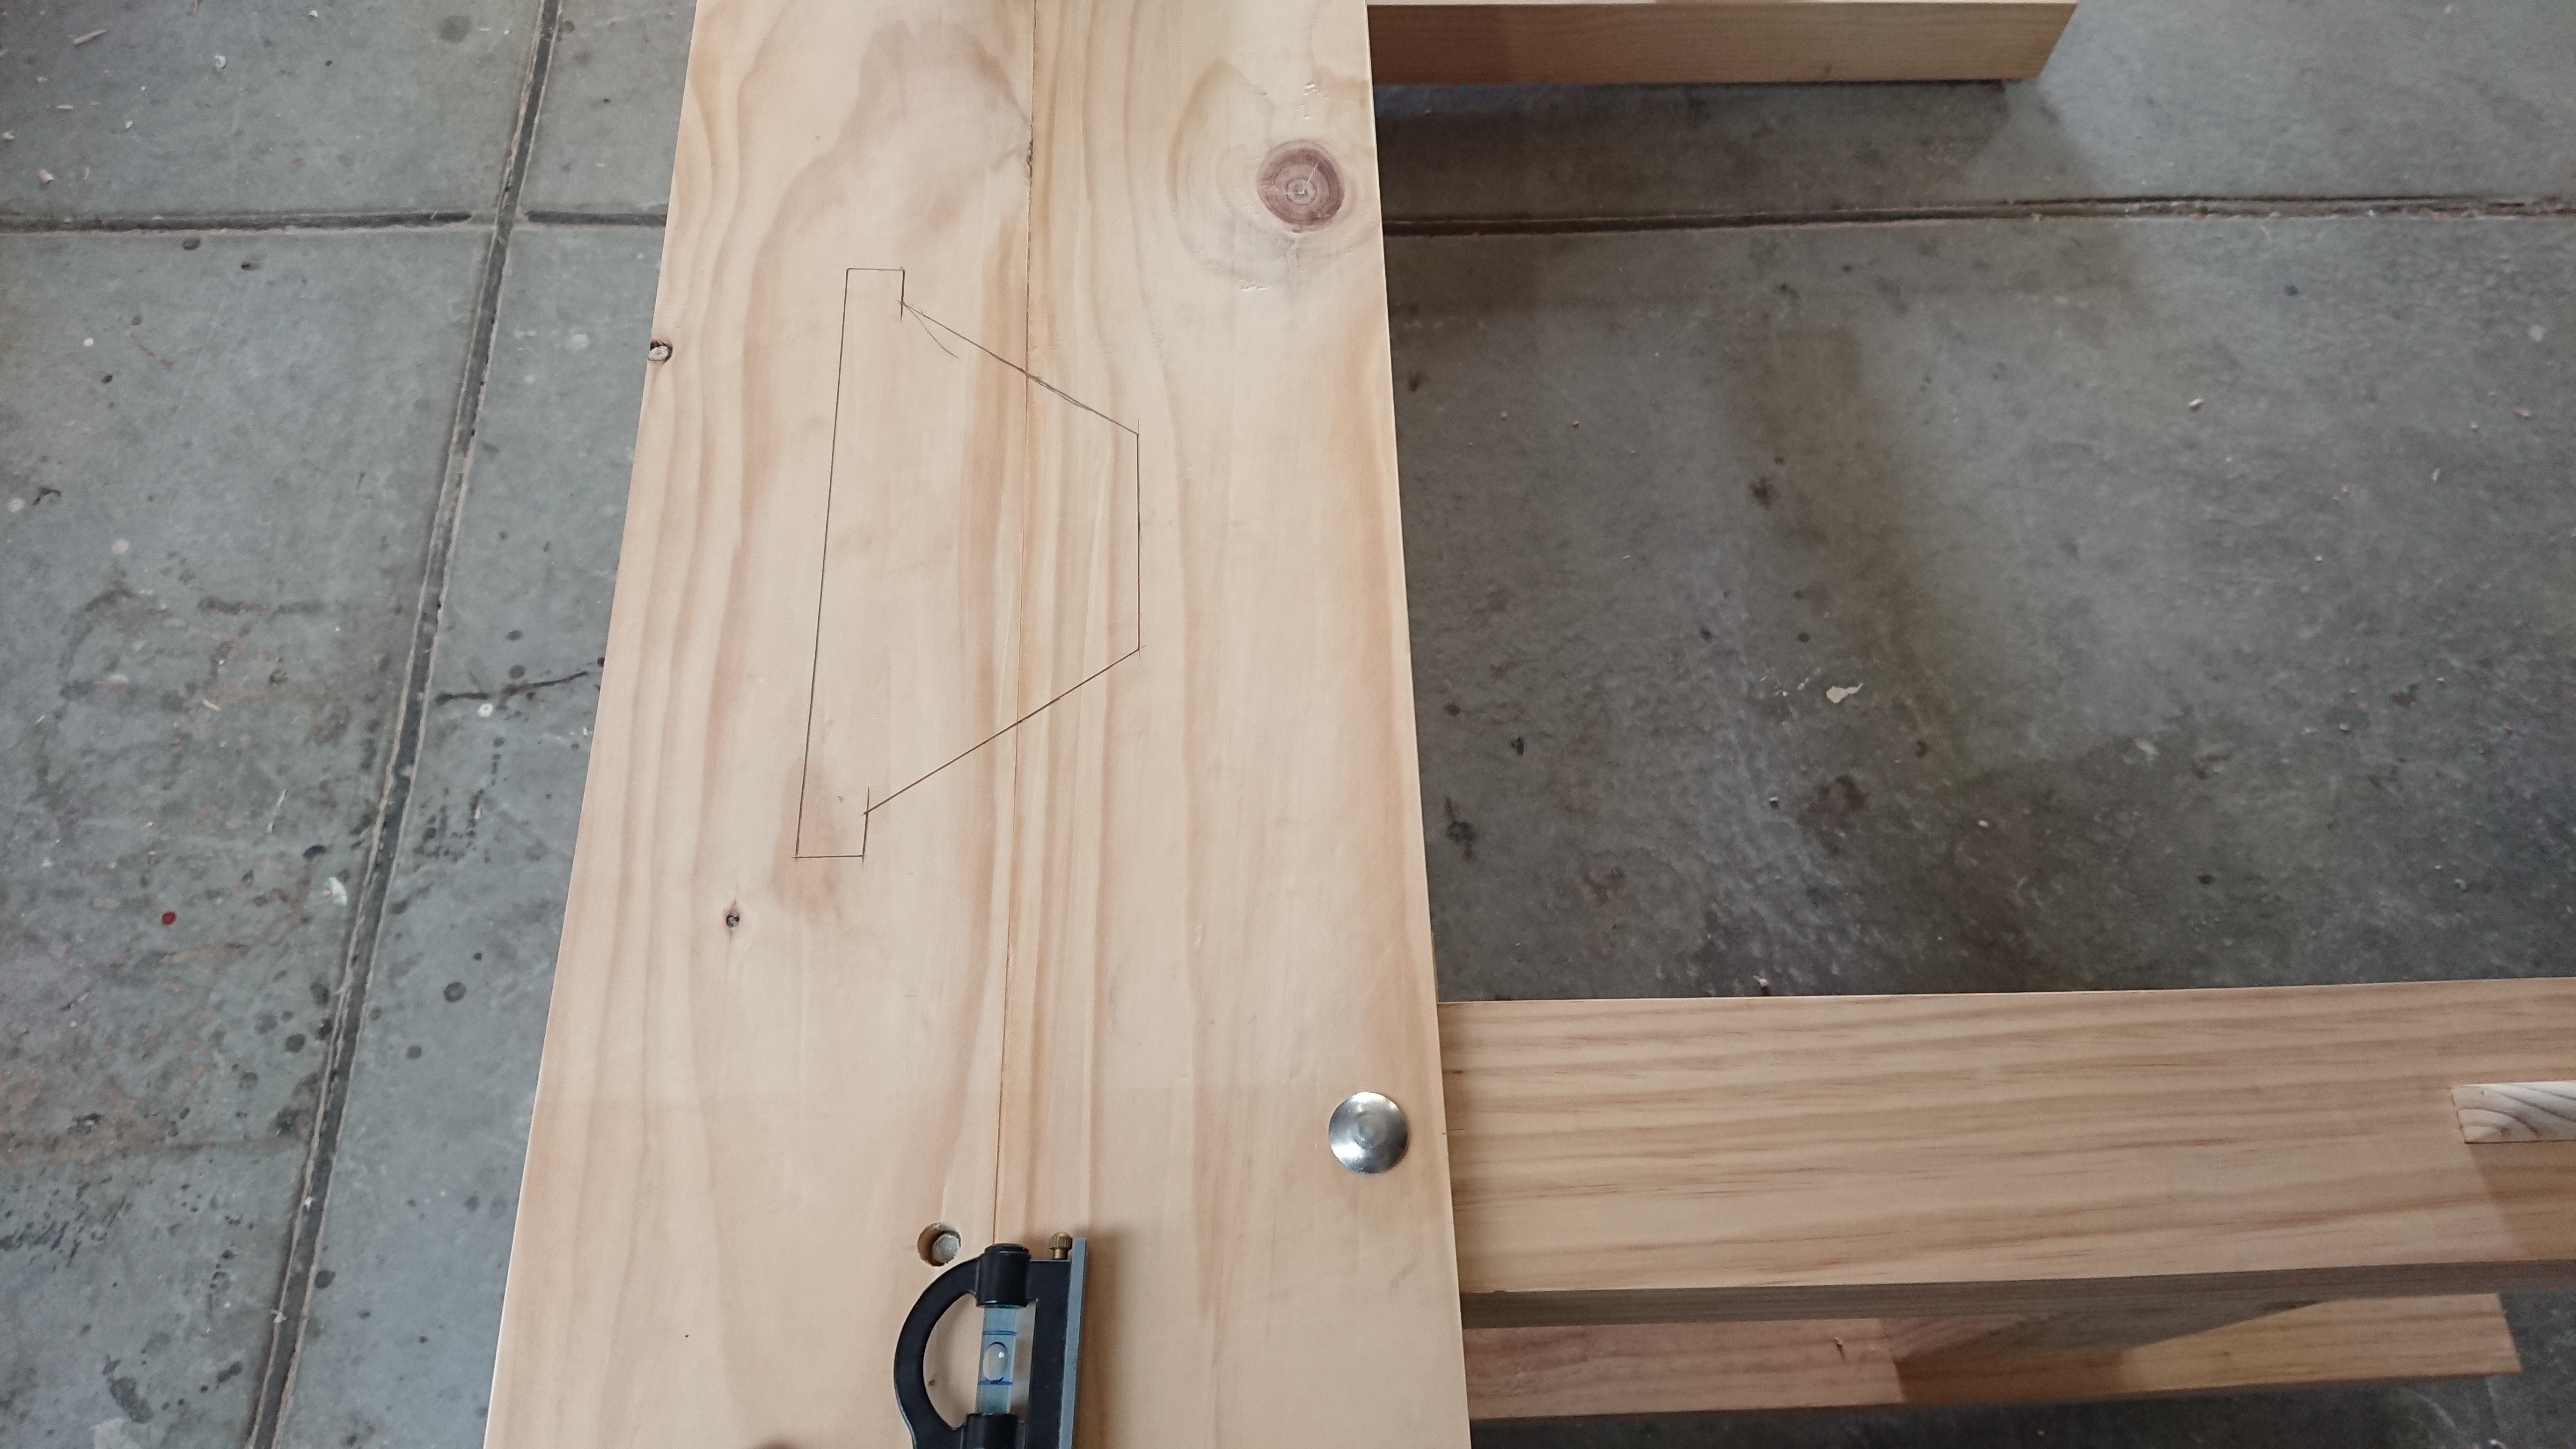
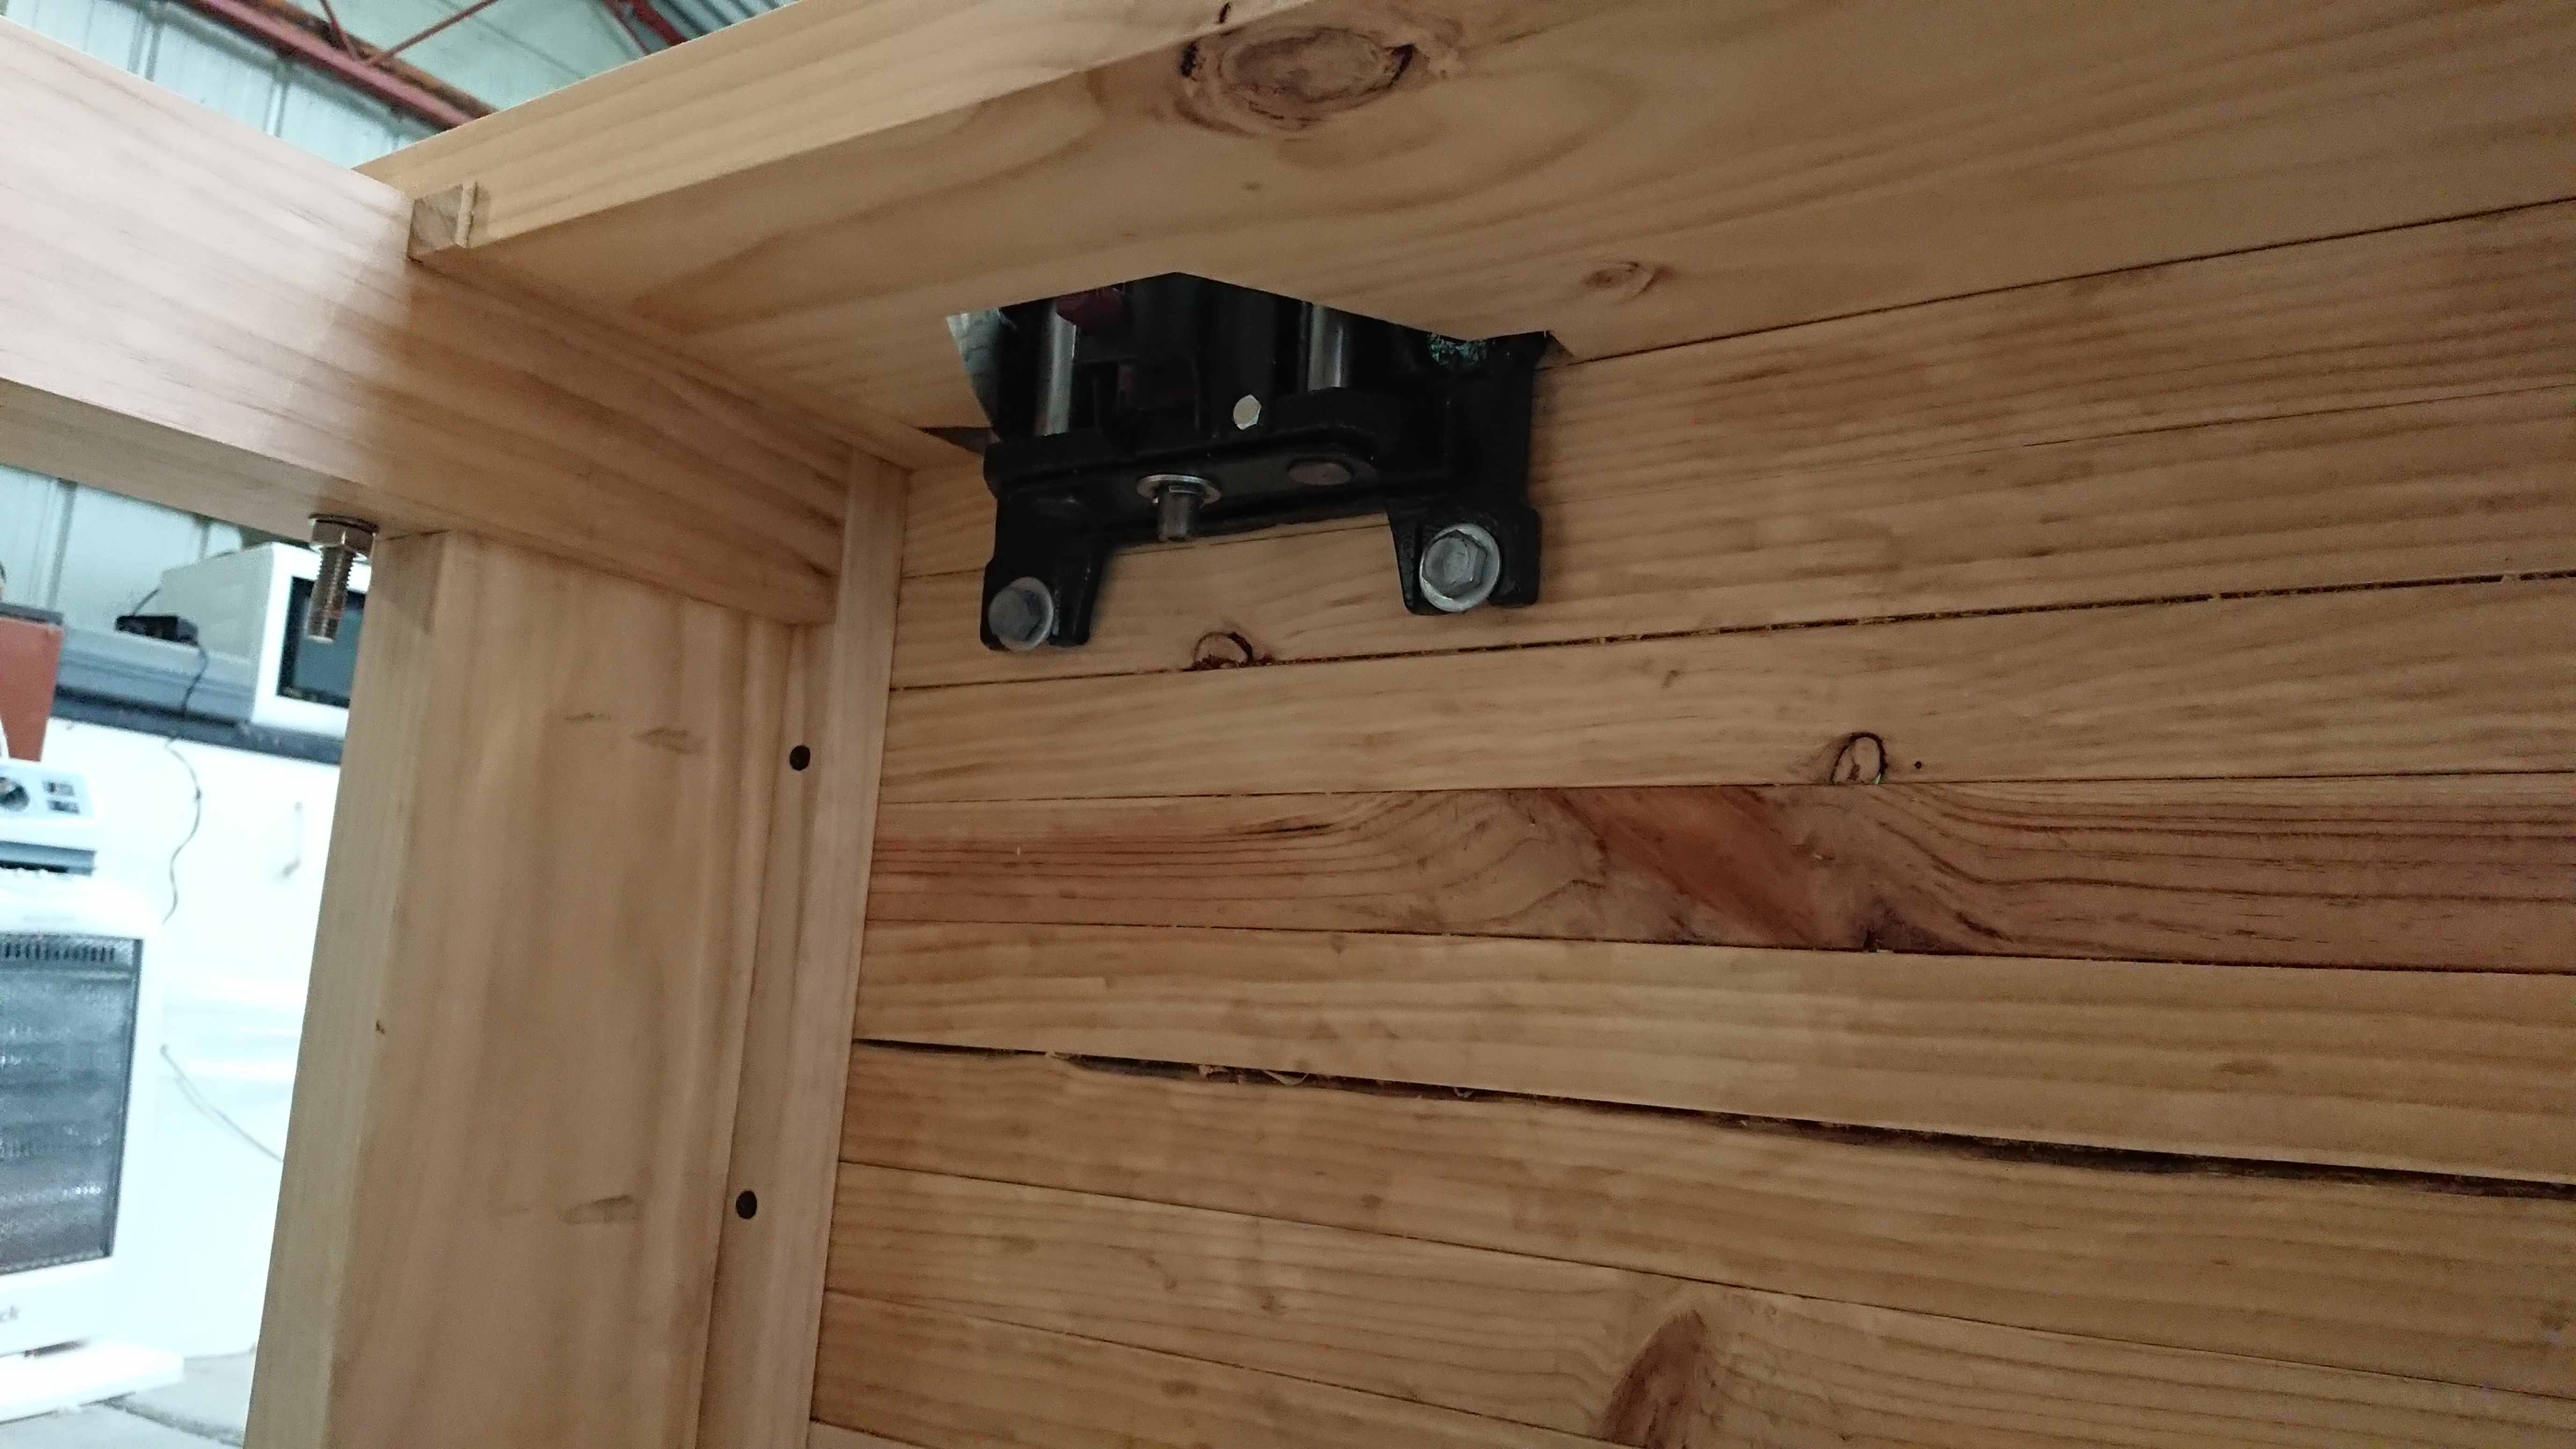
Then I moved on to installing the vise. The first step was to lay out and cut a hole for the back of the vise to slide in to. From watching Paul’s video, it seemed like getting enough of a cut to start sawing was a major hassle, so I borrowed a jigsaw from my Dad for this part. It’s not important that the hole be exact or pretty, so I wasn’t bothered about whether it would be a bit crude.
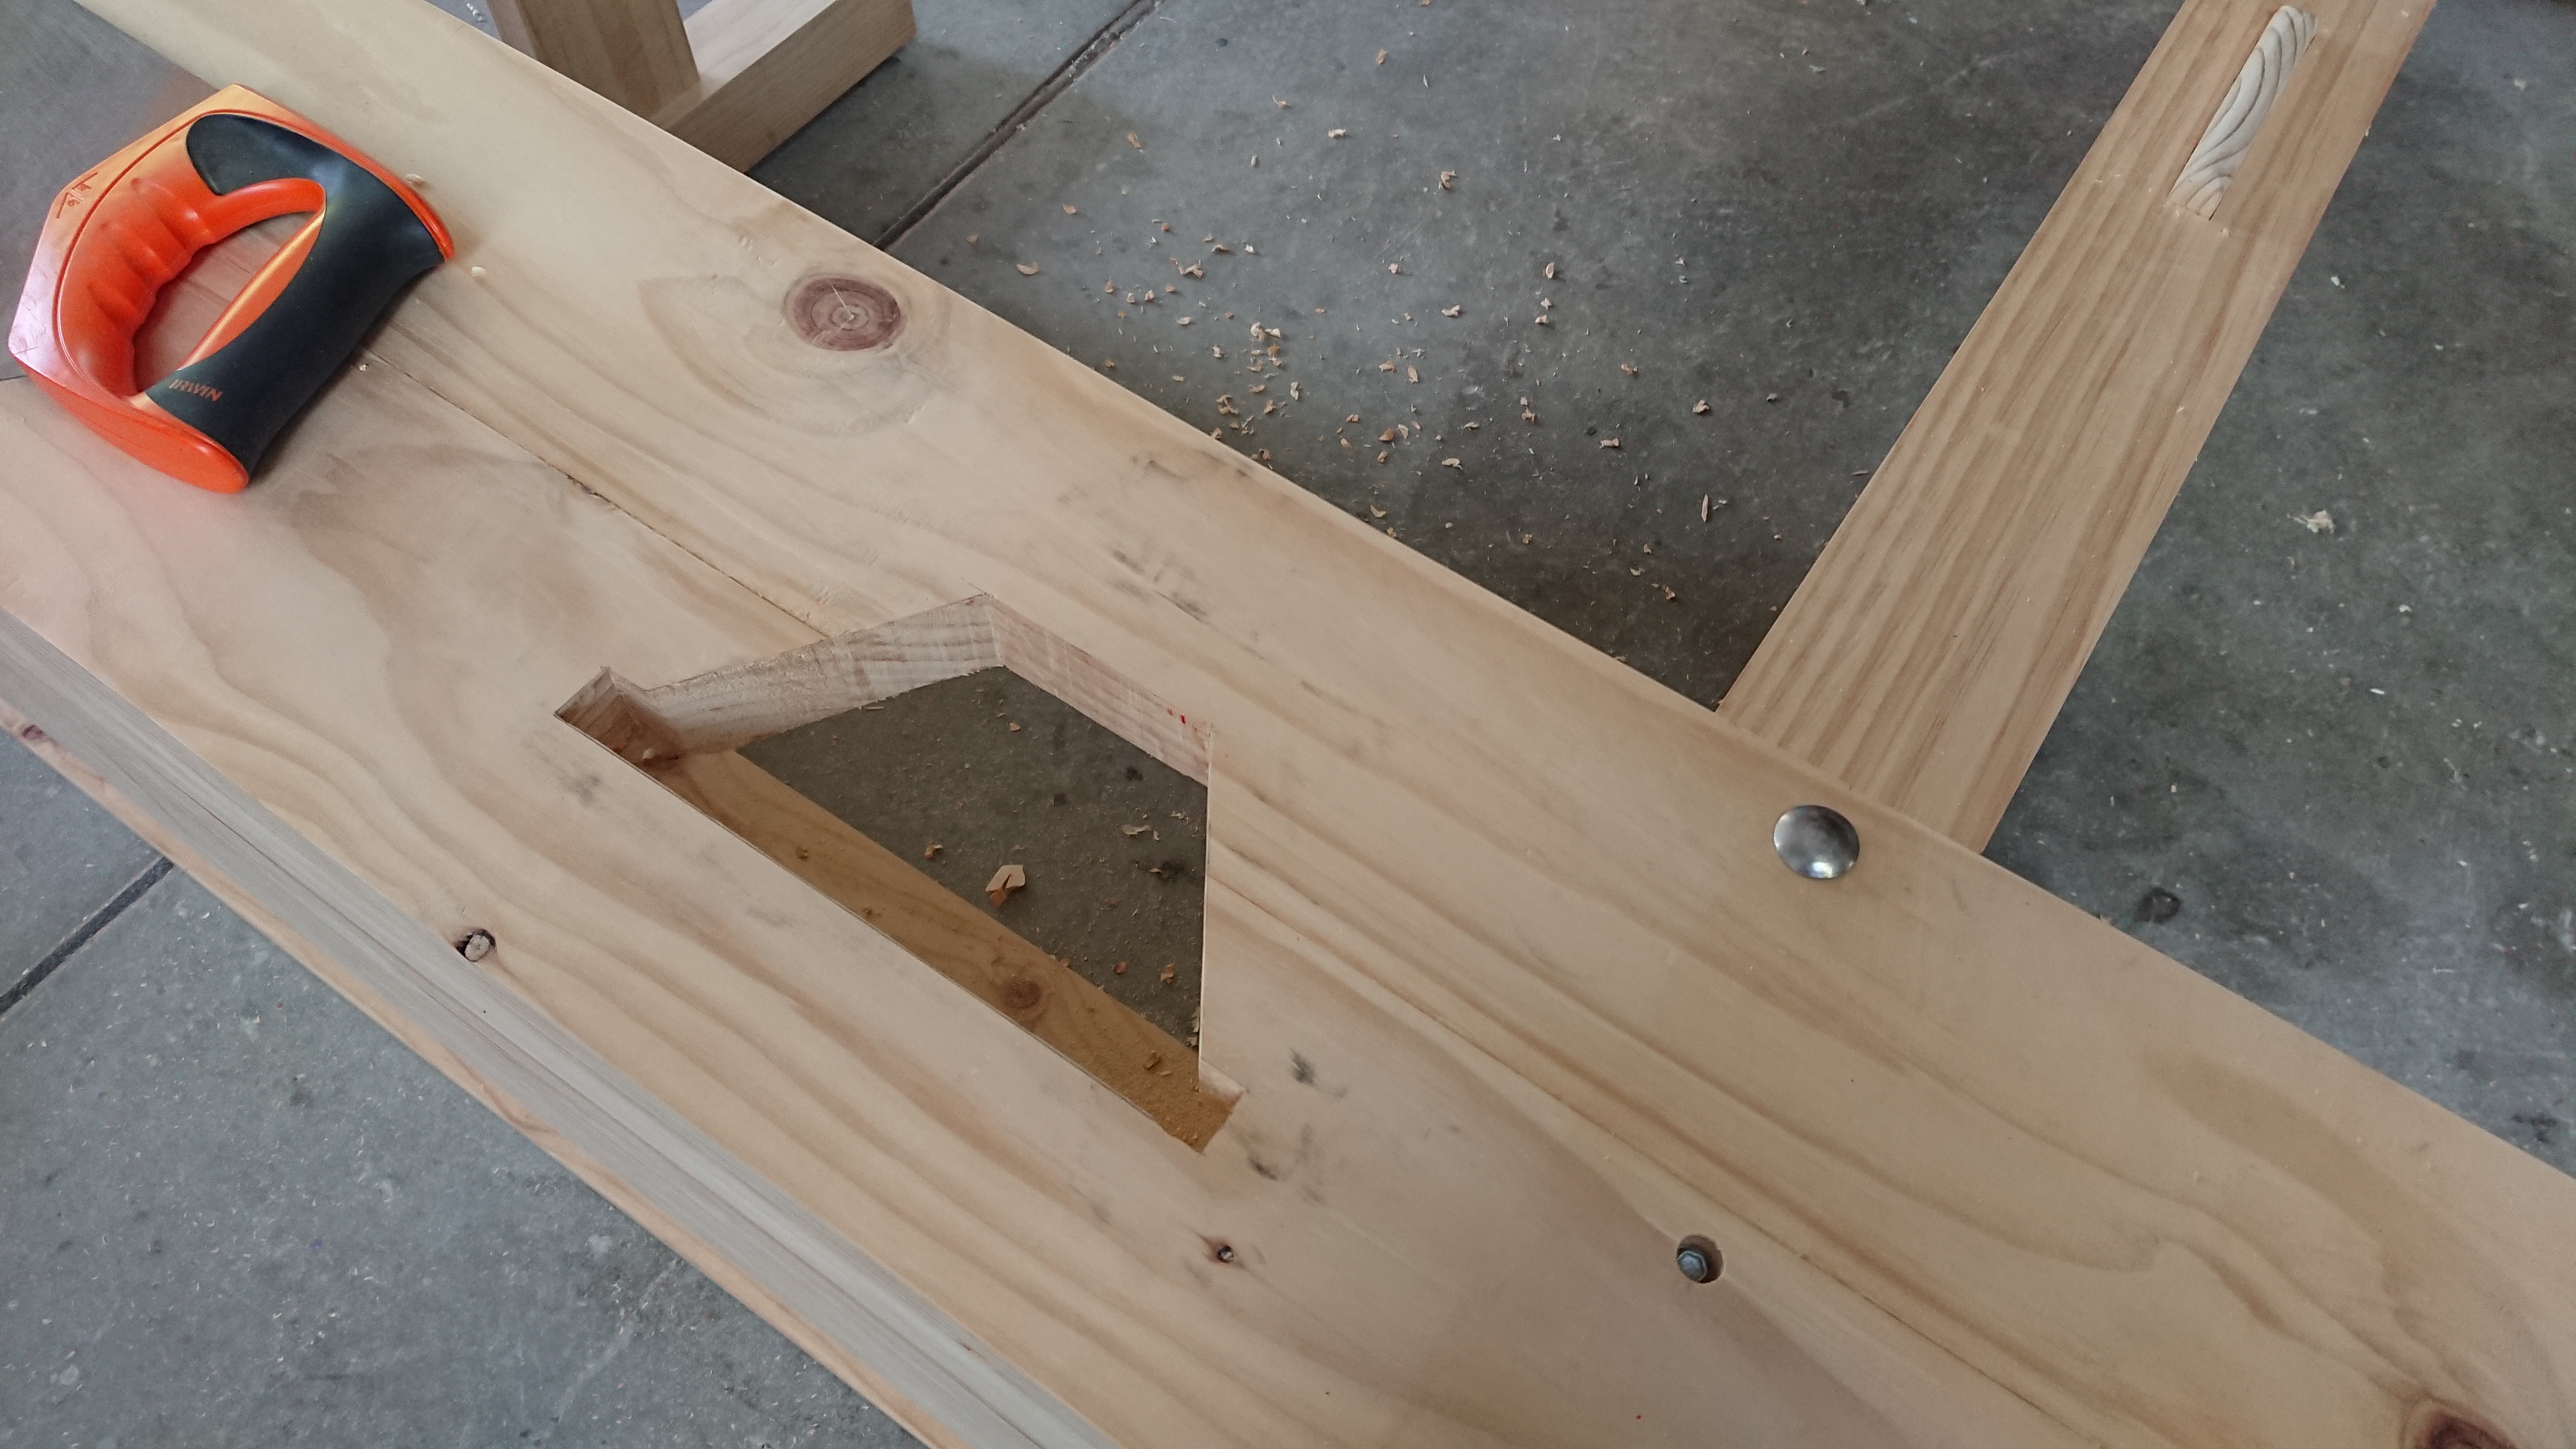
The jigsaw was pretty useful, but slow going. If I needed to make a similar cut in future, I would probably use the jigsaw just to establish enough of a cut for me to get my handsaw in, and use the handsaw the rest of the way as it is much faster.
Then it was just a matter of mounting the vise through the hole, installing a few screws and getting the bench back upright.
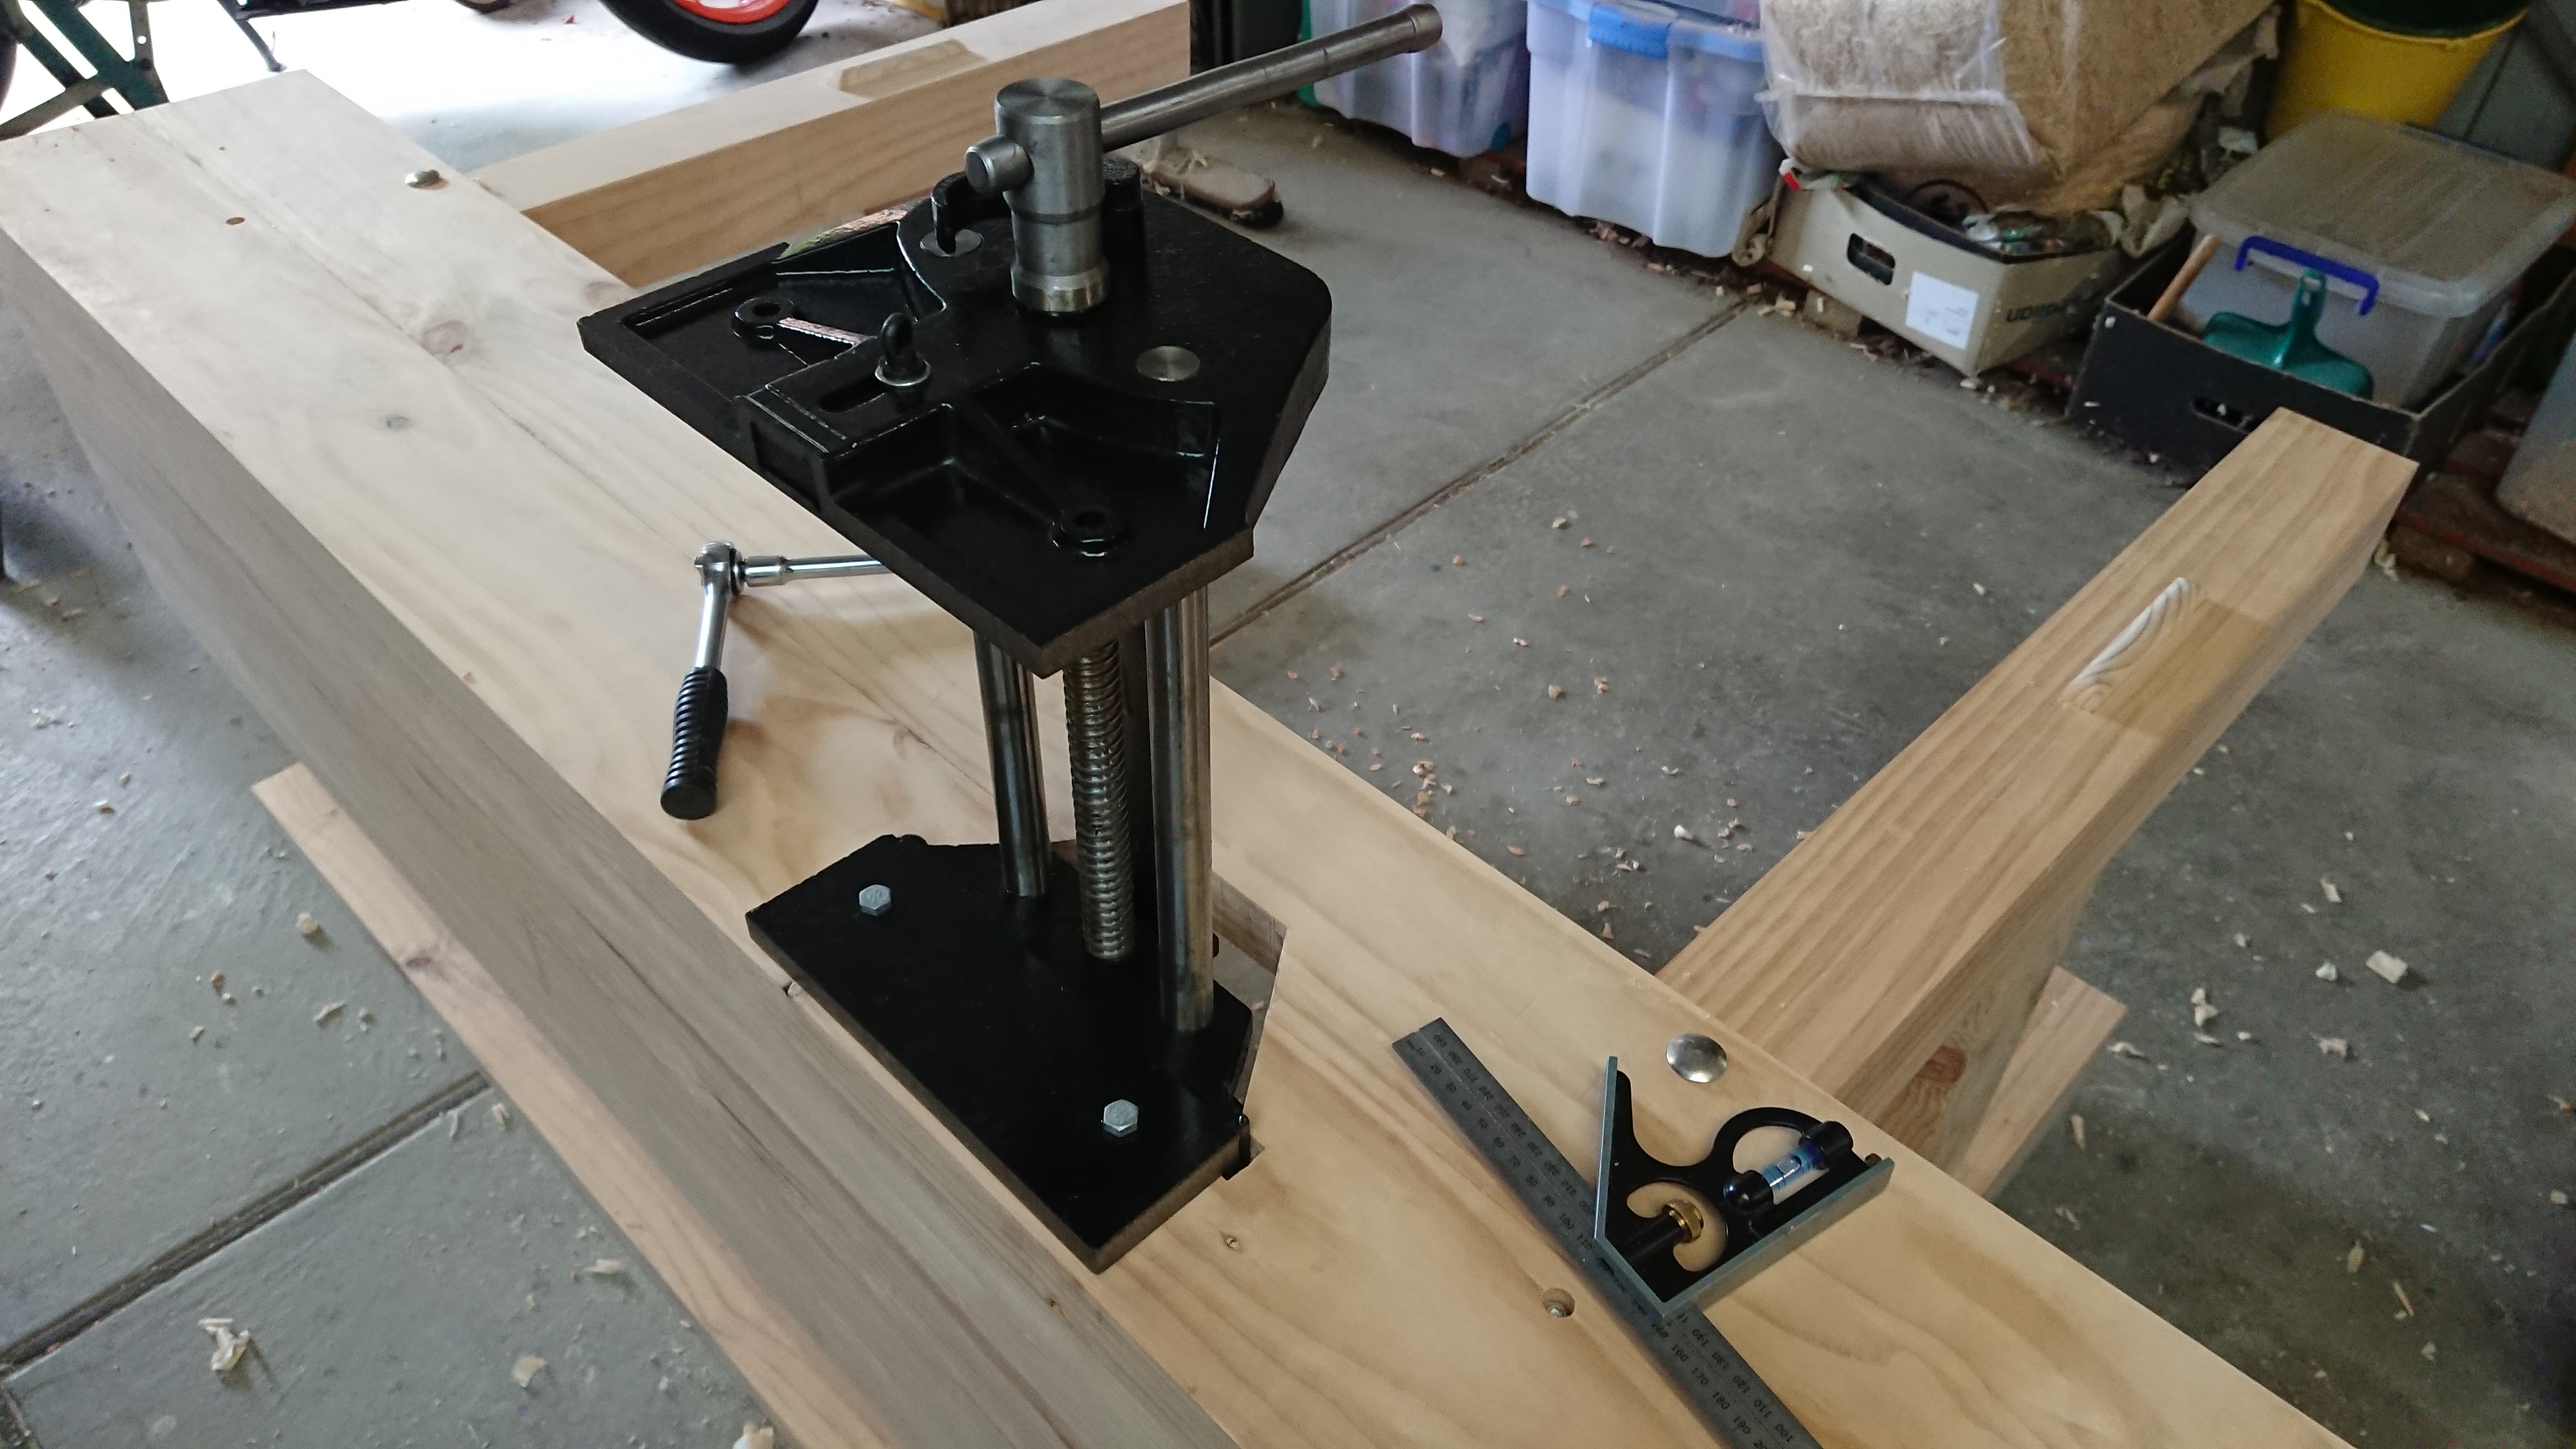
Now I just need to install the jaw liners in the vise to get it fully armed and operational. I had originally bought a piece of decking hardwood to be the vise liner, but on further consideration I decided that the grooves cut into the underside of the timber would look stupid and annoy me. So I need to source some plain 19 x 90mm hardwood for this task.
Lessons learned
Make sure your hands are fully clear before you trigger the quick release on a vise you’ve got sitting vertically. I got rid of a good amount of skin off my knuckle by failing to heed this lesson today.
What’s next
- Installing the vise liners.
- Making and installing the wedge retainers.
- Adding beading to the wellboard.