Fitting the first tenon
Over the last three weeks I’ve been slowly working away at fitting my first tenon.
First I needed to get all of my rail pieces cut to length and squared up. There was a bit of twist in the rails but it wasn’t too bad.
Next was laying out the tenons. I allowed enough length on the tenons to travel all the way through the mortise, plus another 12mm in addition to that. This allows for the lower rail to protrude slightly.
I cut all four rails to the same length initially, even though the top rails will end up being shorter, so that I could lay out all four tenons together, ensuring that the inner distance between the legs will be consistent across the rails.
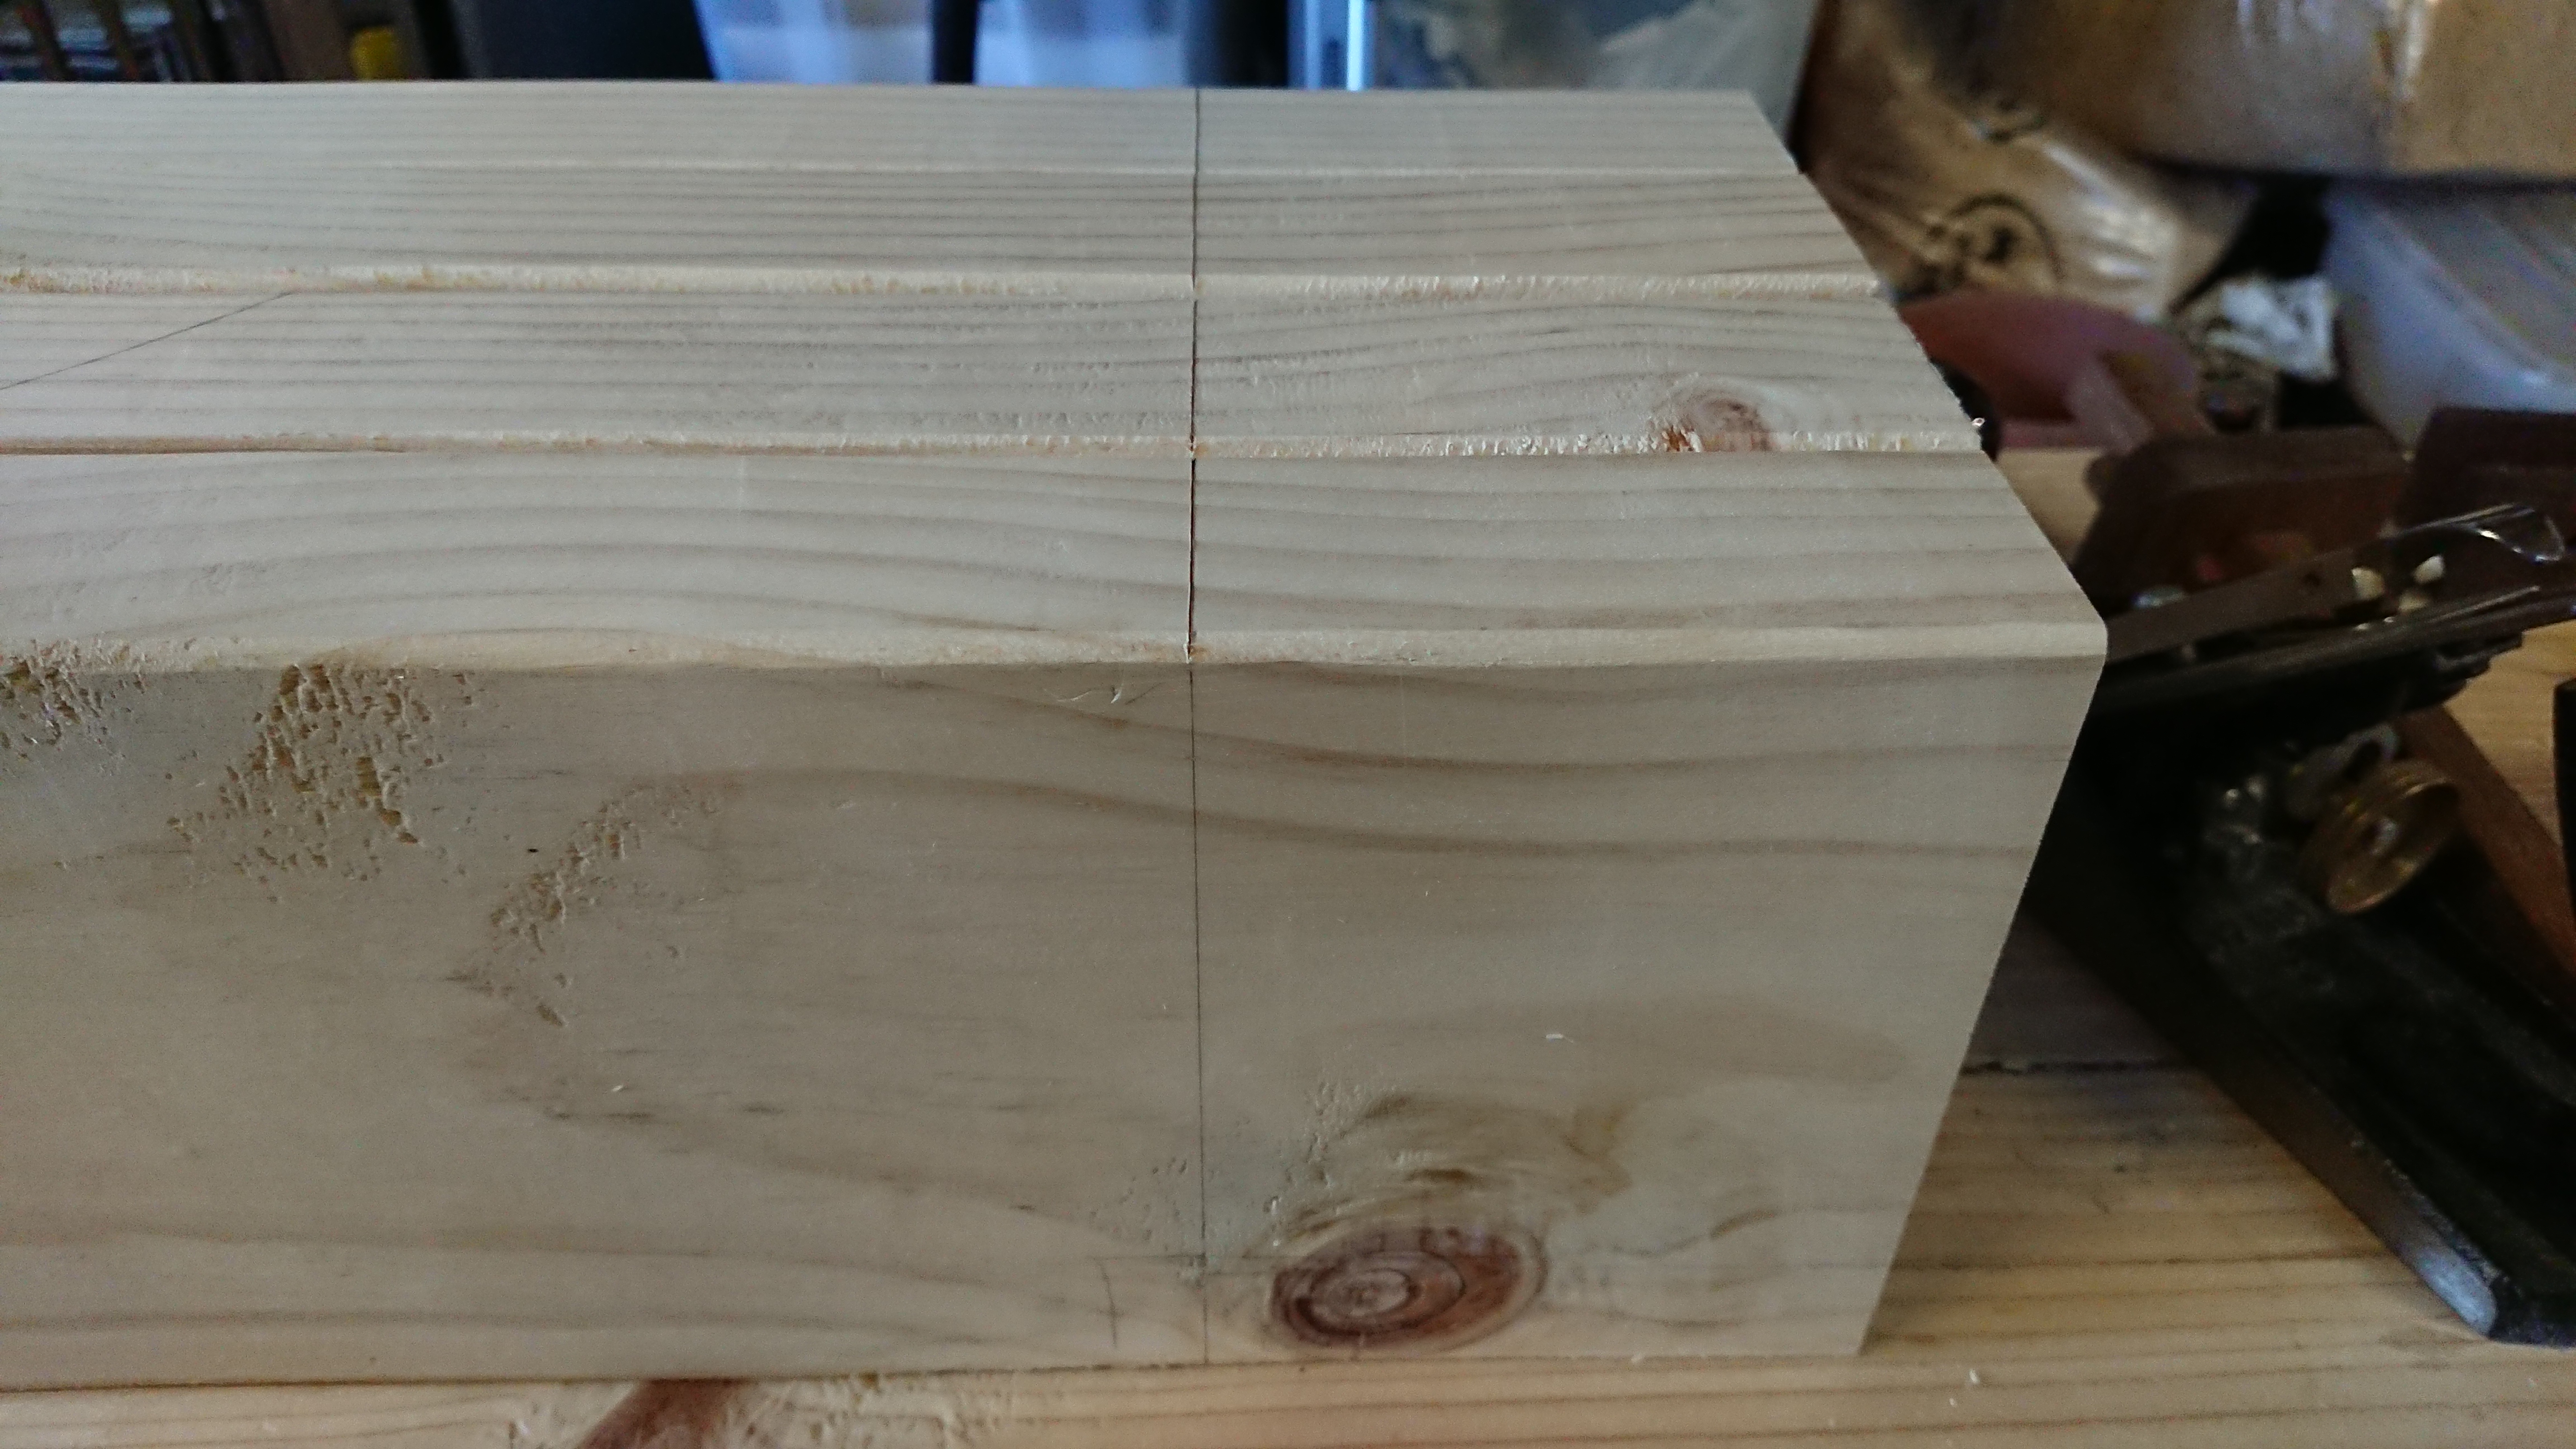
Then I got to work on cutting the first tenon on my left top rail. That’s when I discovered that my tenon saw was not big enough to cut down a 102mm tenon cheek! So after going down as deeply as I could with the tenon saw, I finished the cut with my normal hand saw. That’s not optimal, especially when trying to keep the cutting edge of the saw perfectly level so that I don’t cut into the shoulder, but I did get there in the end.
You can see there is a troublesome knot in the wood travelling right across the edge of the shoulder, and through the tenon itself. More on that later.
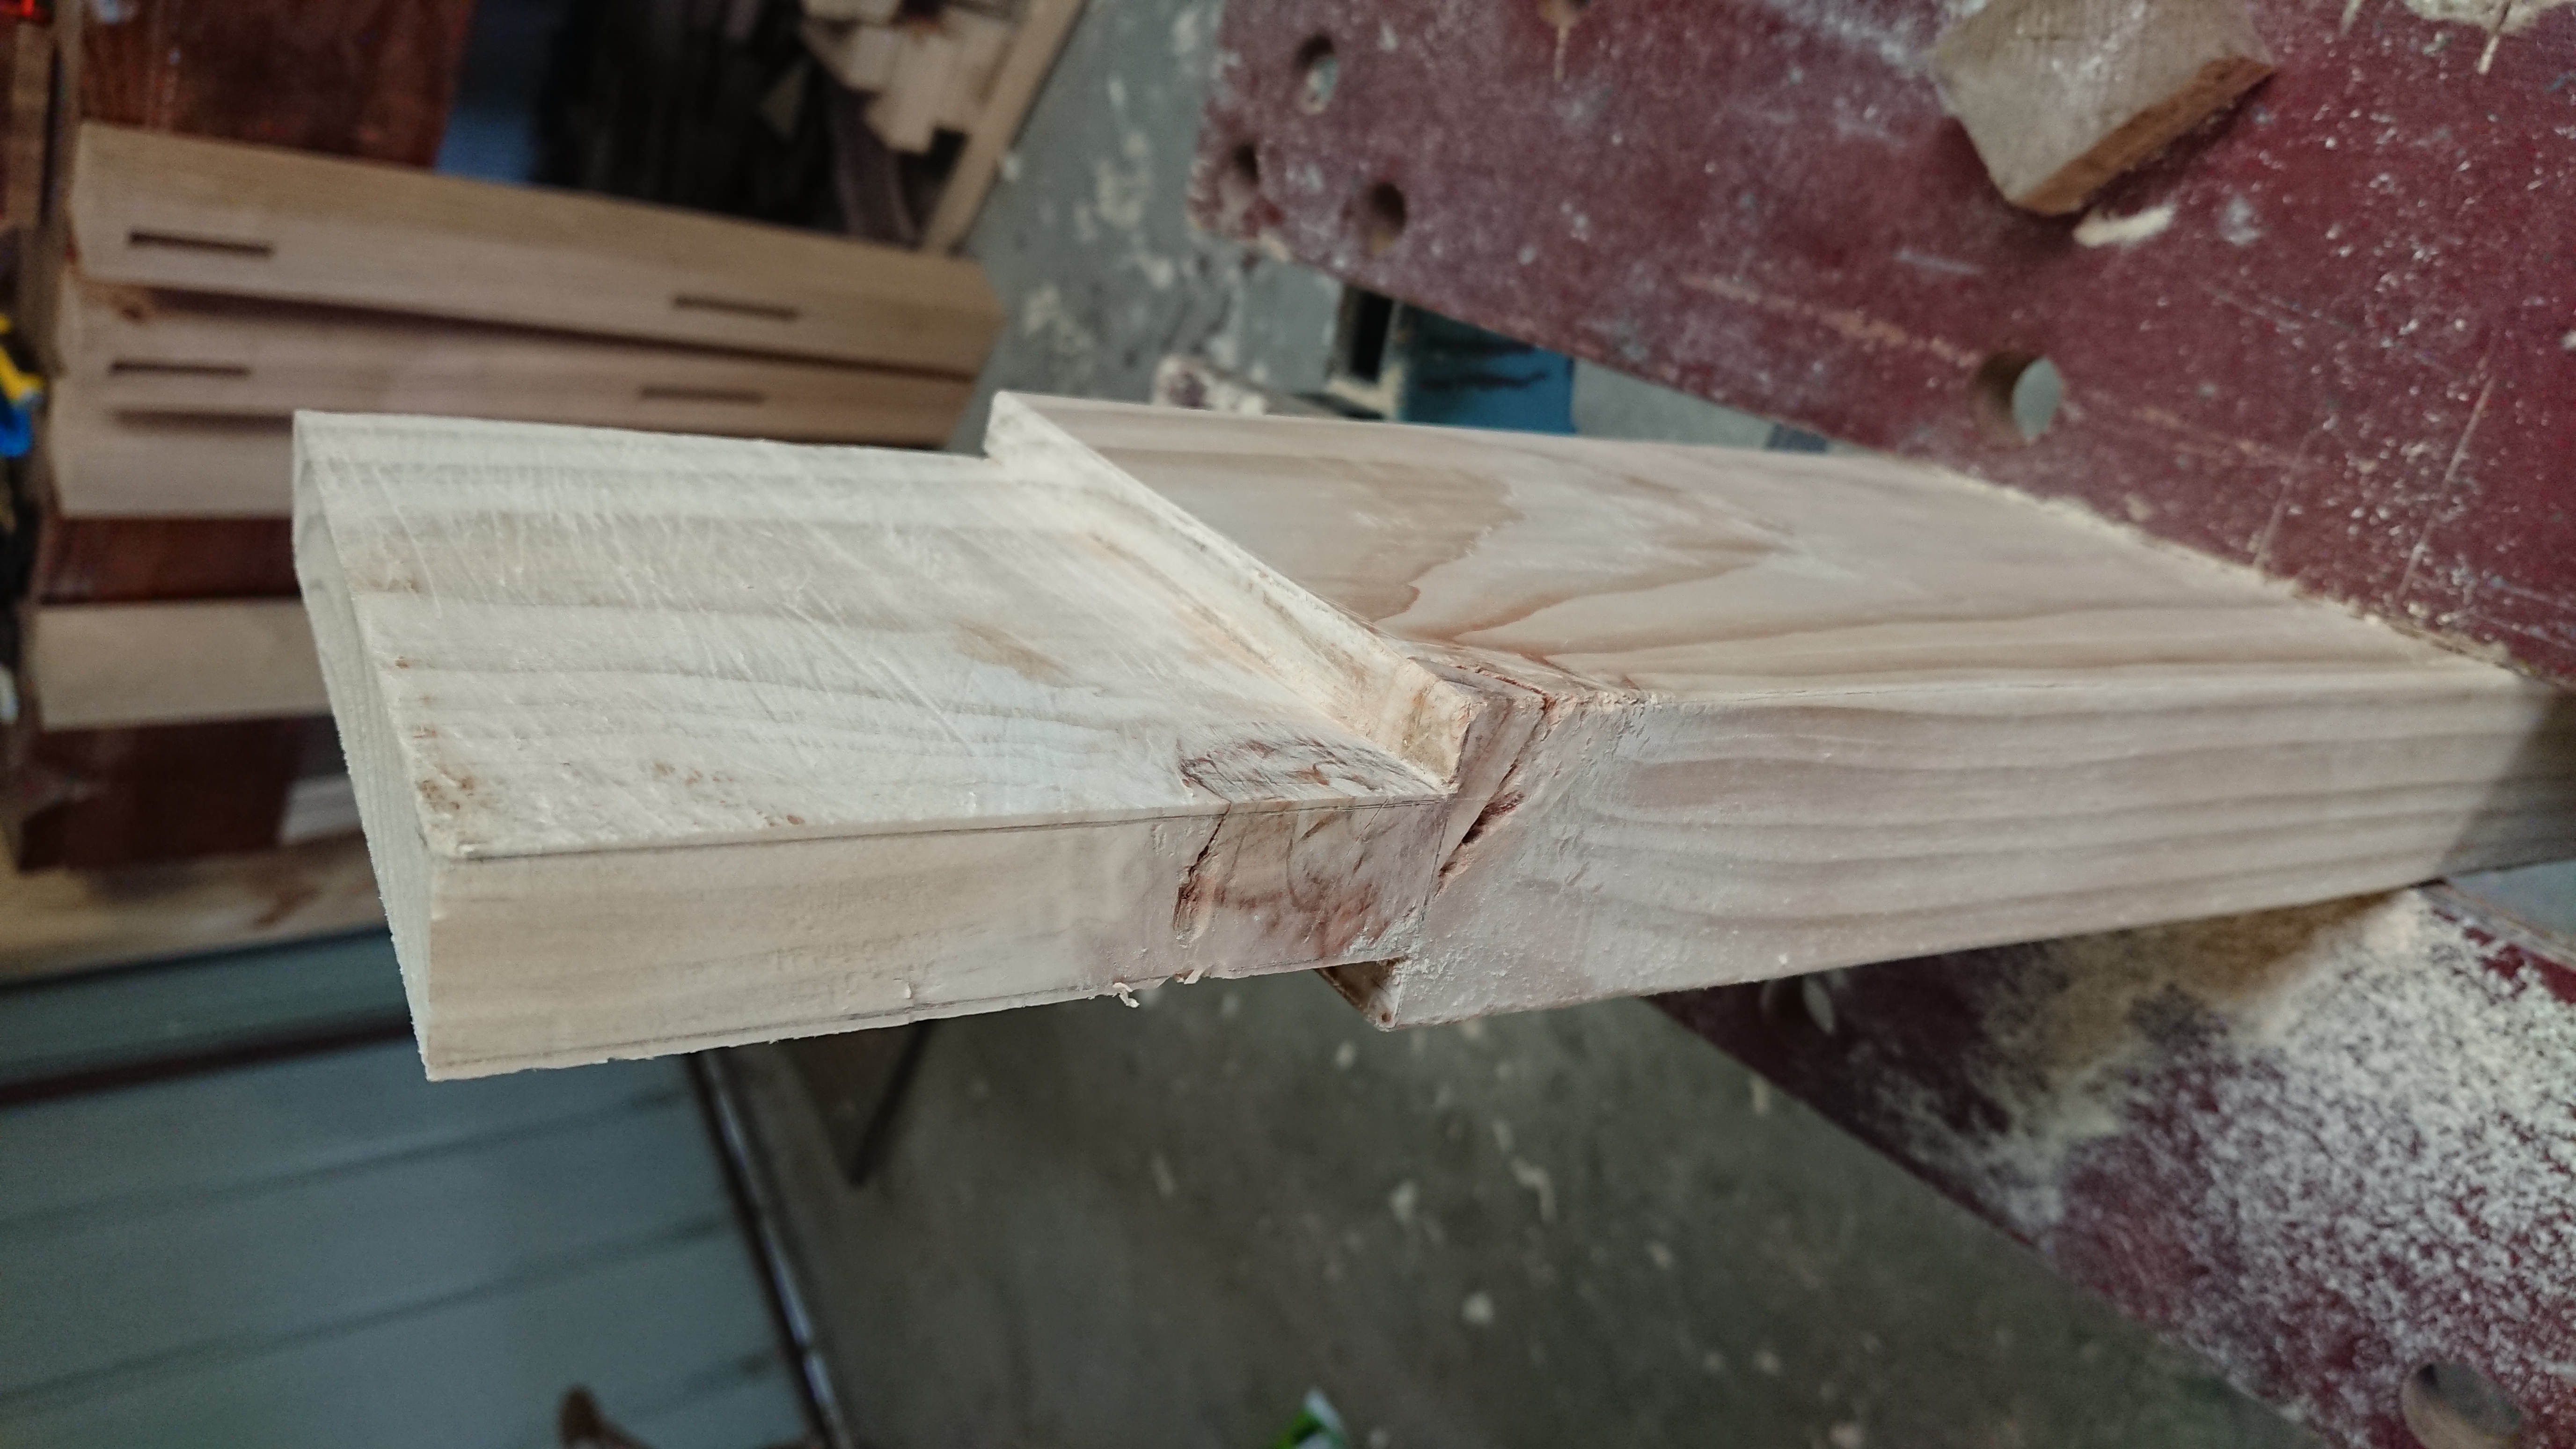
After spending a bunch of time rebuilding my poor man’s routing plane and then planing down the cheeks, I became frustrated with how hard it was to smoothly plane through the knot. So I decided to cut away the top section of the tenon earlier than I otherwise would. This did make my life easier on trimming the tenon down to the right thickness, but on the downside, I had to recreate my marking lines on the new surface, which surely was not as accurate as the original lines.
Eventually I had shaved off enough material that the tenon was able to seat into the mortise. It was pretty smooth going until halfway down, where I encountered the slight “kink” in the mortise where the two holes met. This really made it difficult to push the tenon through. I was able to get the tenon to go further by wailing on it with a hammer, but eventually decided this was not healthy, and went back to the mortise to work on further smoothing down the walls.
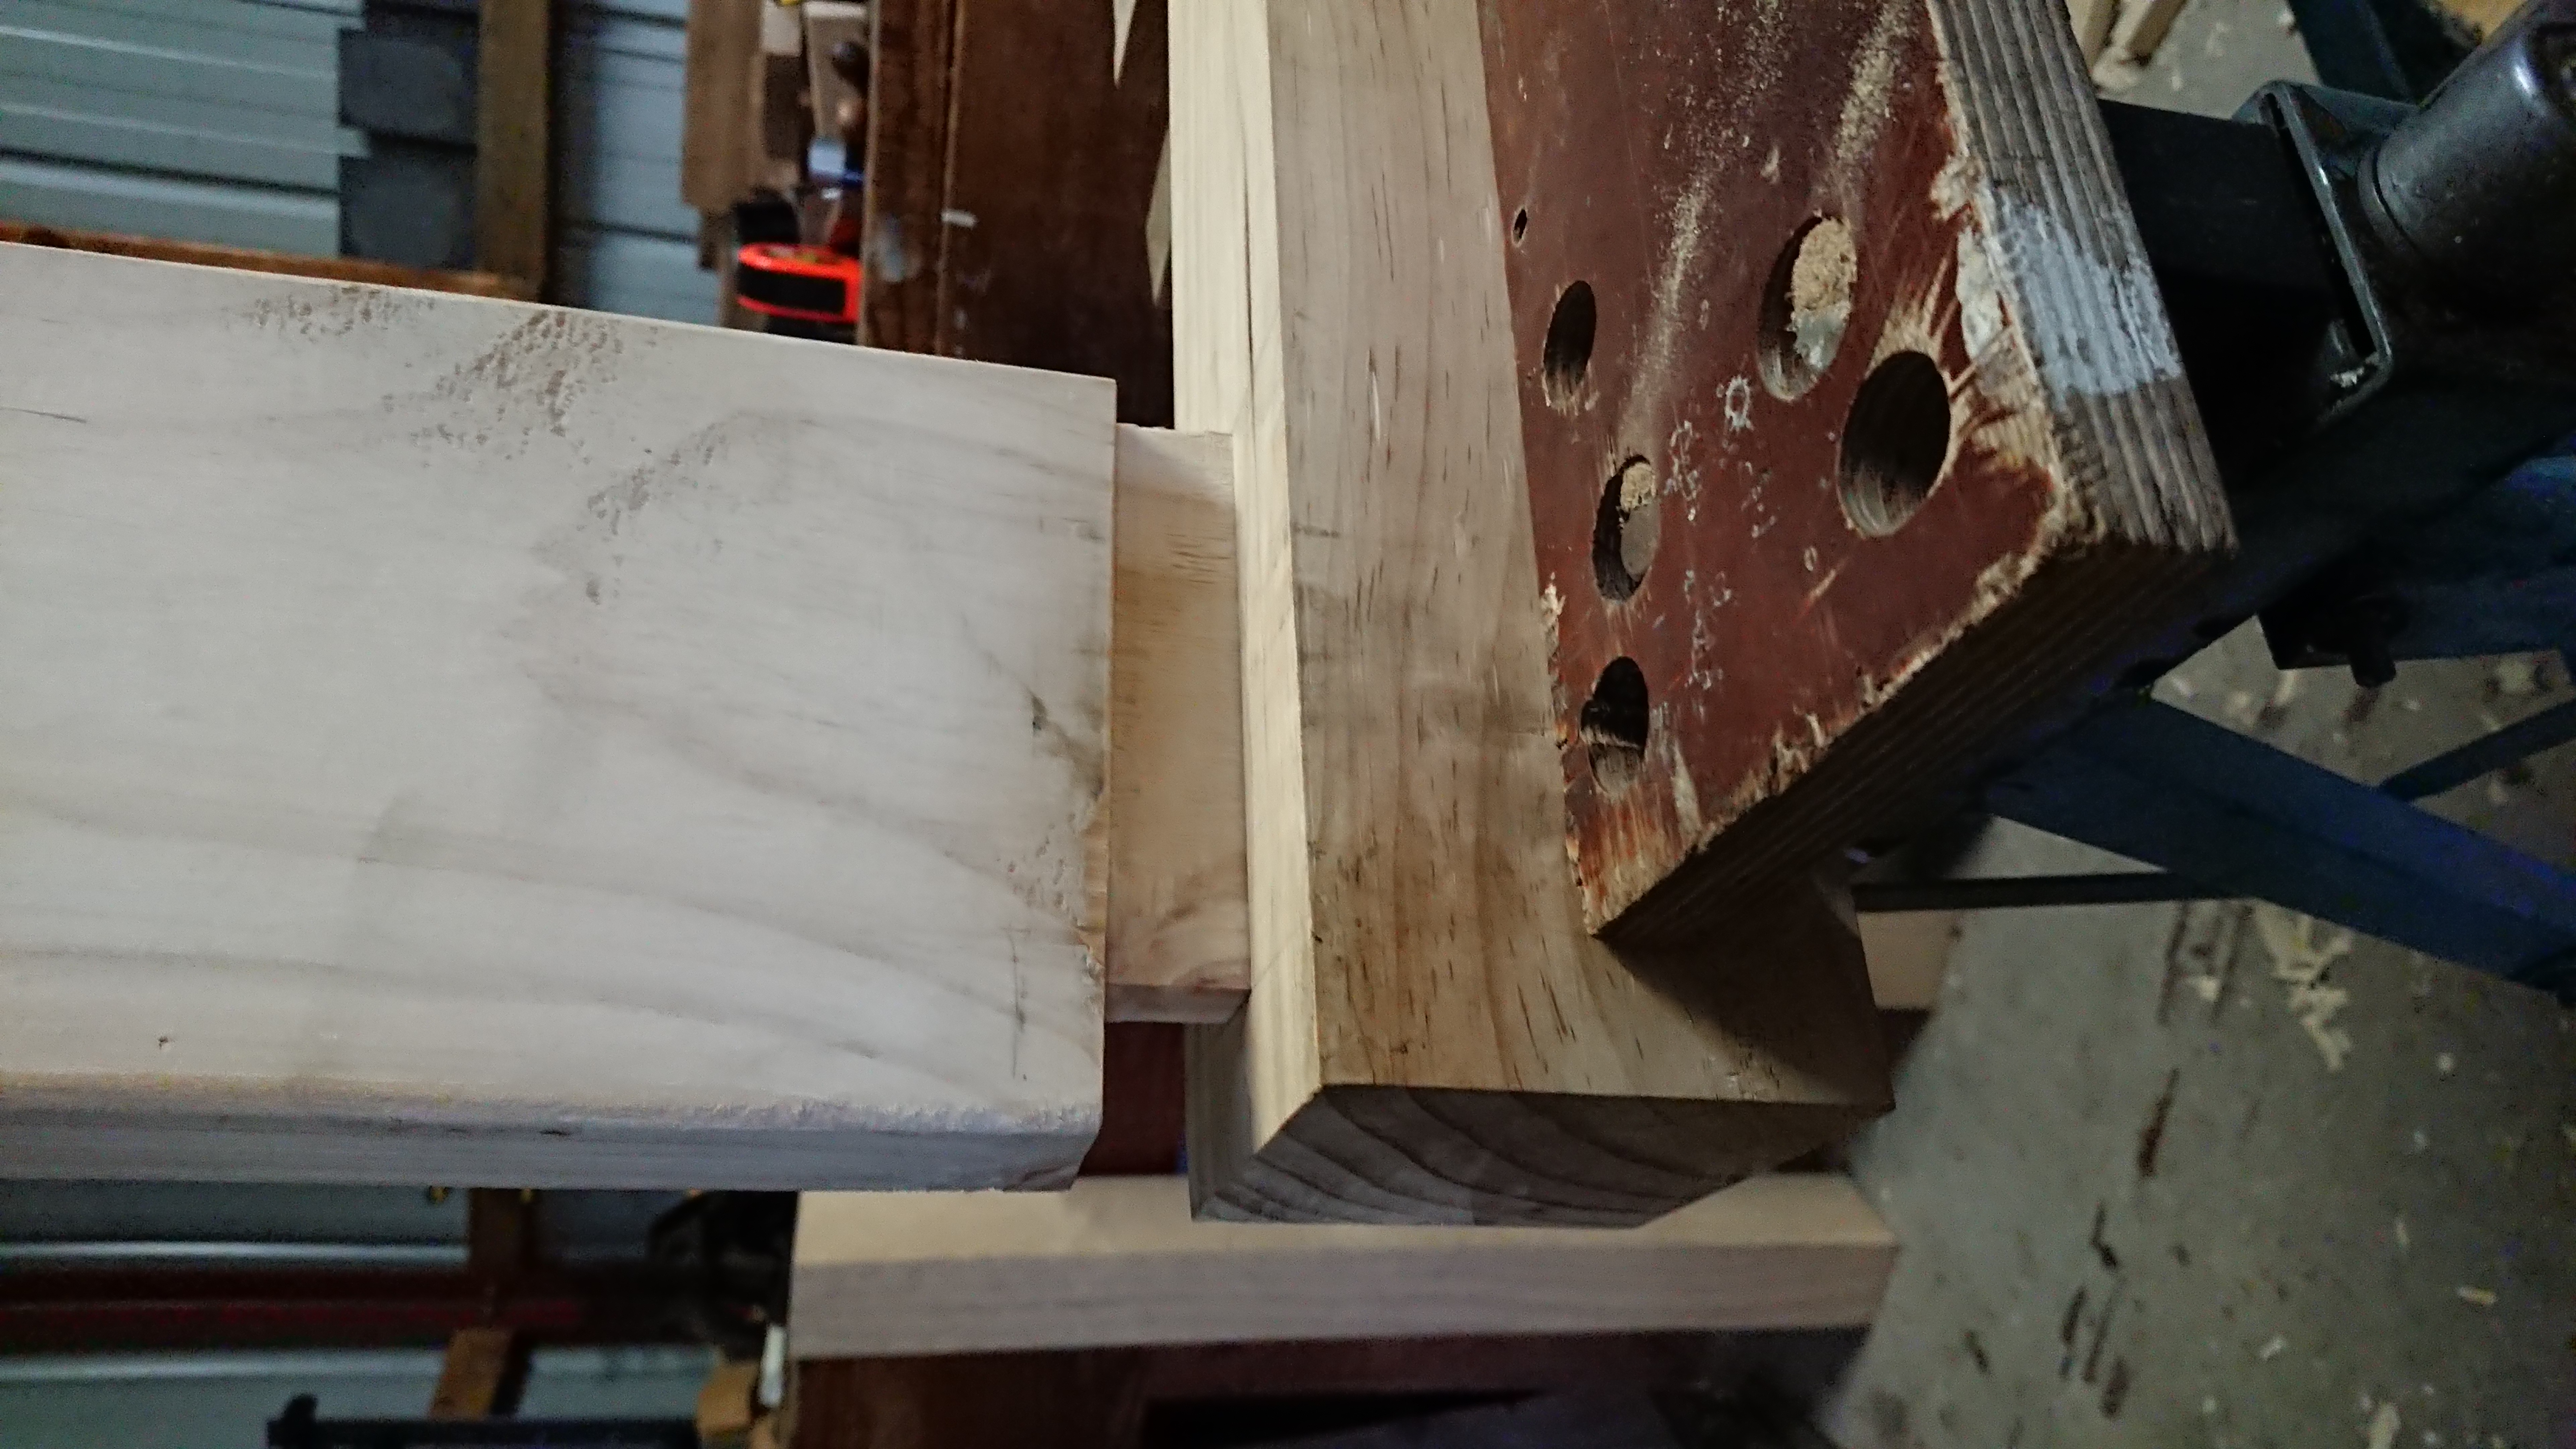
After a lot of sweat and a lot of chisel work, the tenon finally went all the way down without requiring violent force.

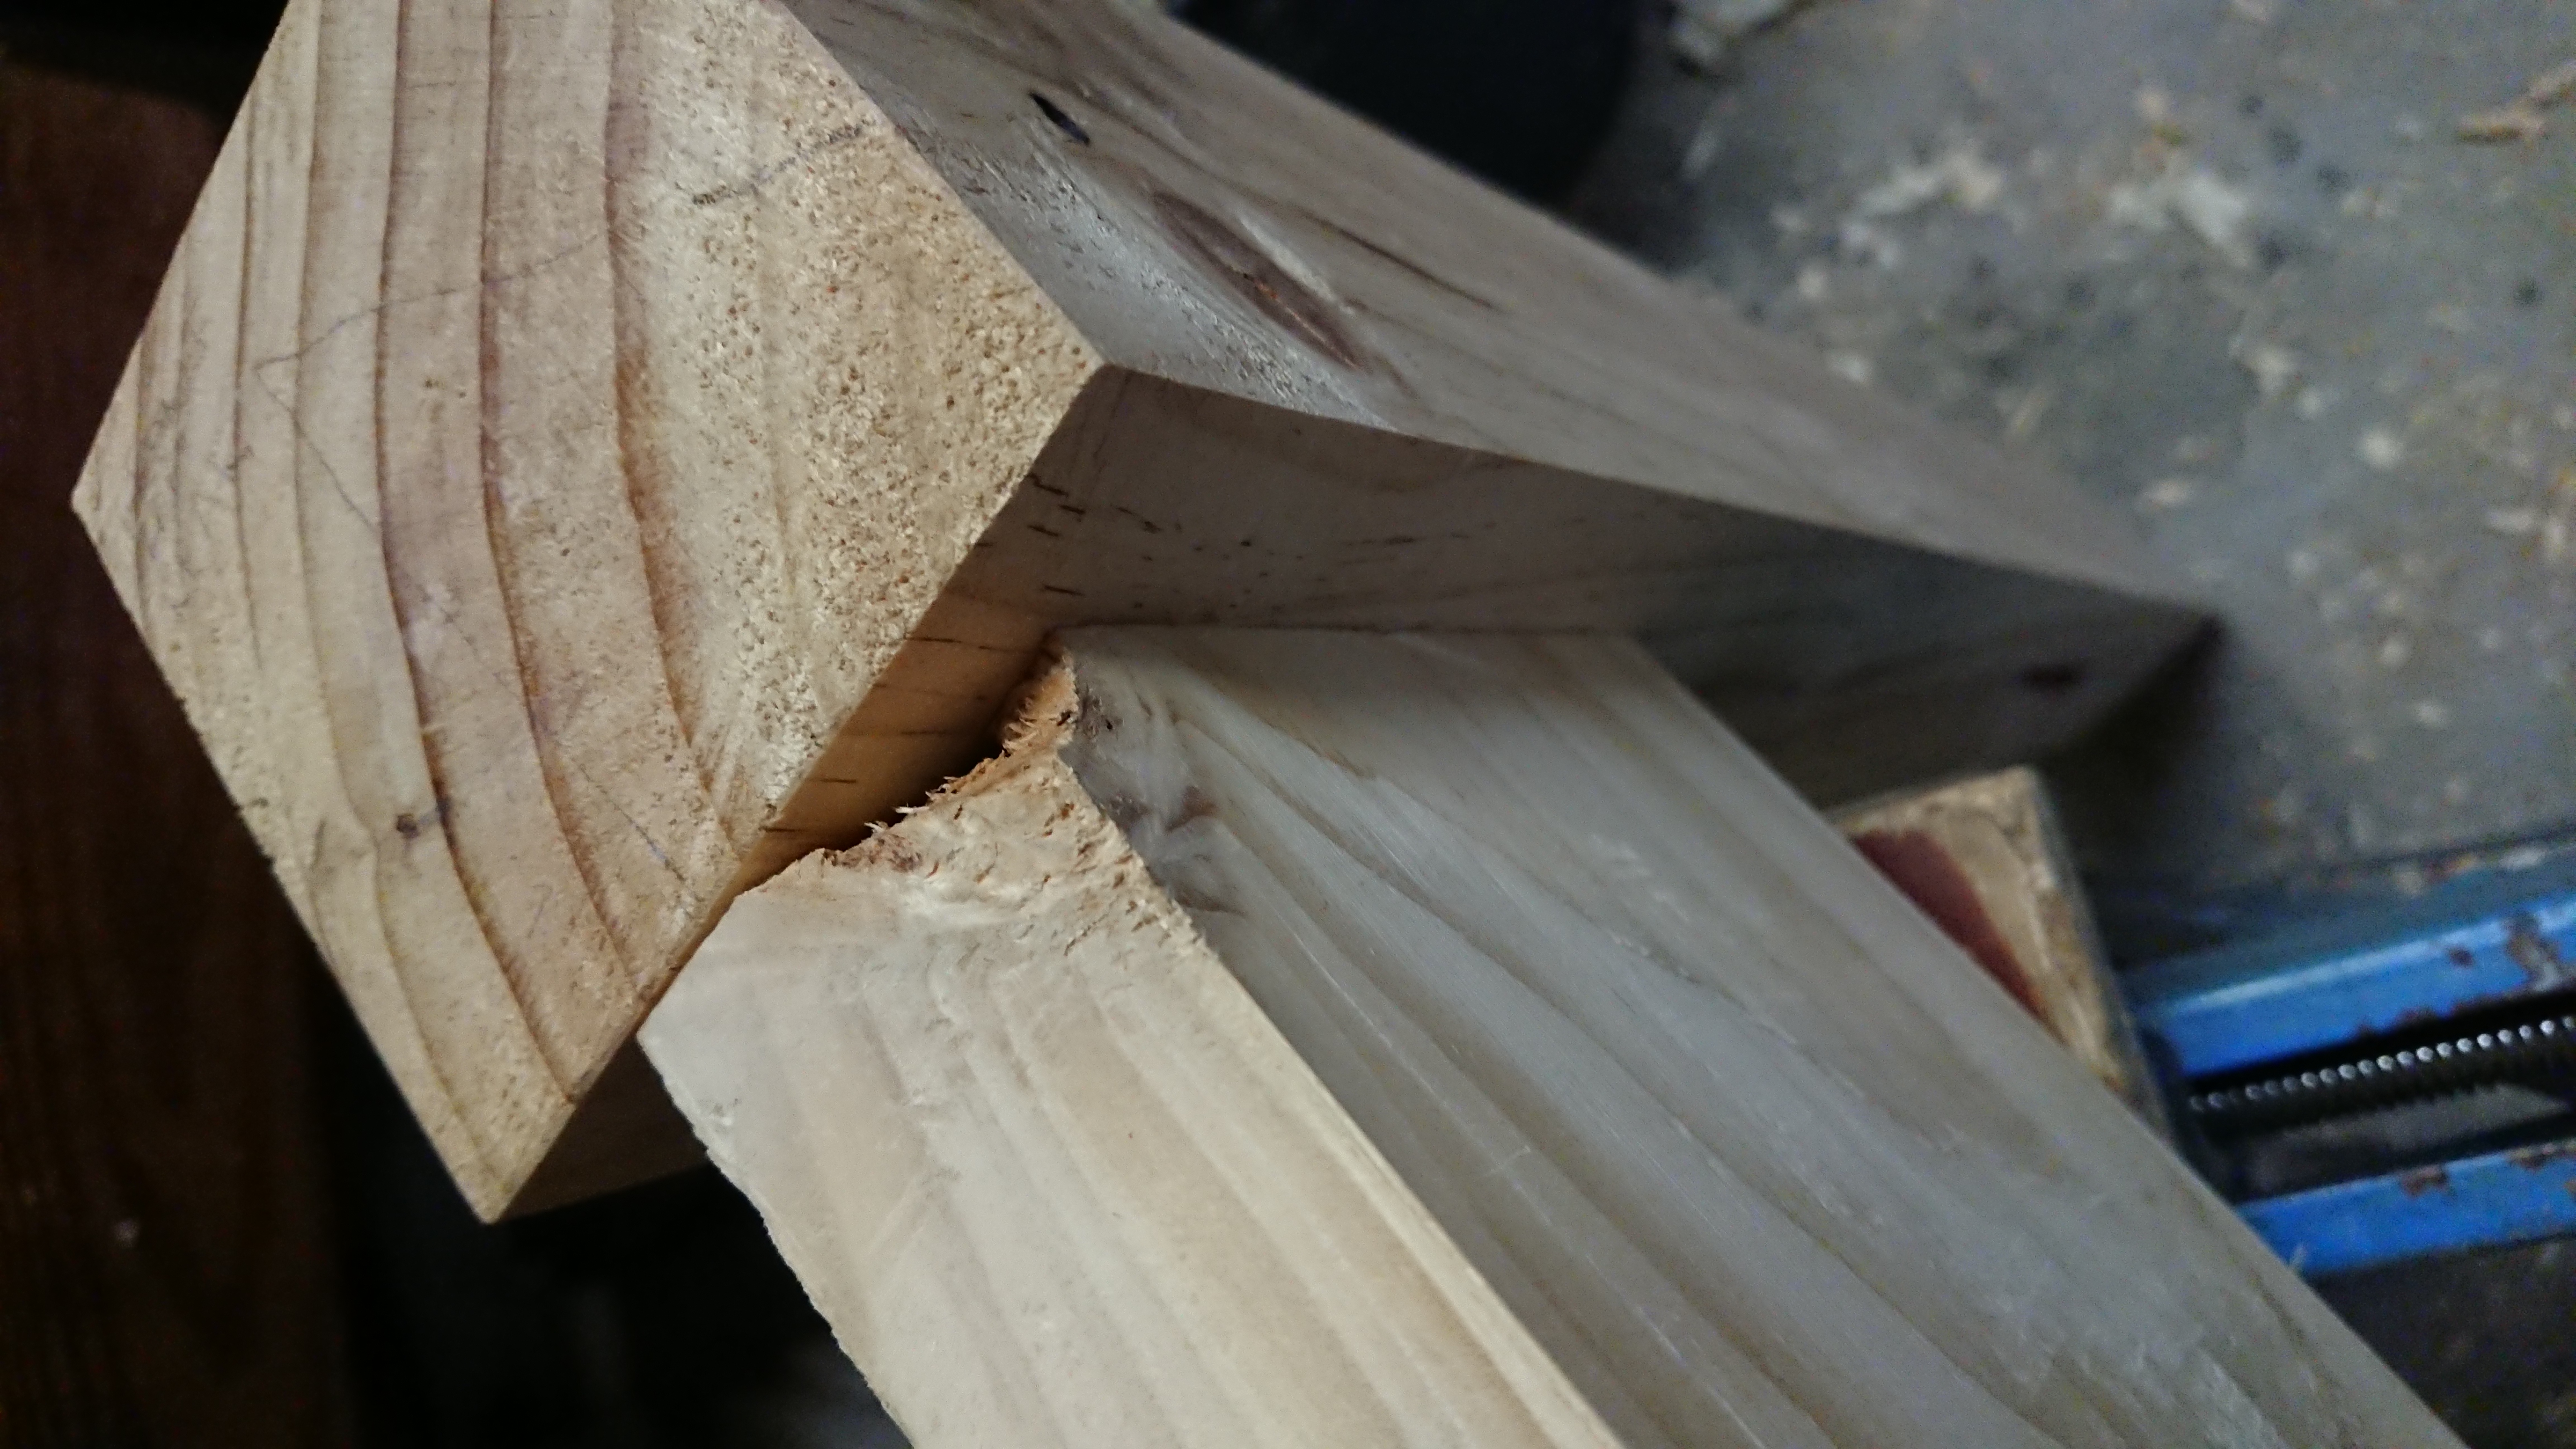
You can see in the last picture that while I was working on fitting the tenon, that knot in the shoulder did indeed break out completely, leaving an unsightly void in the joint. I don’t think this will have much impact on the strength of the joint given how massive it is, but it does look pretty stupid.
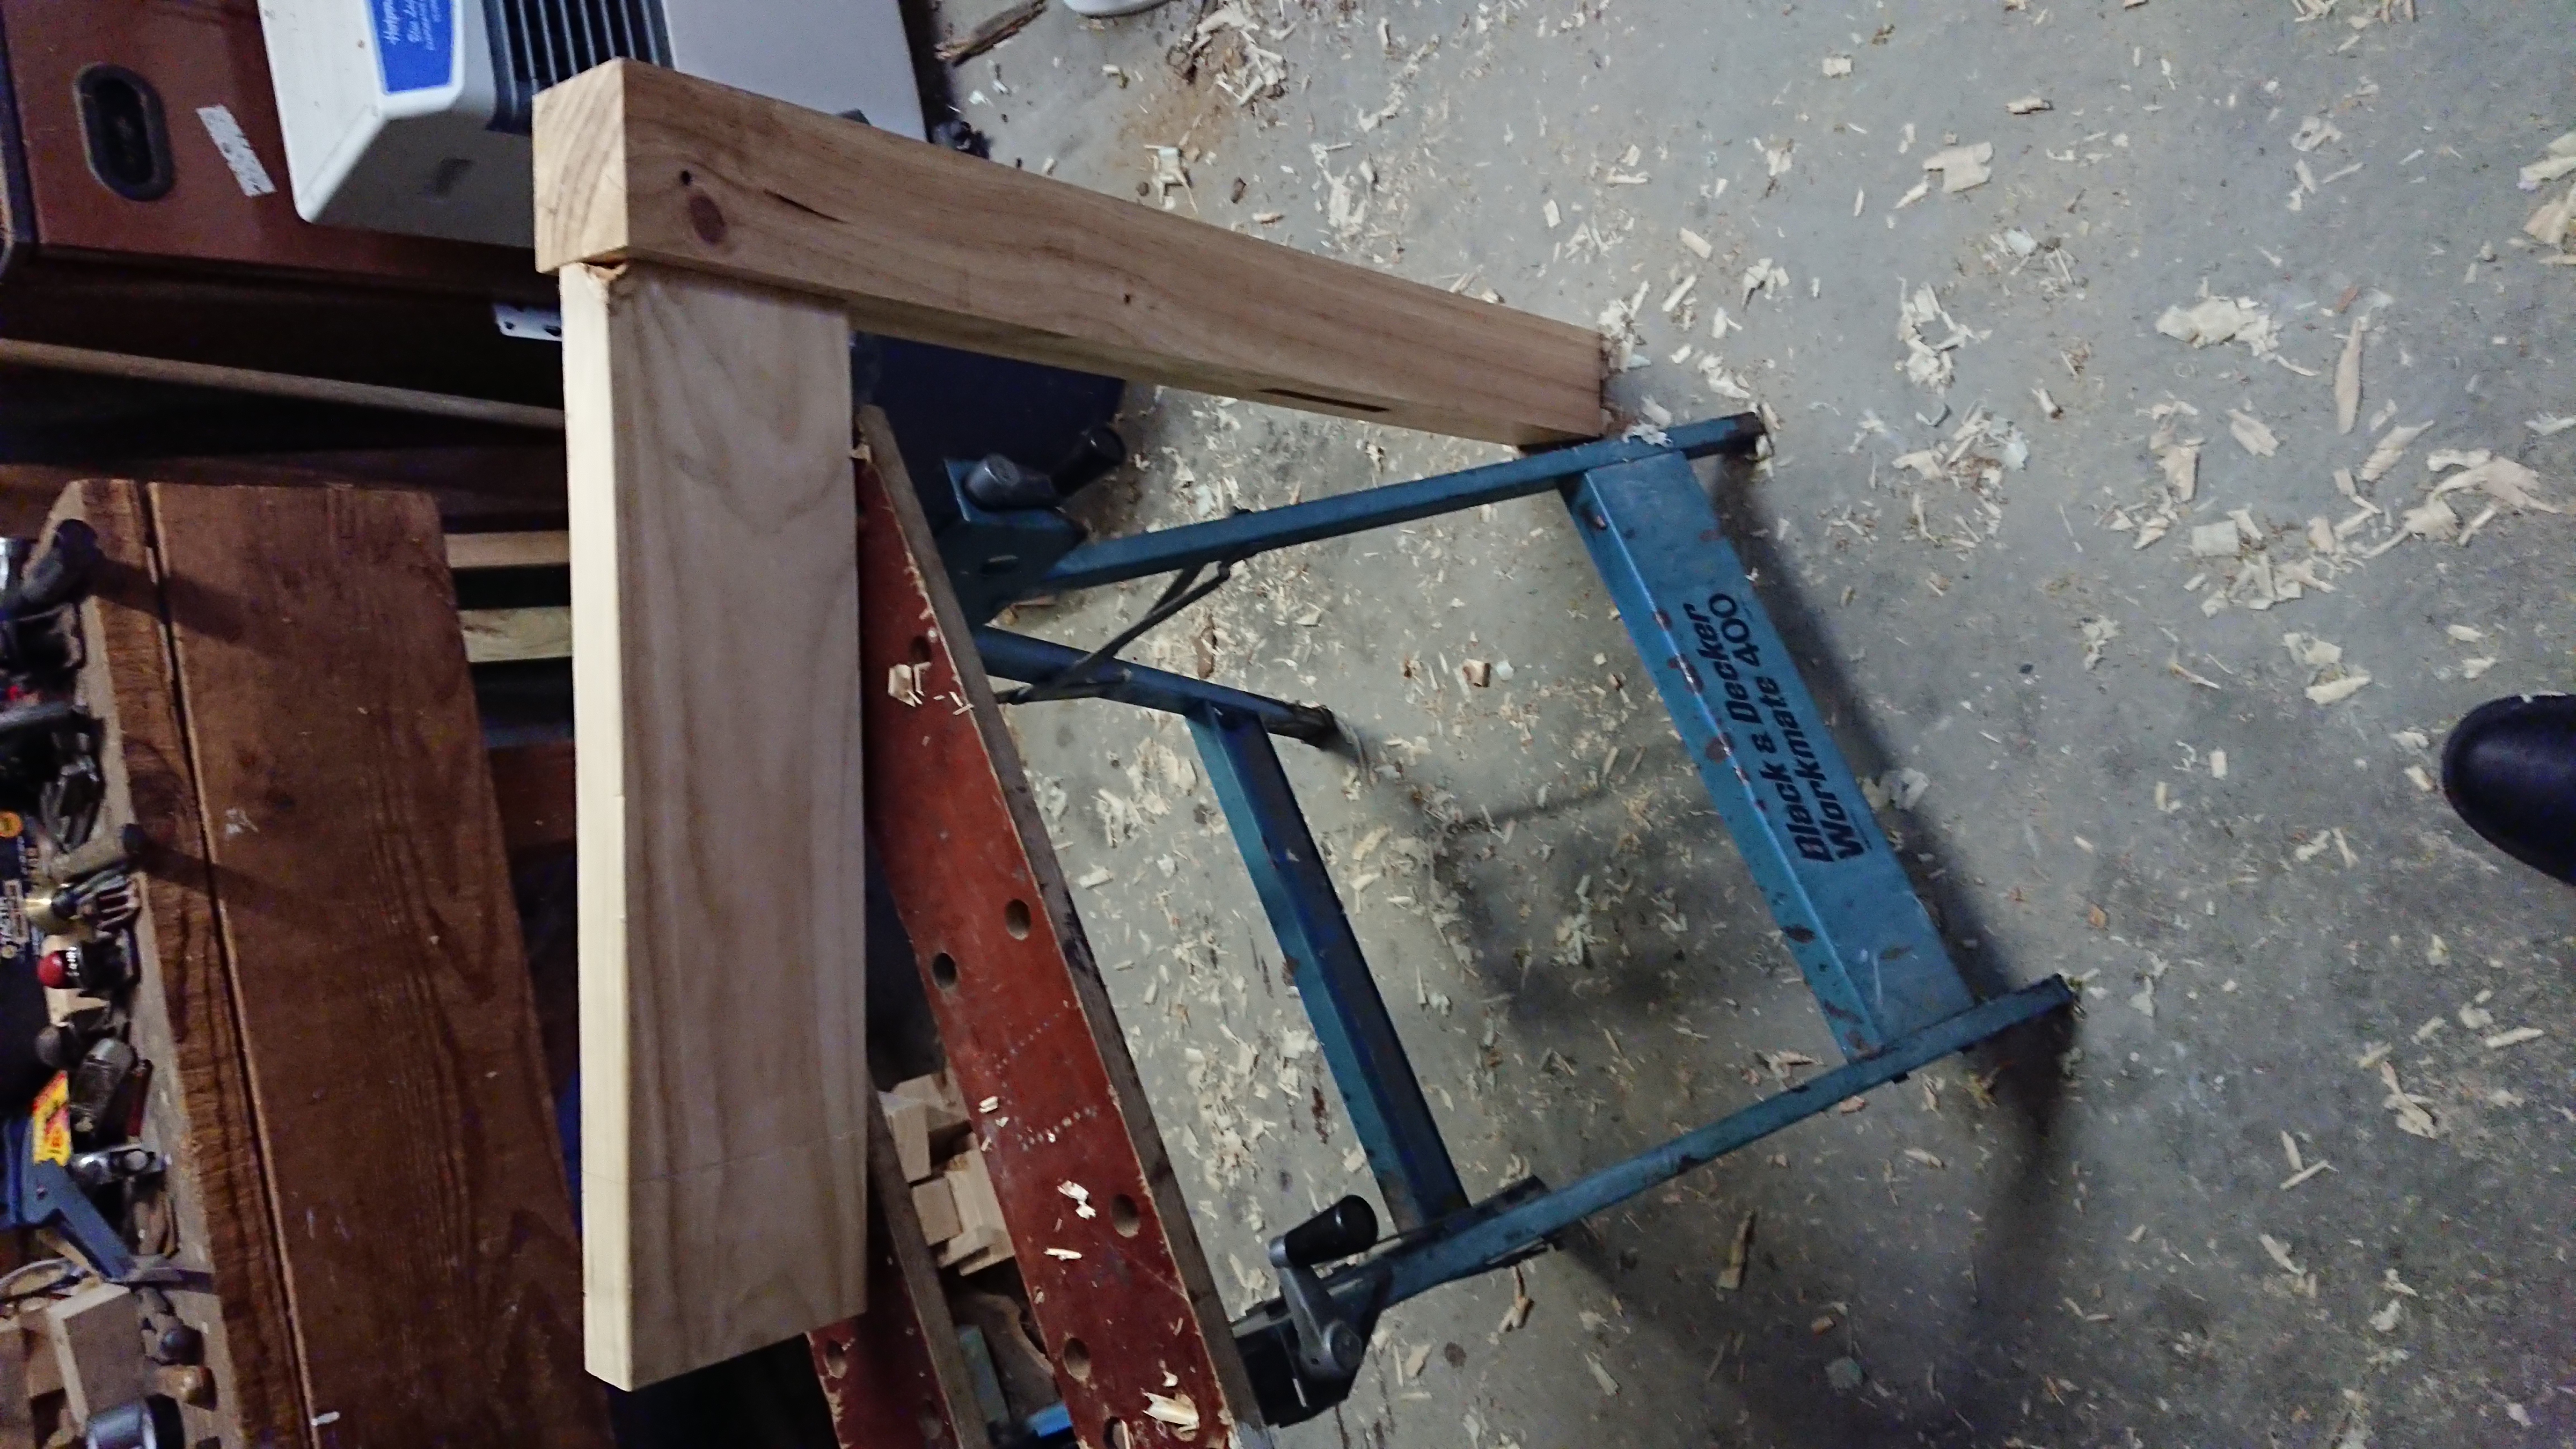
Another problem I had was that one shoulder of the tenon met flush with the leg while the other was not quite seated, there was a decent sized gap of around 1mm on one shoulder. It took me quite a lot of head-scratching and measuring, but eventually I worked out that this was mostly due to the inner face of the leg not being square to the reference face. So I went back to the plane and worked on squaring up that face. The final result still had a bit of a gap on one shoulder, but much less than what I had originally.
So overall, not a pretty result, but I’m still very excited to have finally completed the first major piece of joinery on this project!
Only seven more to go 😩
Lessons learned
- I was a little too conservative on leaving the tenon fat with my initial saw cuts, which meant I had a lot of extra work to do in trimming it down to fit the mortise. Next time I think I’ll go a little closer to the line.
- There’s no point trying to fit the tenon until the mortise walls are completely out of the way.
- Knots in pine are brittle and tend to break off.
What’s next
Cutting and fitting the tenon at the other end of the left top rail.