Fitting the second tenon
For the second tenon, looking at the grain direction I decided it was worth trying to split off one side instead of sawing it. Apart from a knotty section at the end, I think that ended up being a good call.
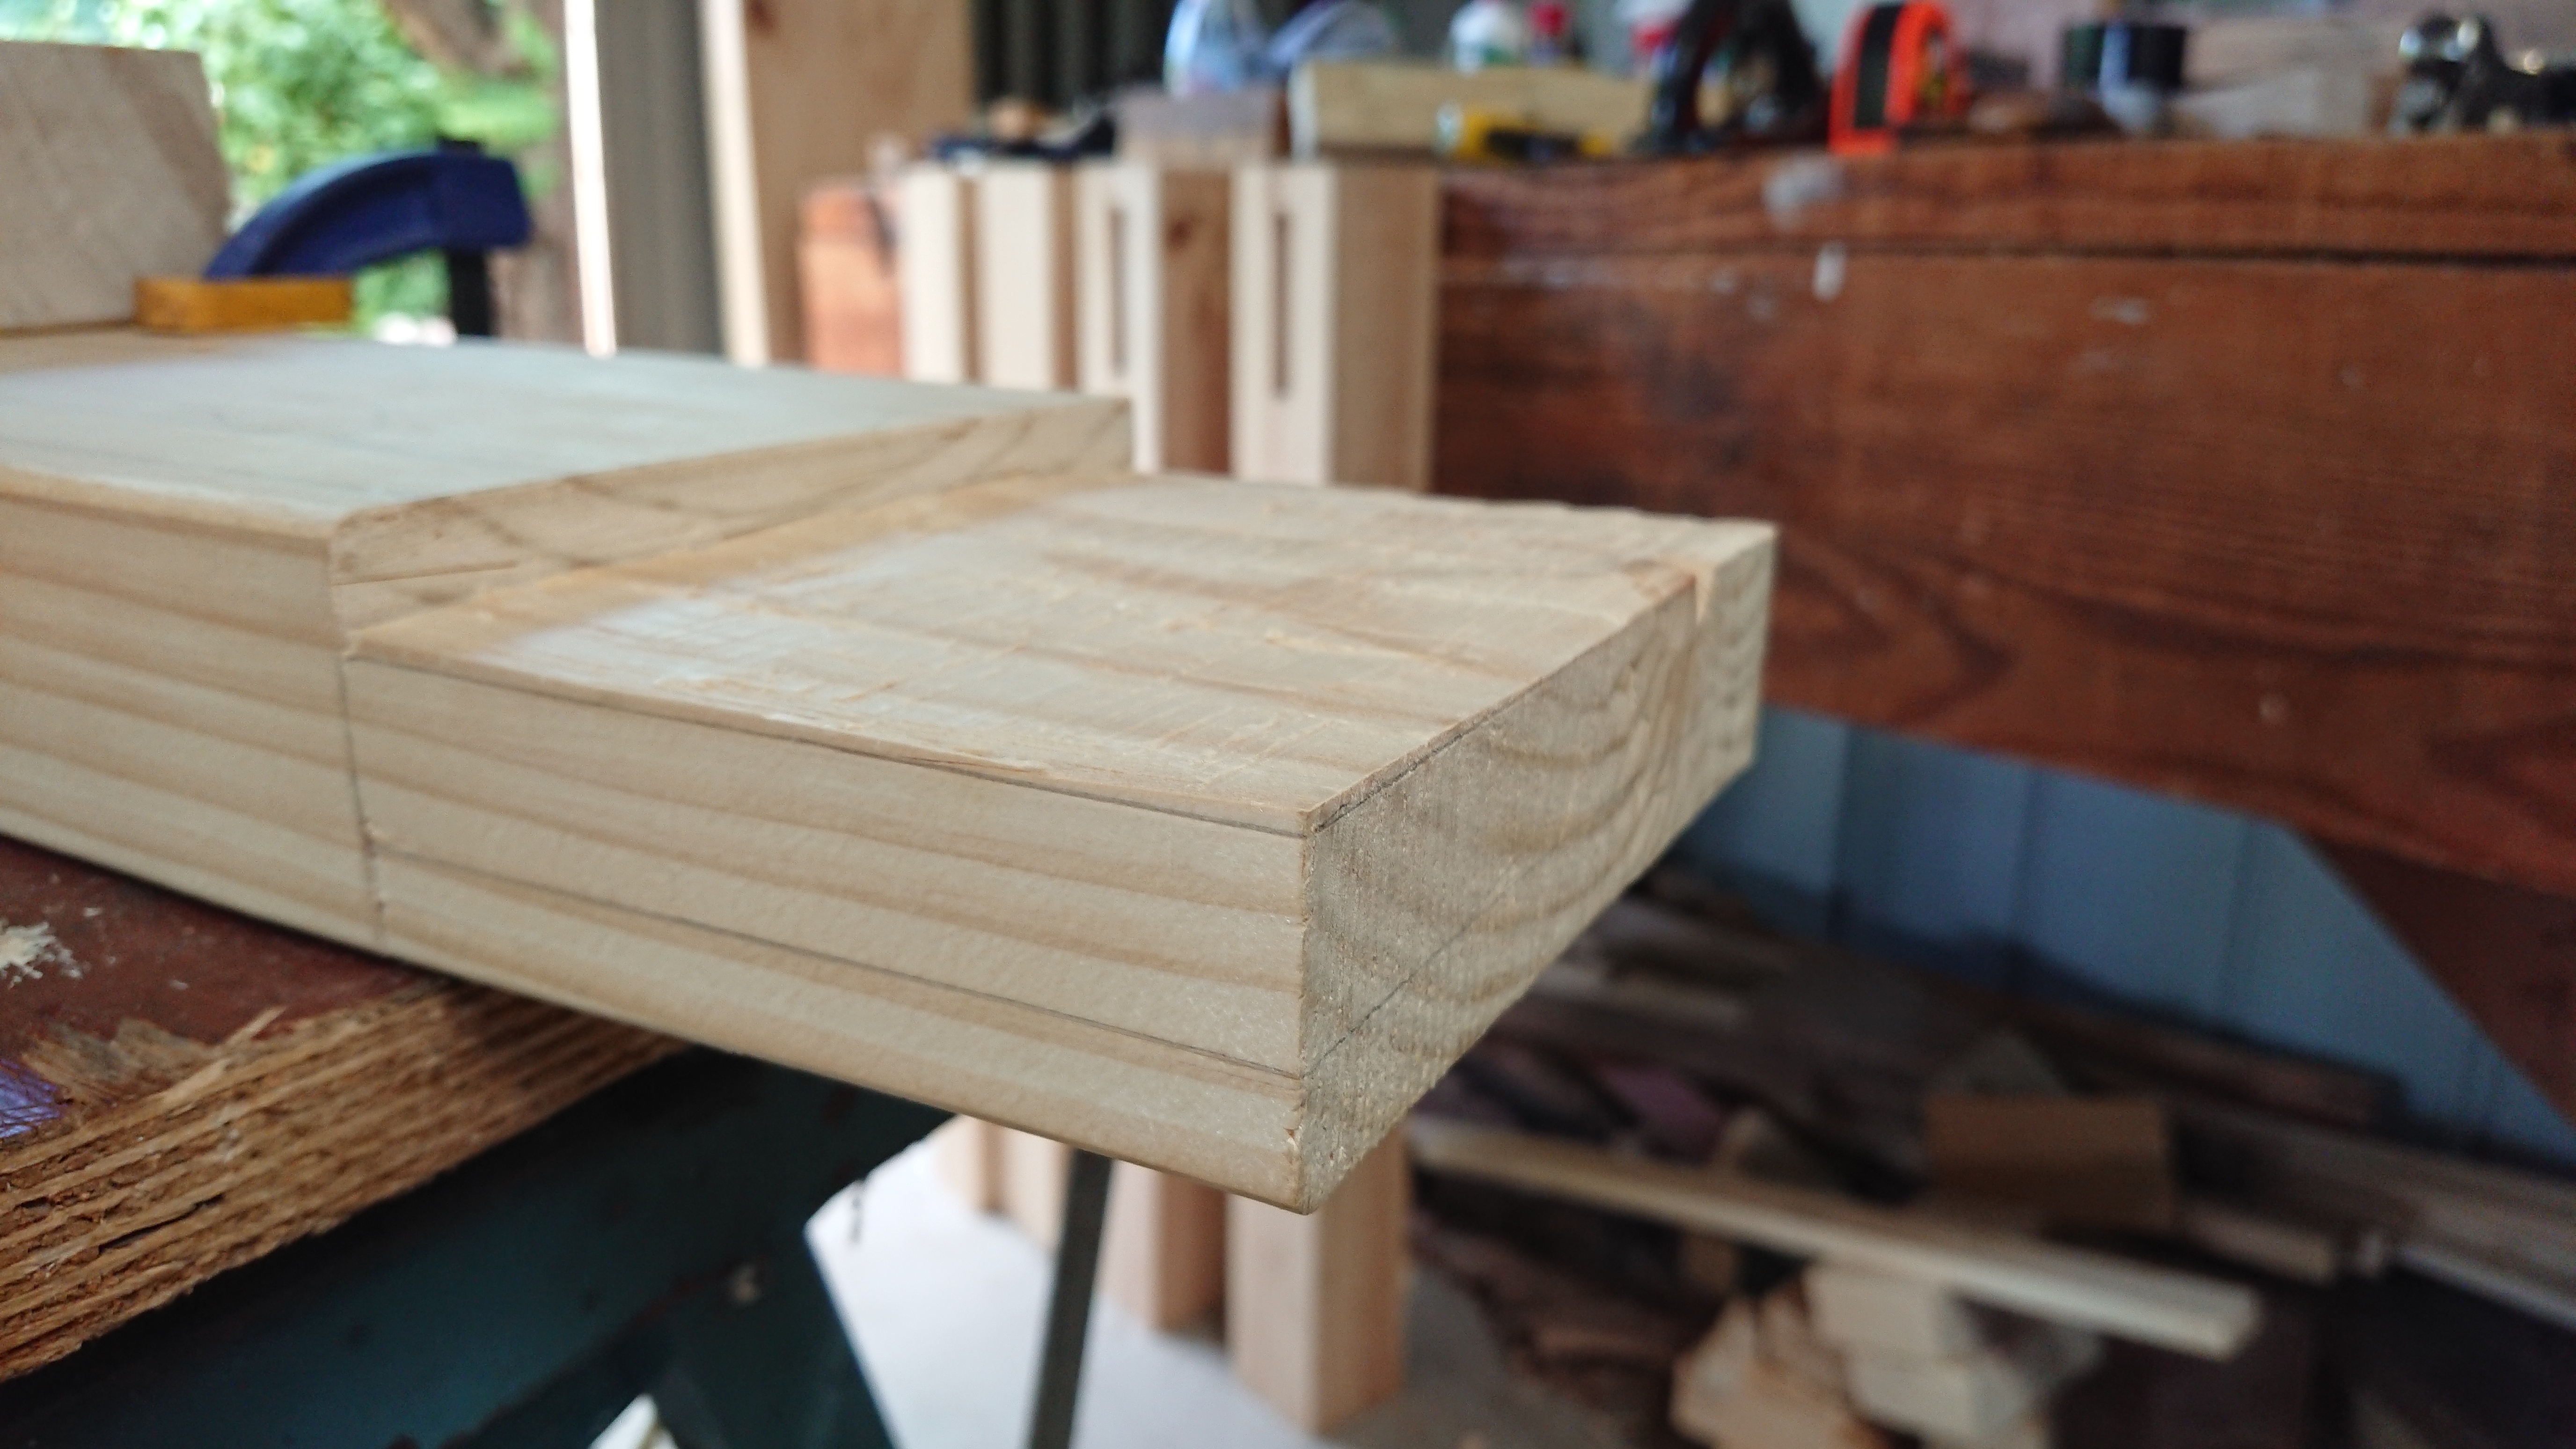
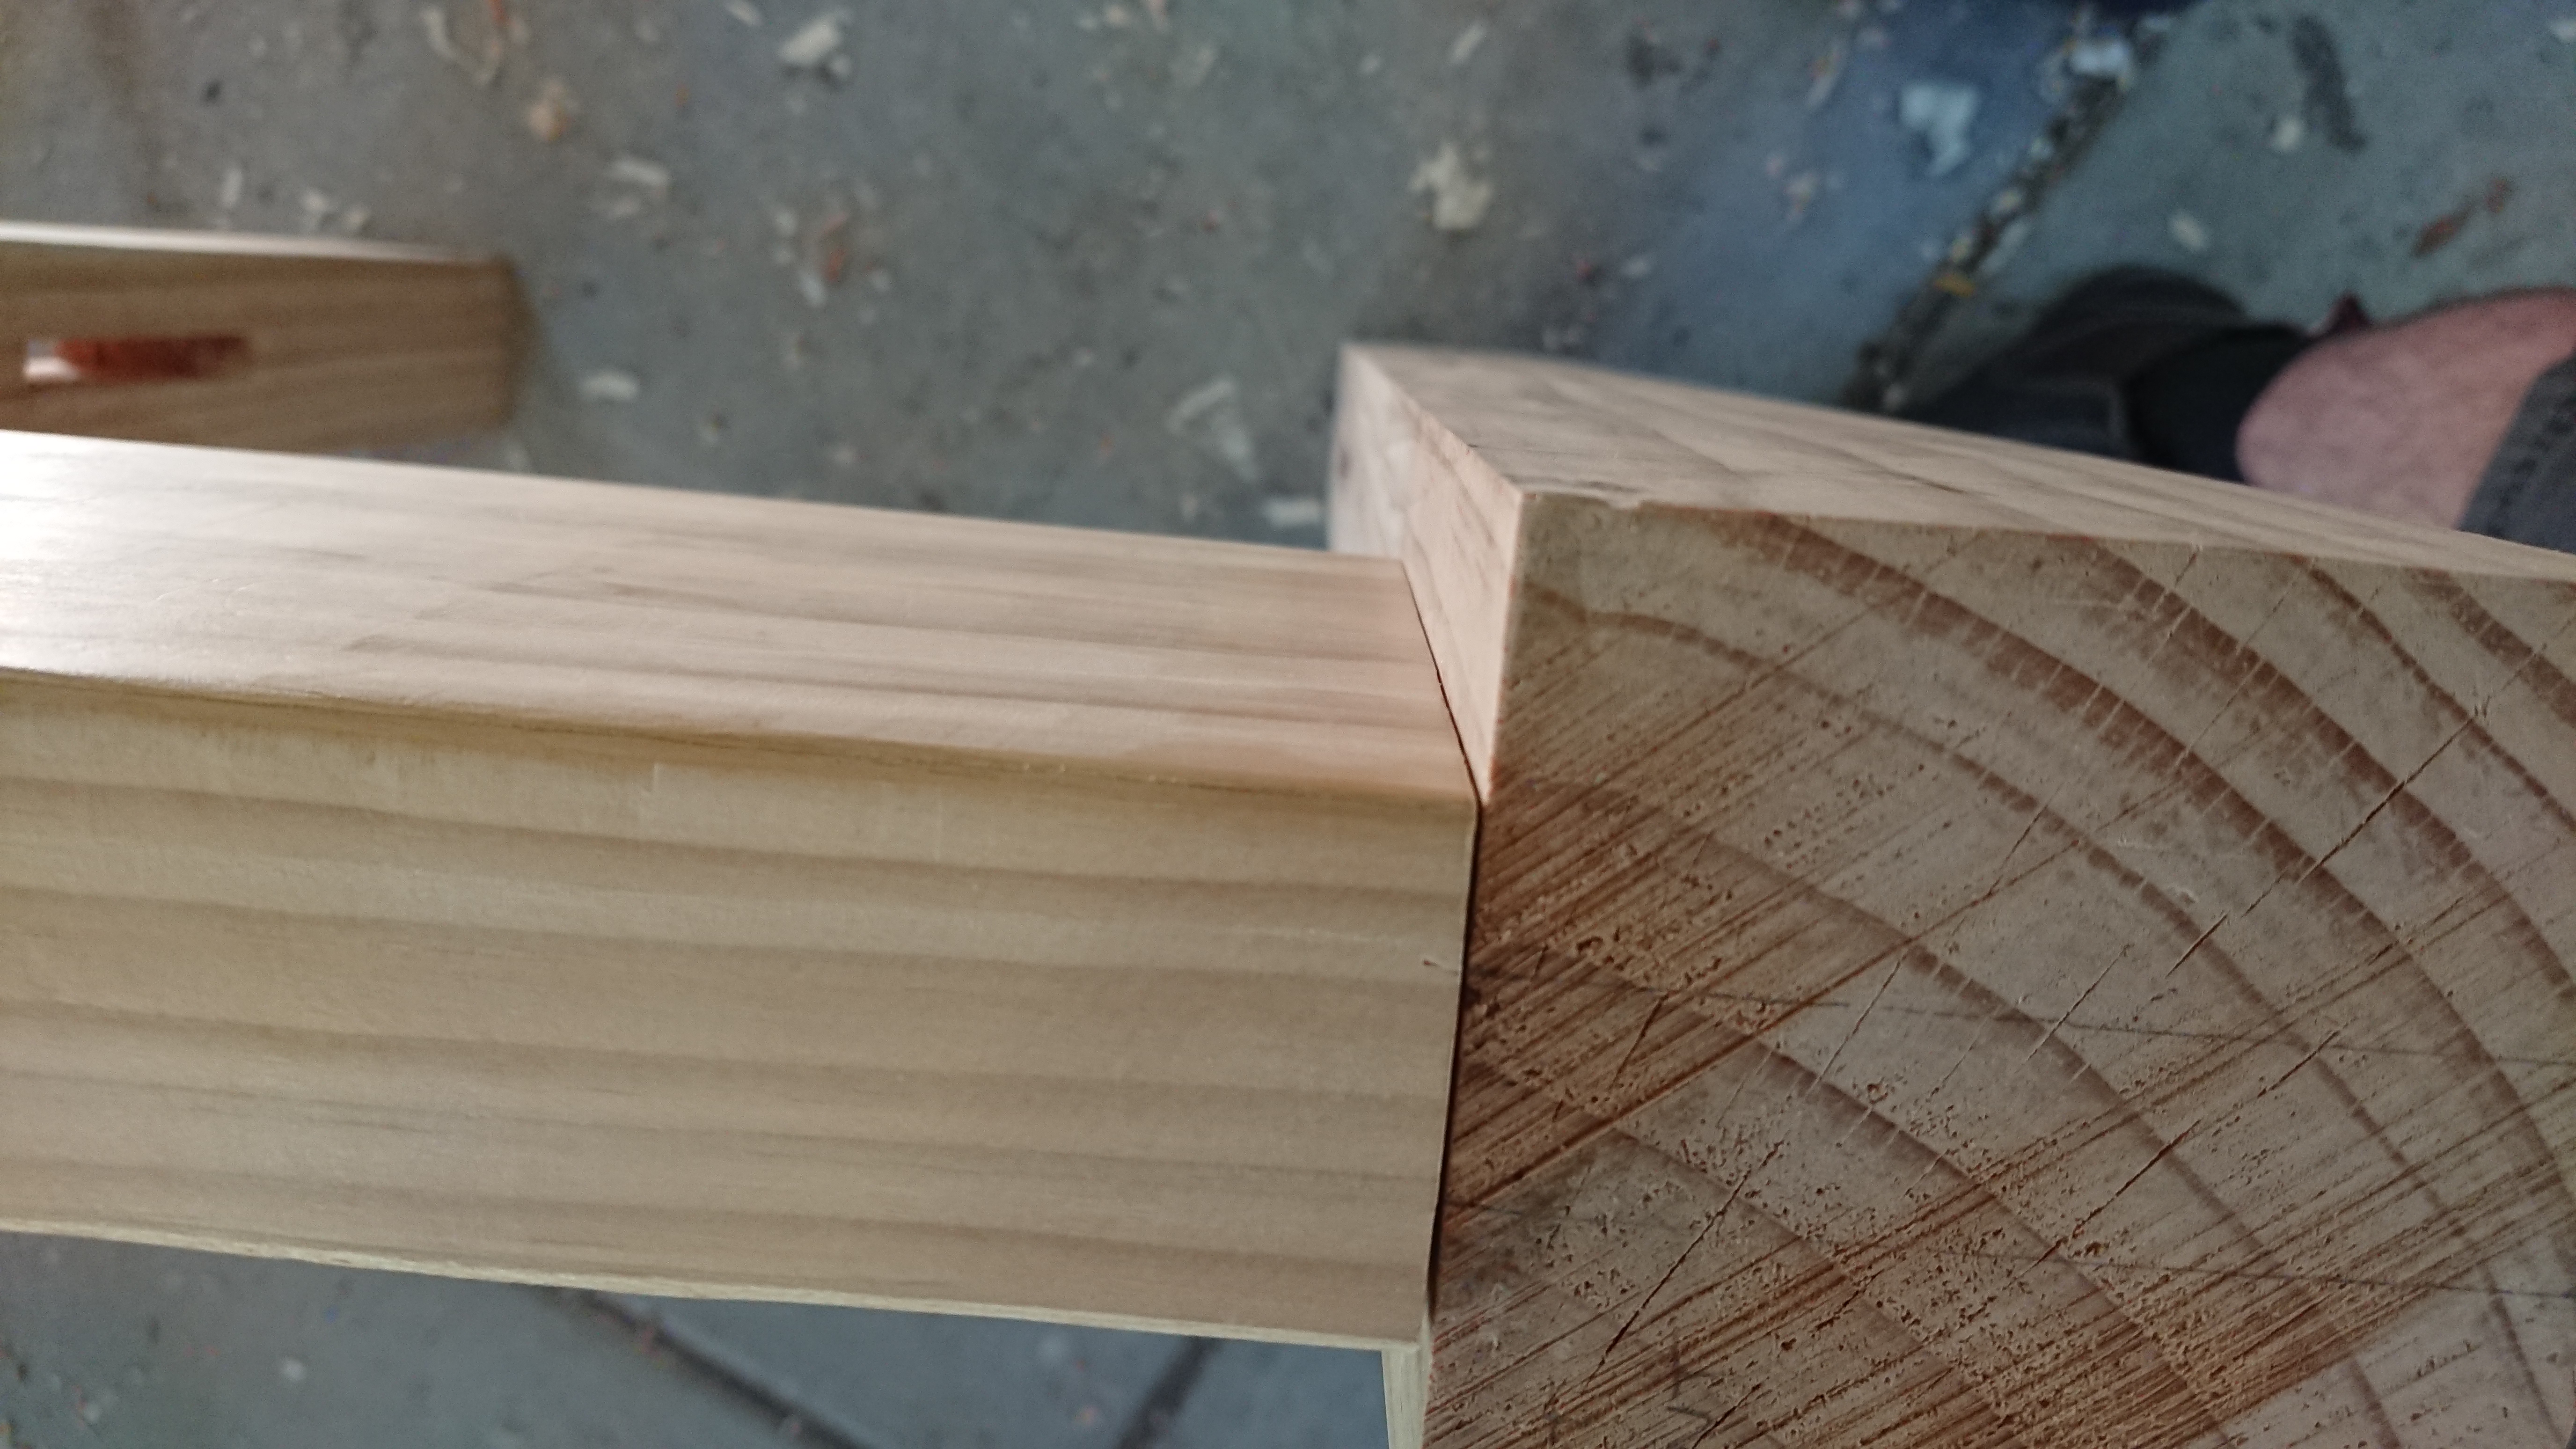
Here’s the split surface after a rough pass with the chisel.
On the other side, the grain wasn’t favourable for a split, so I just used the saw. Compared with my first tenon, I went a bit closer to the marking line this time. I also spent less time working with the tenon saw, which is too small to get down to the bottom of the cut anyway. I just used it to initialise the cut – really just providing a guide for the big saw, so that it lies straight across the cut.
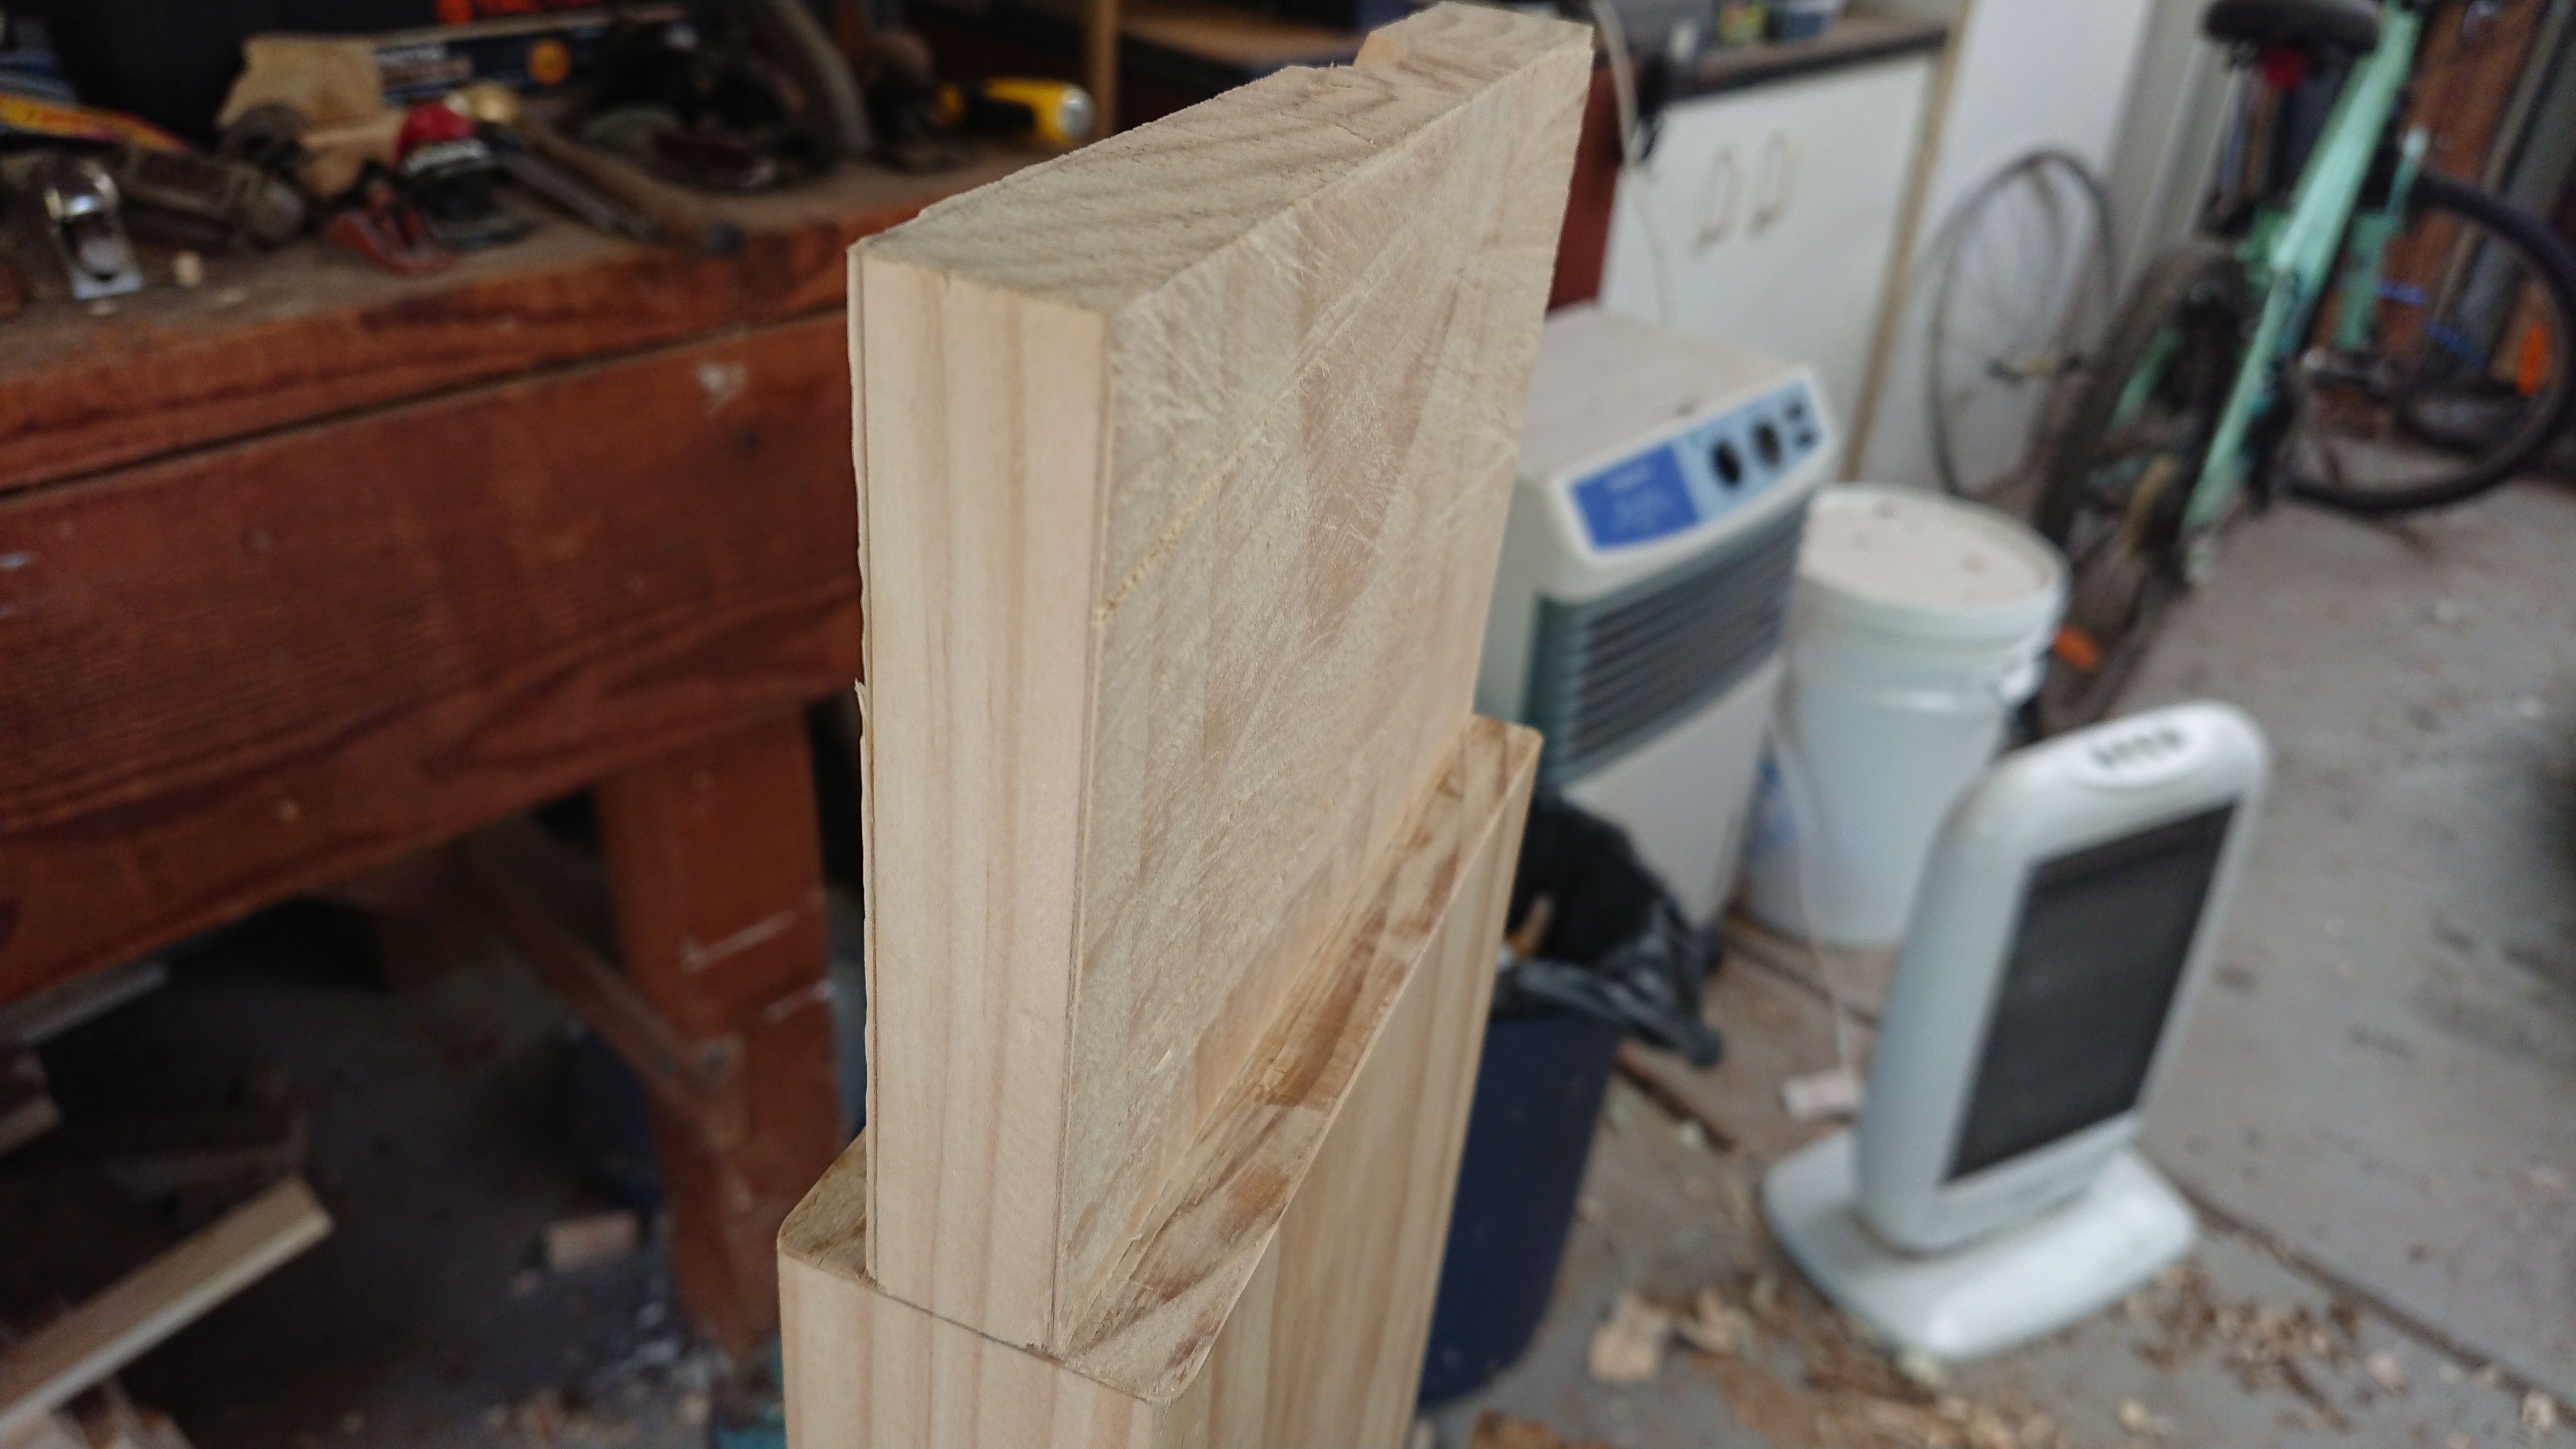
The knotty section at the end has broken out, but that’s fine. This part of the tenon is eventually going to be cut off, so it’s not a problem at all here. Haha, nice try, knot, but I win this round!
Then I went to work with the poor man’s routing plane and the bench plane to smooth down the tenon cheeks to fit the mortise. Once the tenon corners were starting to fit in, I cut away the top section of the tenon.
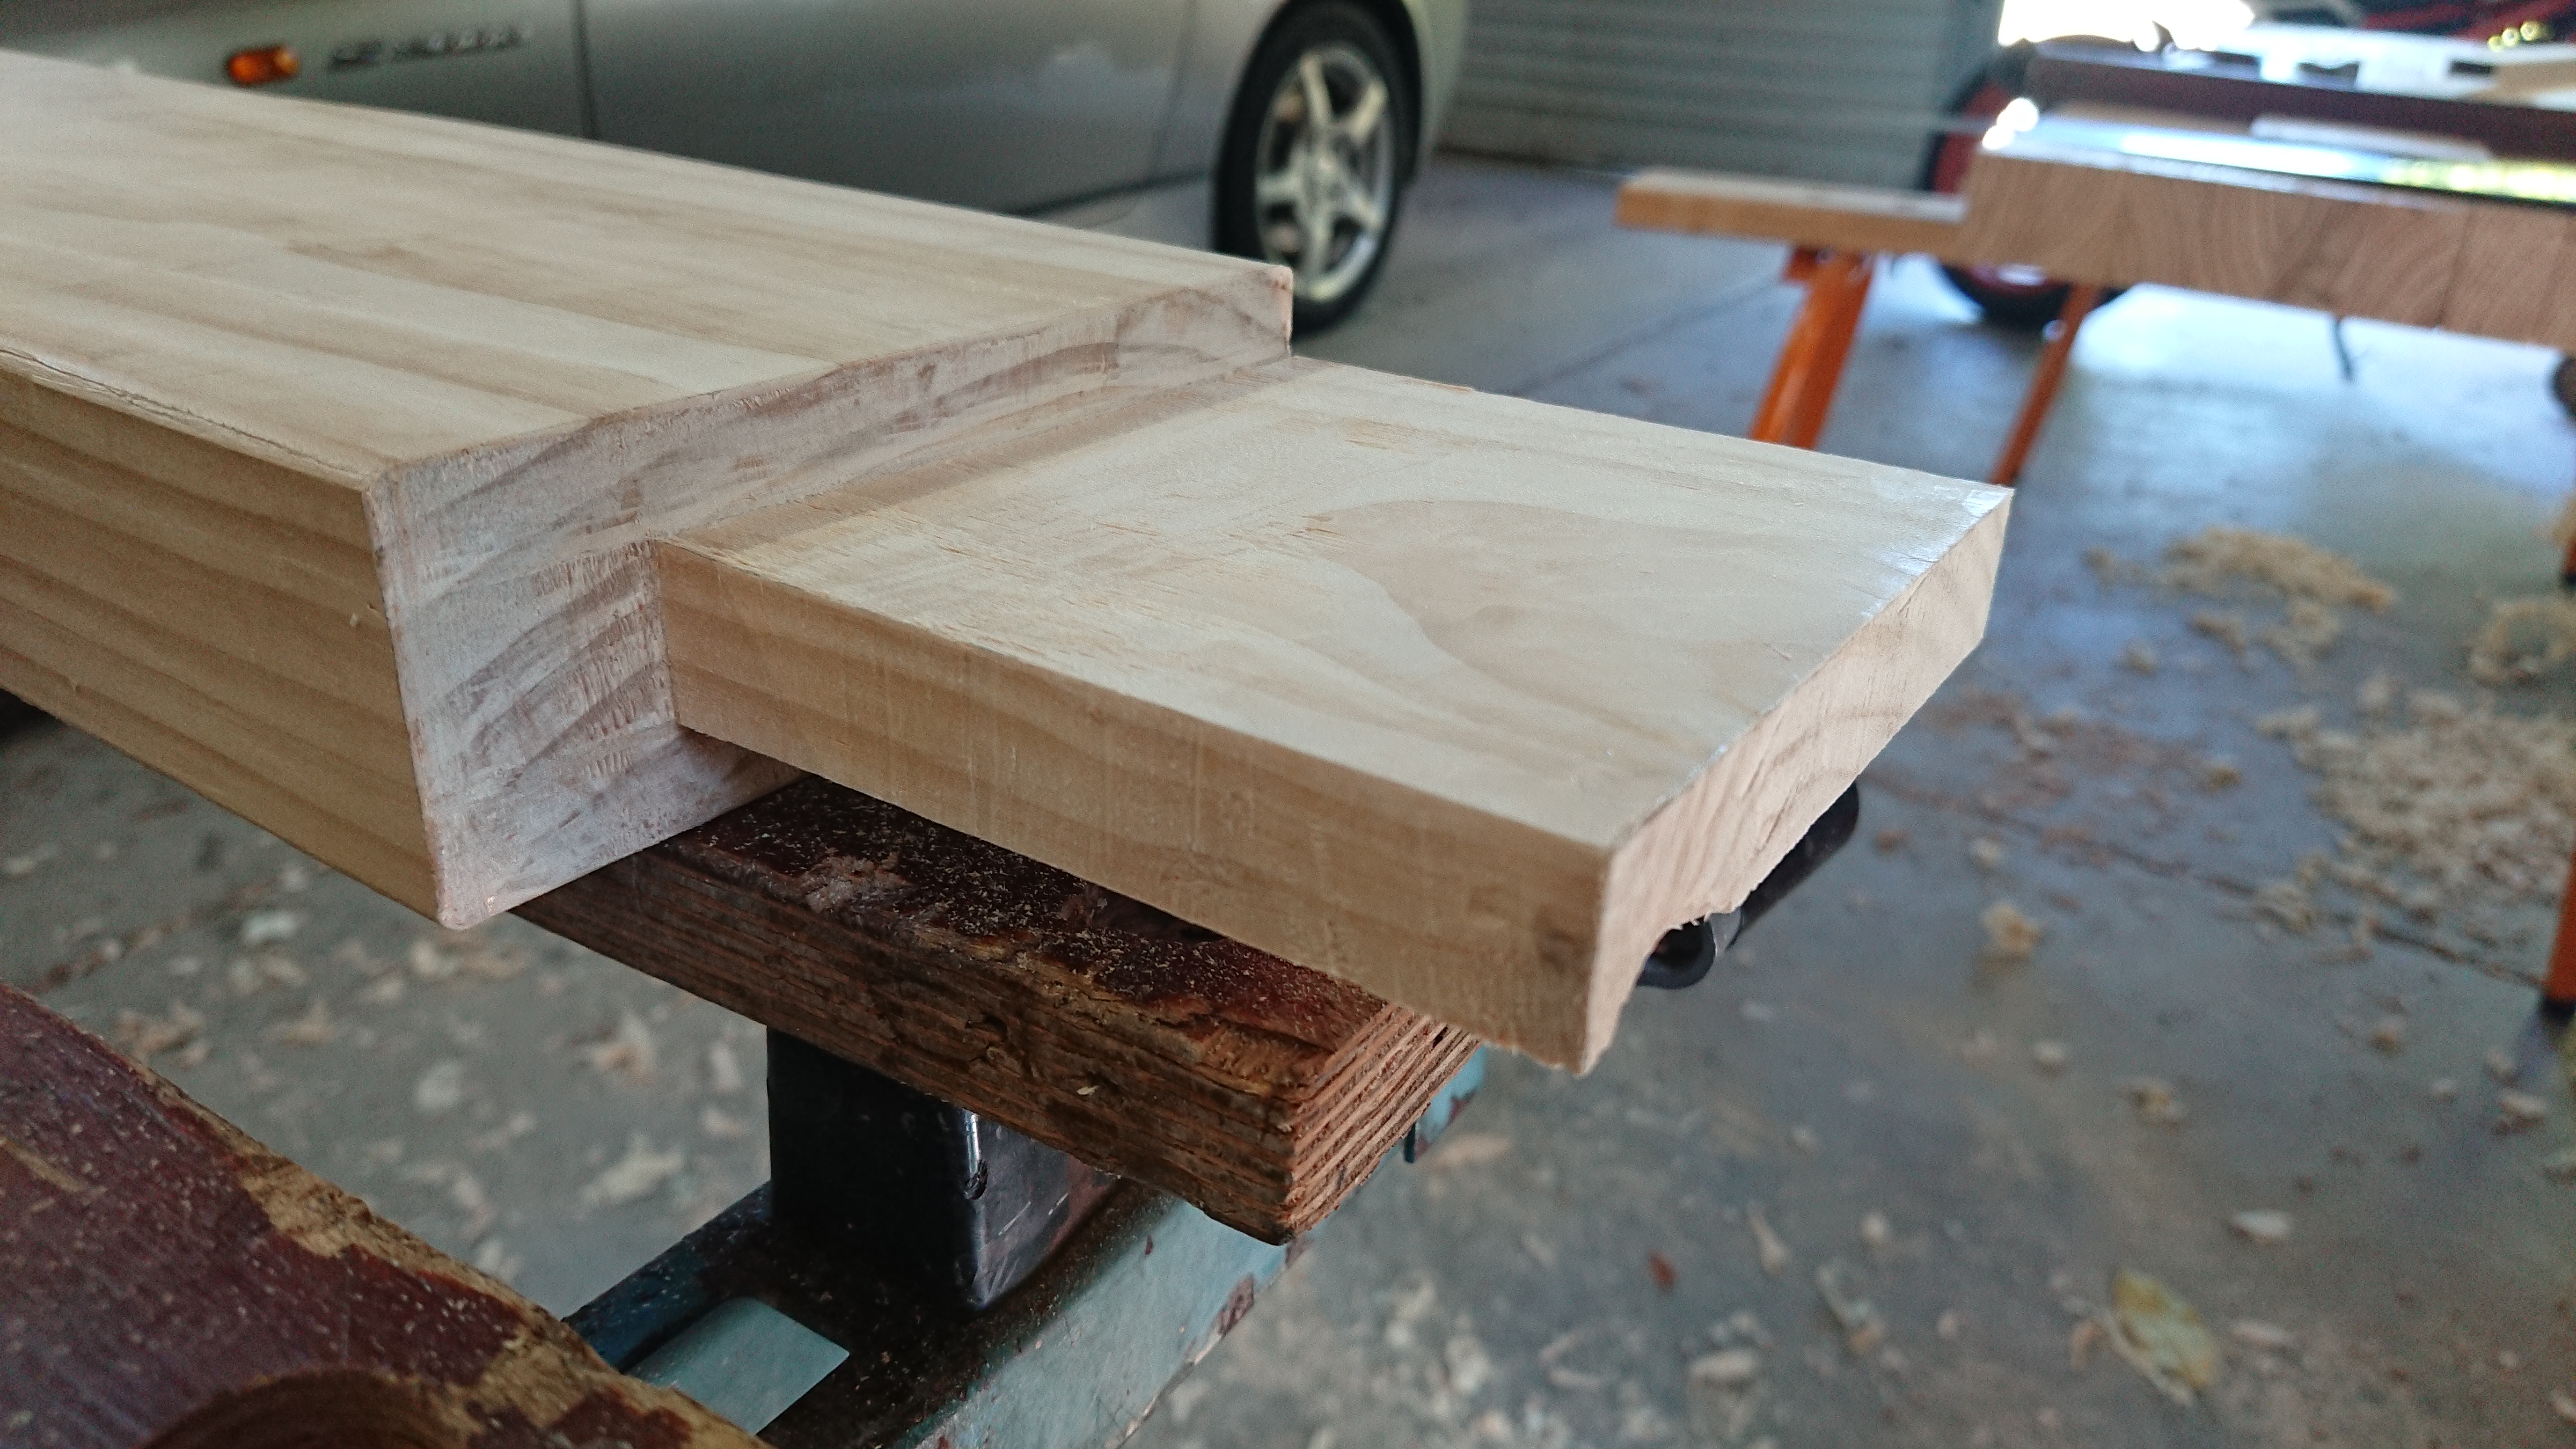
After that it was just a few test fits, and a bit more planing down to get the tenon to exactly the right thickness.
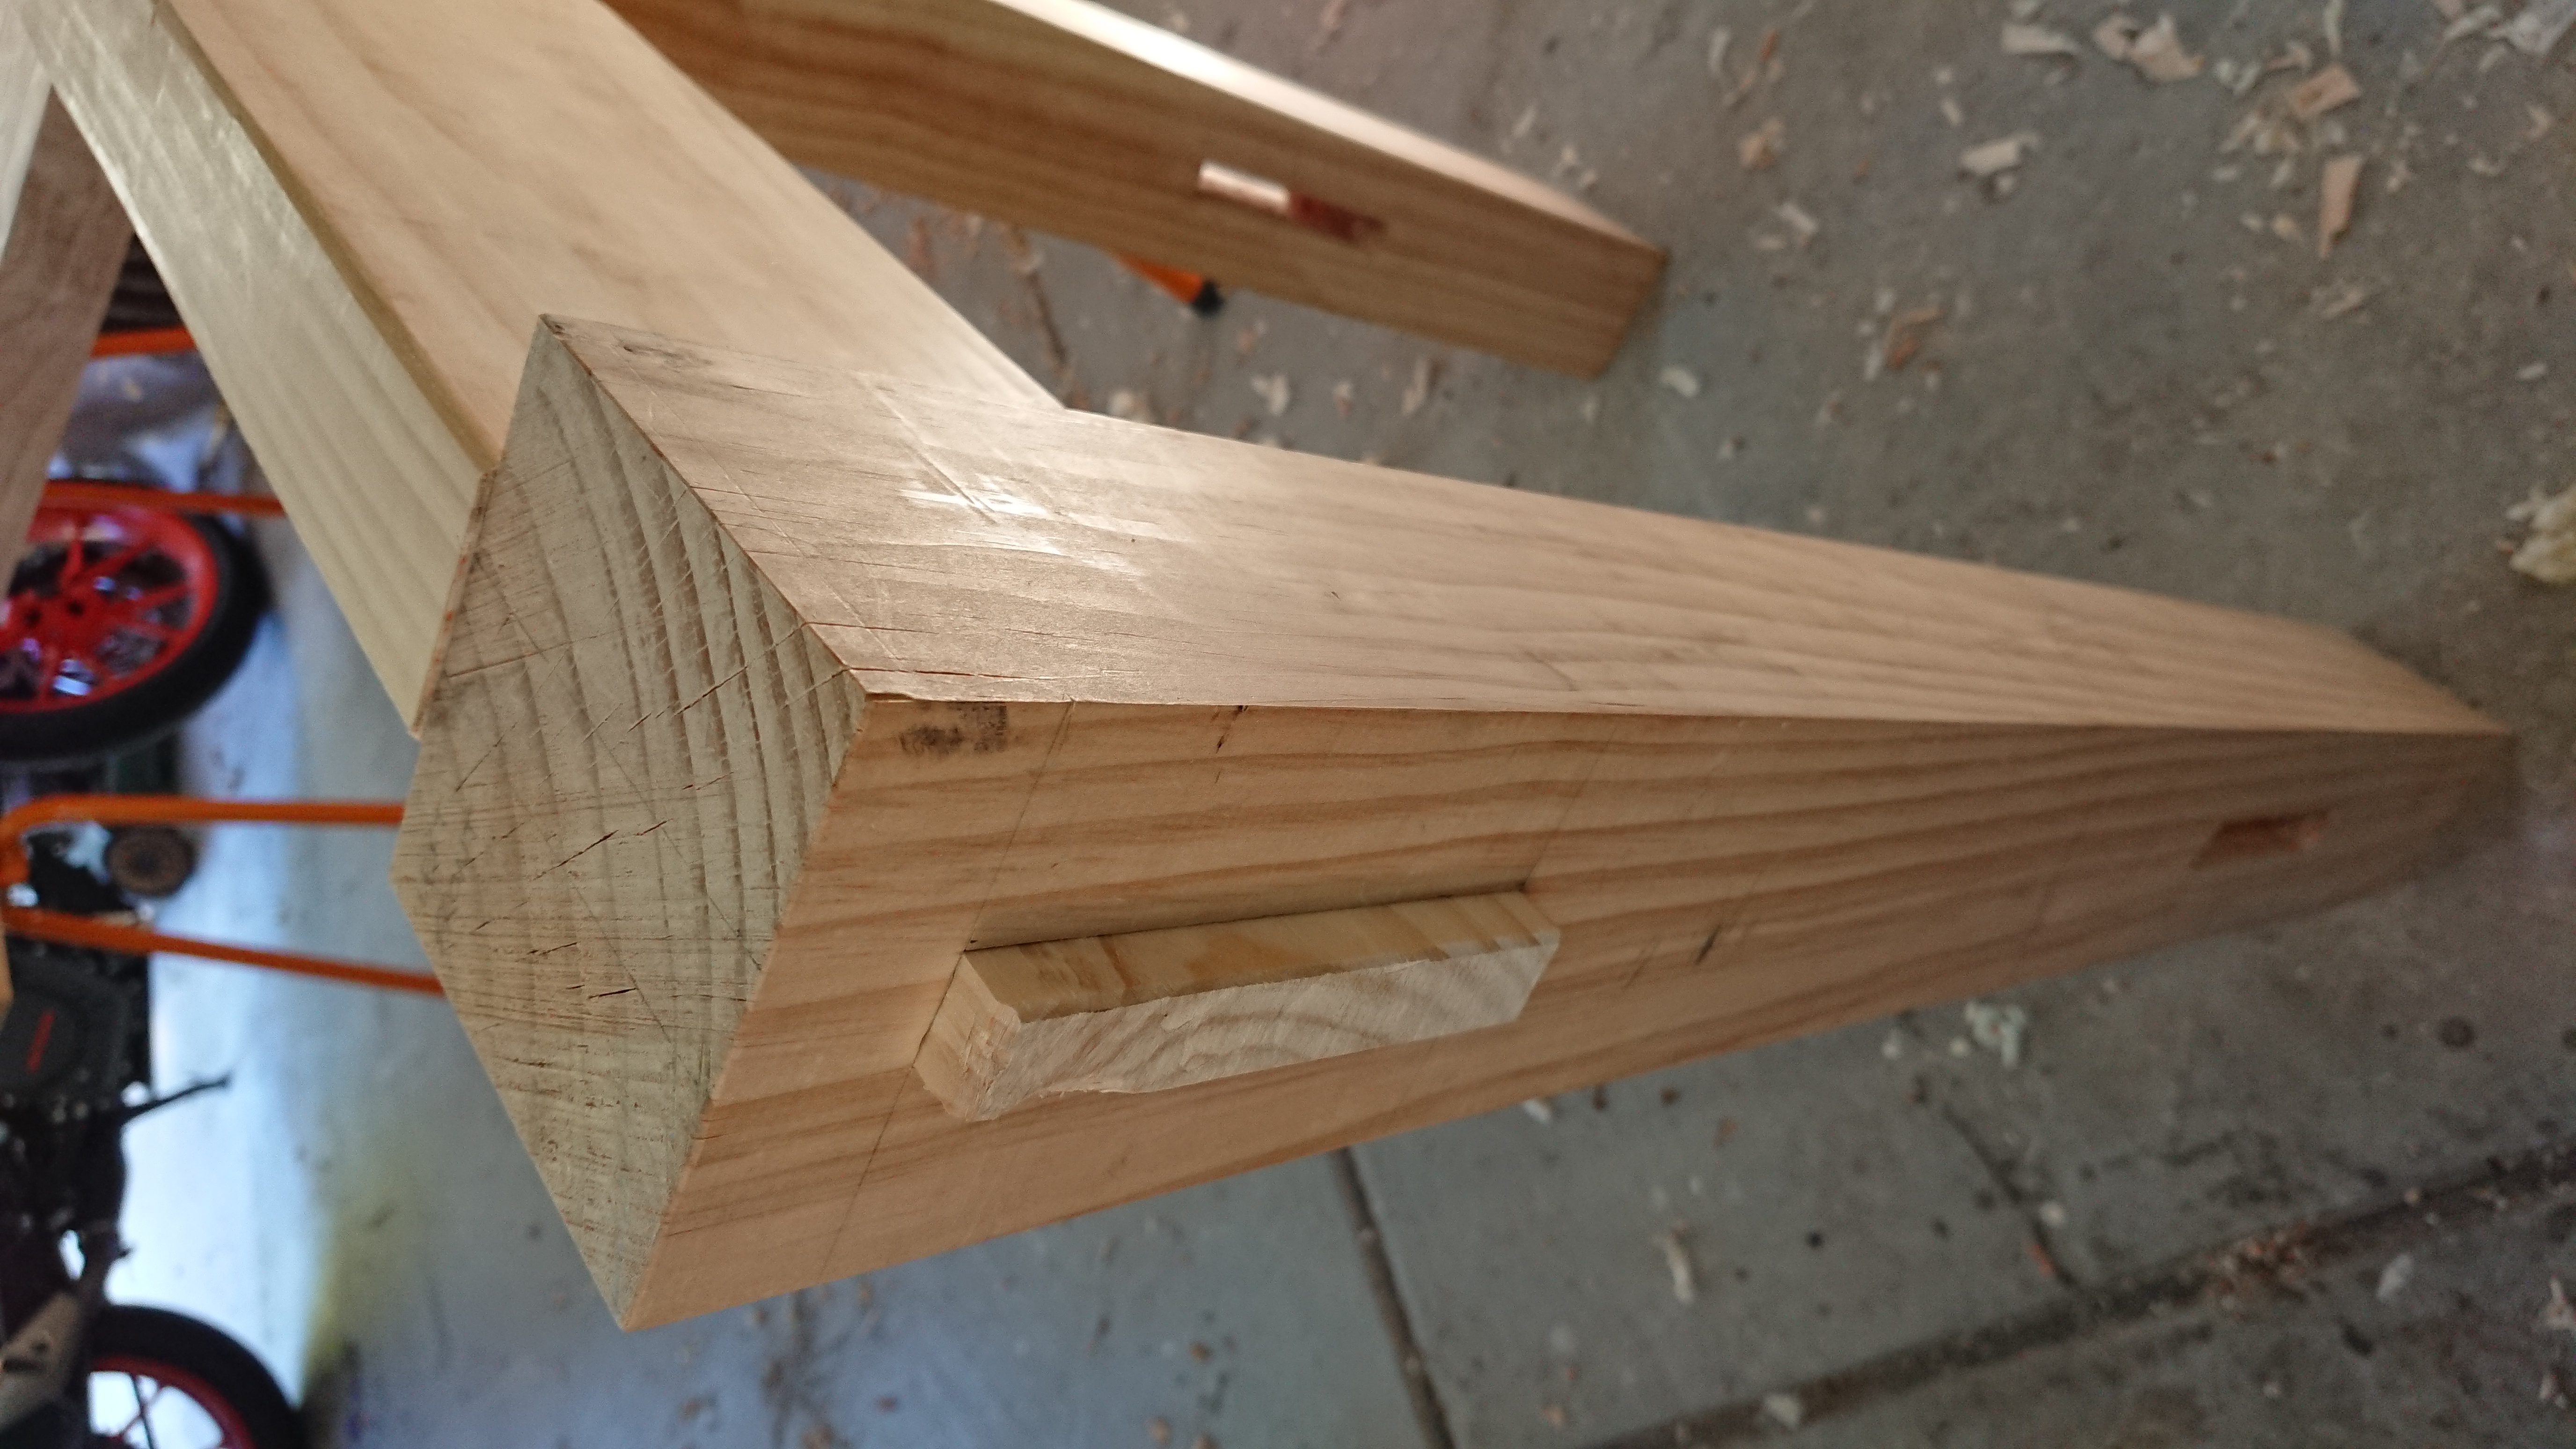
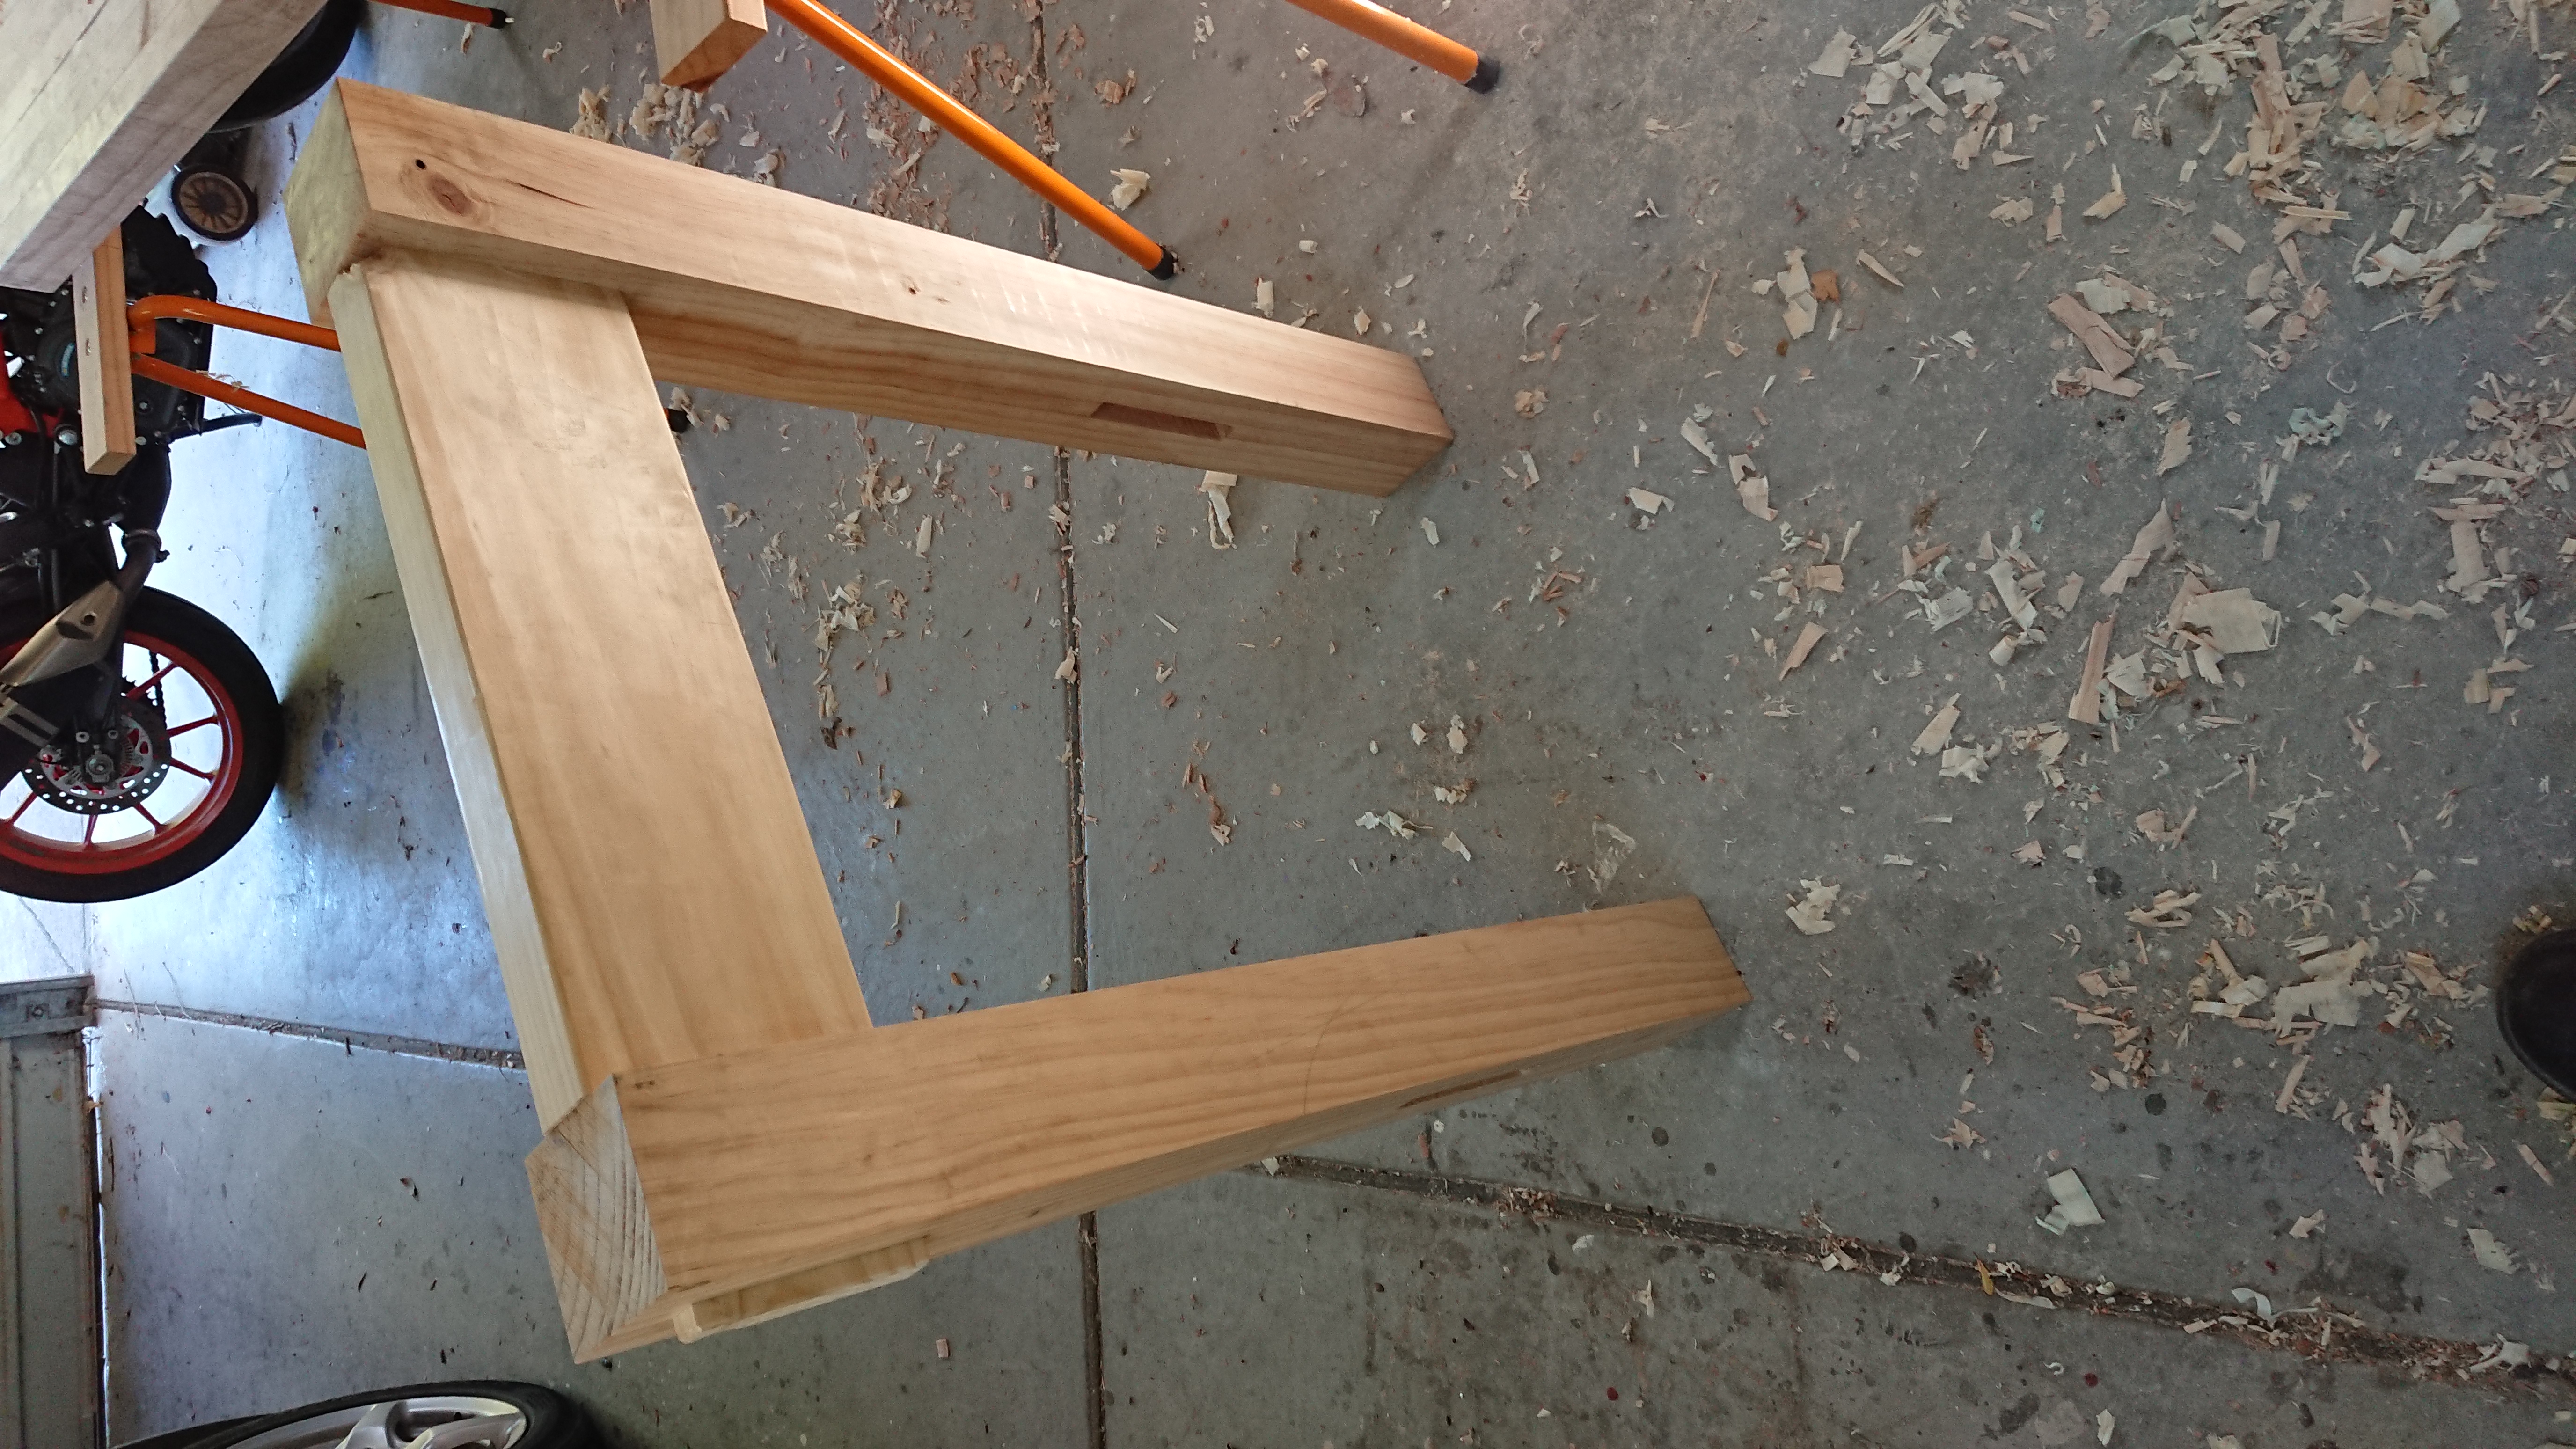
Overall the second tenon was vastly superior in quality to the first, and a good deal quicker to produce as well. A completely satisfactory result.
Two down, six to go.
What’s next
Cutting and fitting the tenons on the bottom rail for this first leg frame.