Gluing up the frame
There was nothing left to do on the first frame but to get on with the glue up.
I took the frame apart, gave one of the joints a tiny bit of extra finessing, then I set the front leg in the workmate.
The idea here was to glue the front leg joints first, so that if I caused any damage to the end of the tenon while striking with the mallet, at least that damage would be on the backside.
I spread glue on each cheek of the bottom rail tenon, inserted into the mortise and then beat on the end with a mallet (using a spare piece of wood in between the mallet and the tenon) until it was close to fully seated.
Then I did the same for the top rail.
Next I laid the partial frame over on each side, to spread glue on to the remaining tenon cheeks, stood it back up in the workmate, and finally, put the rear leg over the top of both tenons and malleted it into position.
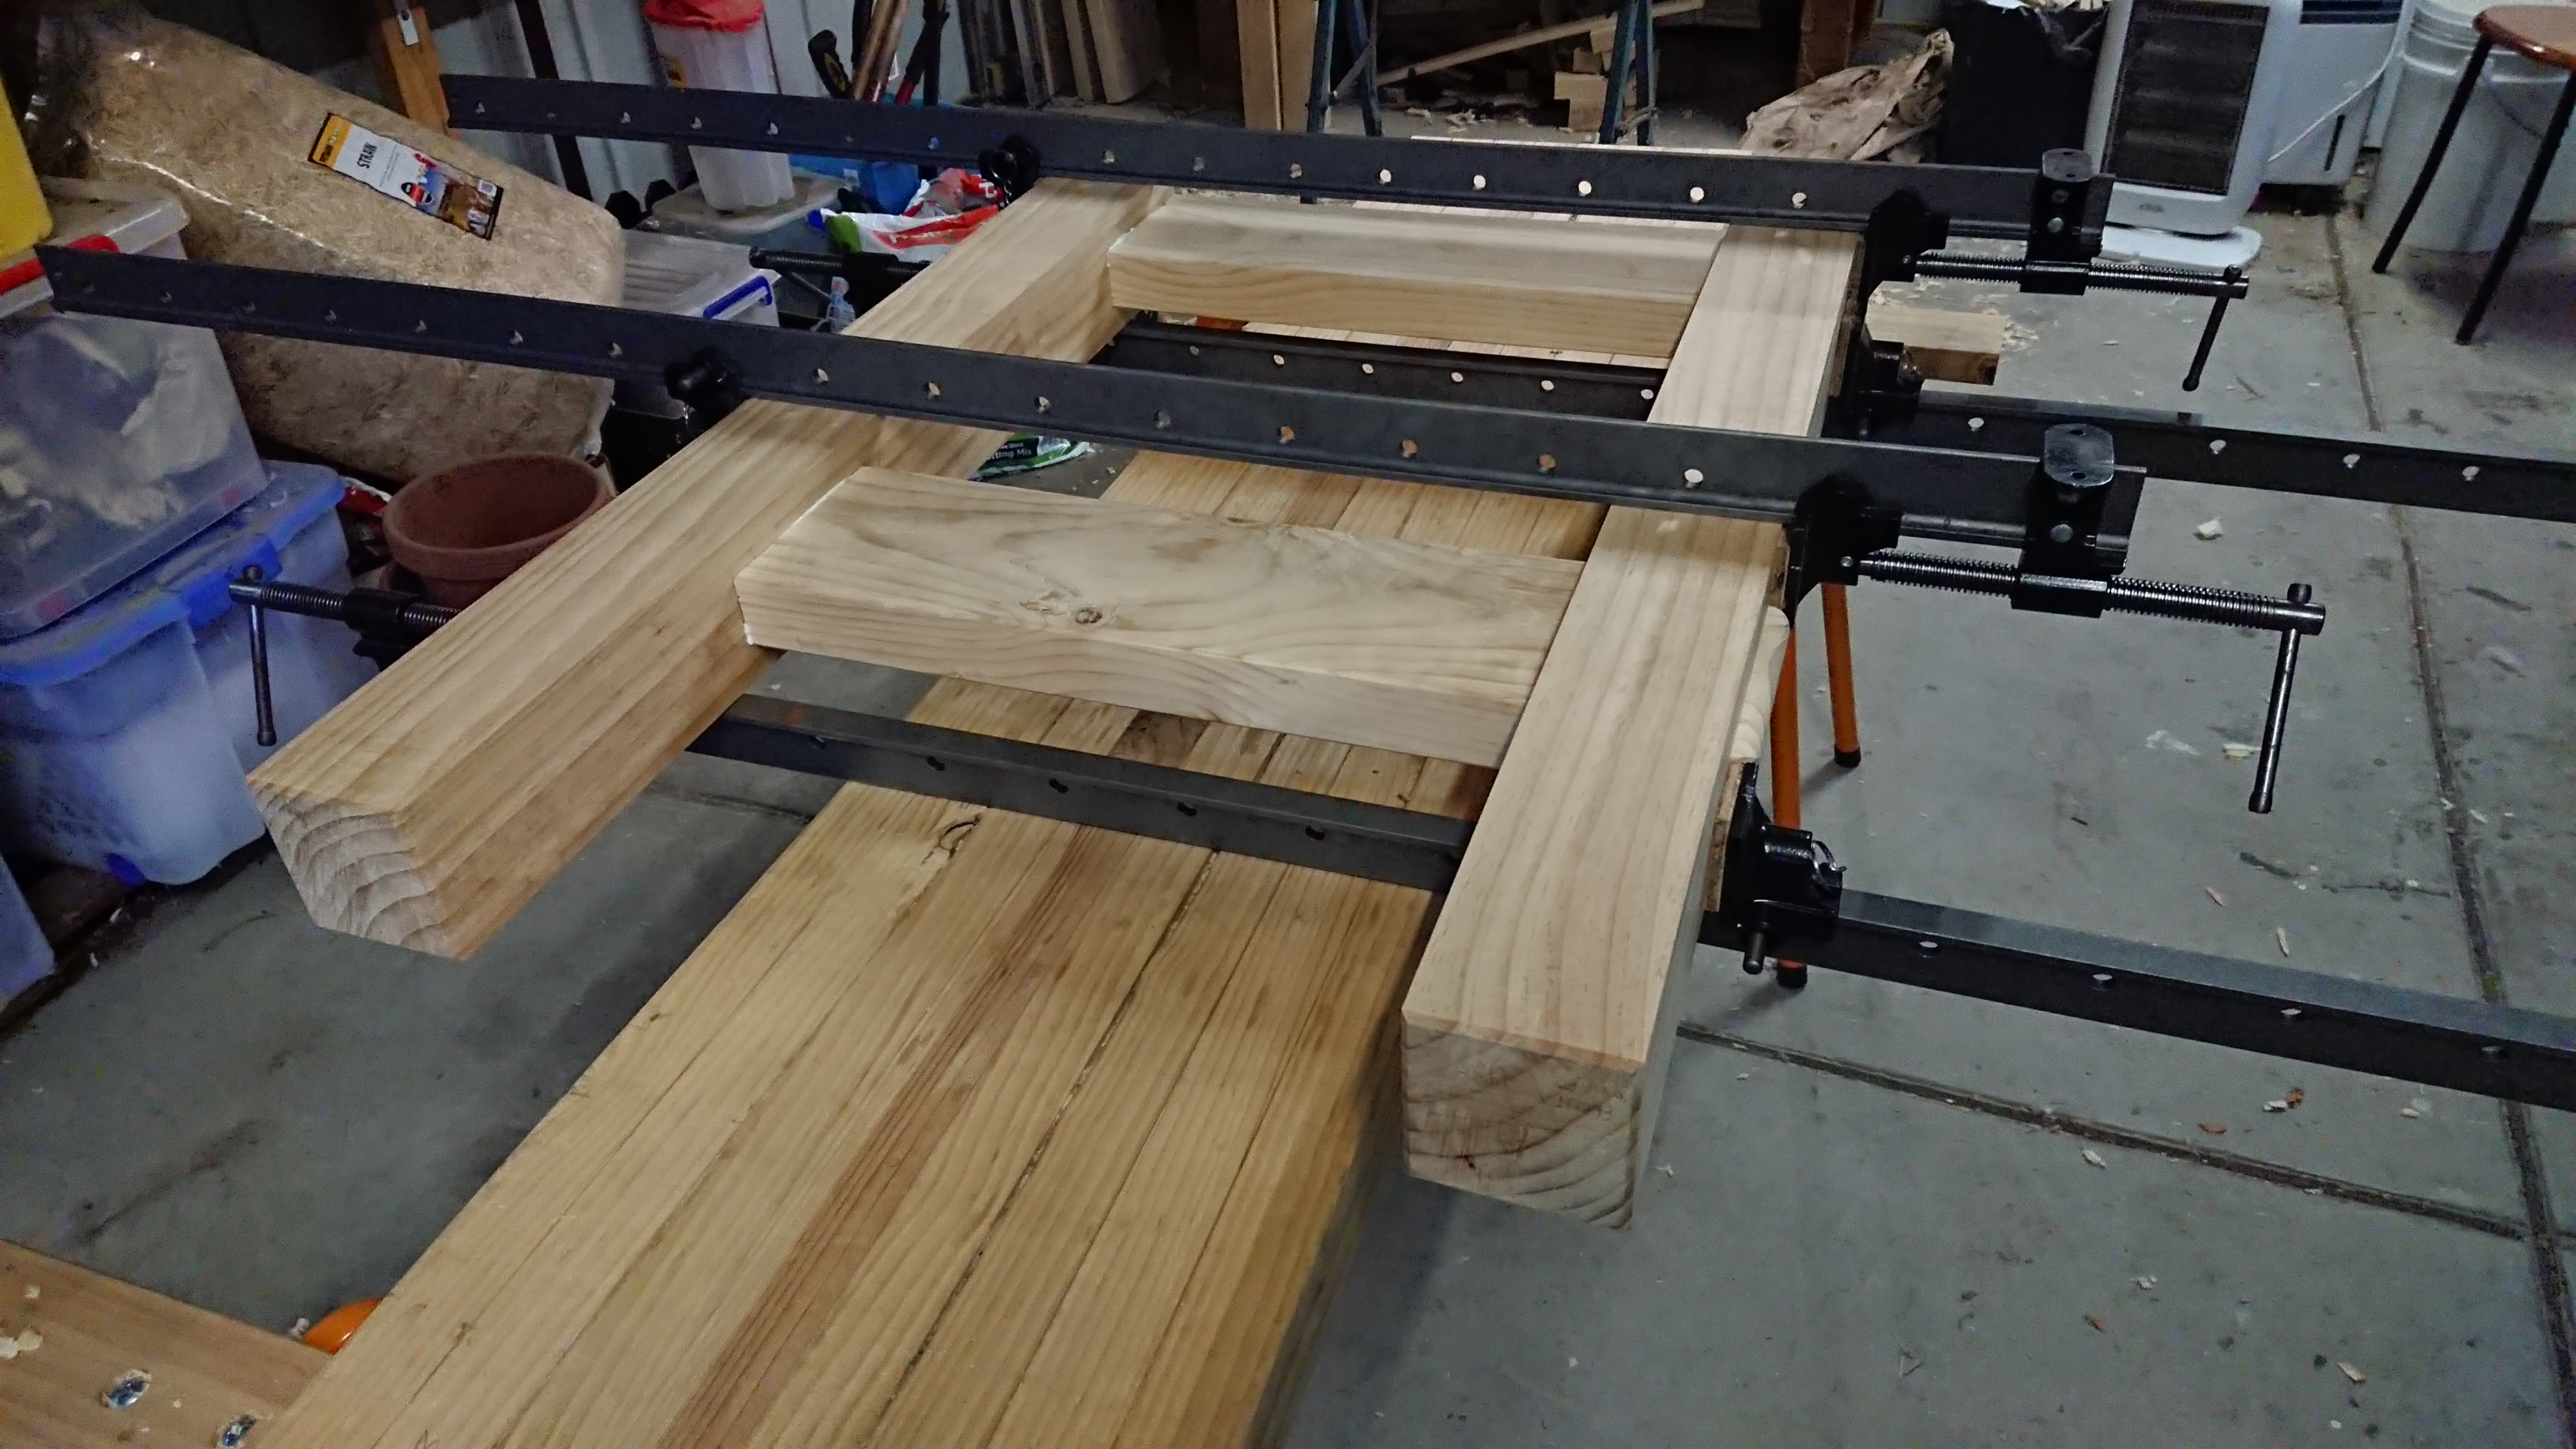
Then I took the whole assembled frame over to my workbench top and set up the clamps.
After the clamps were on, I gradually worked my way around, tightening up each clamp until I was happy that all the tenons were firmly seated and the pressure was distributed fairly evenly across the joints.
Now I just have to leave this for 24 hours, then come back and chisel out the excess glue.
What’s next
Frame number 2.