Preparing the frame for glue-up
After a test assembly of the first leg frame, I found that the rotation in the rear leg post was unacceptable.
With a bunch of observation and careful measurement I eventually worked out that the mortises I cut into that leg were not parallel to the reference face. The distance from the corner of the post to the outside edge of the mortise was different by about 2mm.
So it seems that I must have marked my mortise gauge lines incorrectly in the first place. I suspect that I marked from the wrong face when I flipped the post over to mark the other side. That is a disappointing rookie mistake, but it accounts for why the leg is rotated when the tenons are installed, and it also accounts for why those two mortises did not meet neatly in the middle.
The only way I could think to correct the error, was to widen the mortise at the exit point and trim down the side of the mortise until that side was properly parallel with the reference face. That would lead to a bit of a gap alongside the tenon on the outside of the finished joint, which would look pretty silly but I figured it’s better than having the leg rotated out of square.
The good news is, this is the rear leg post and so the ugly tenon exit won’t really be visible to anyone. And it shouldn’t have much impact on the strength of the joint. The mortise is still reasonably snug and the shoulders are seating properly now.
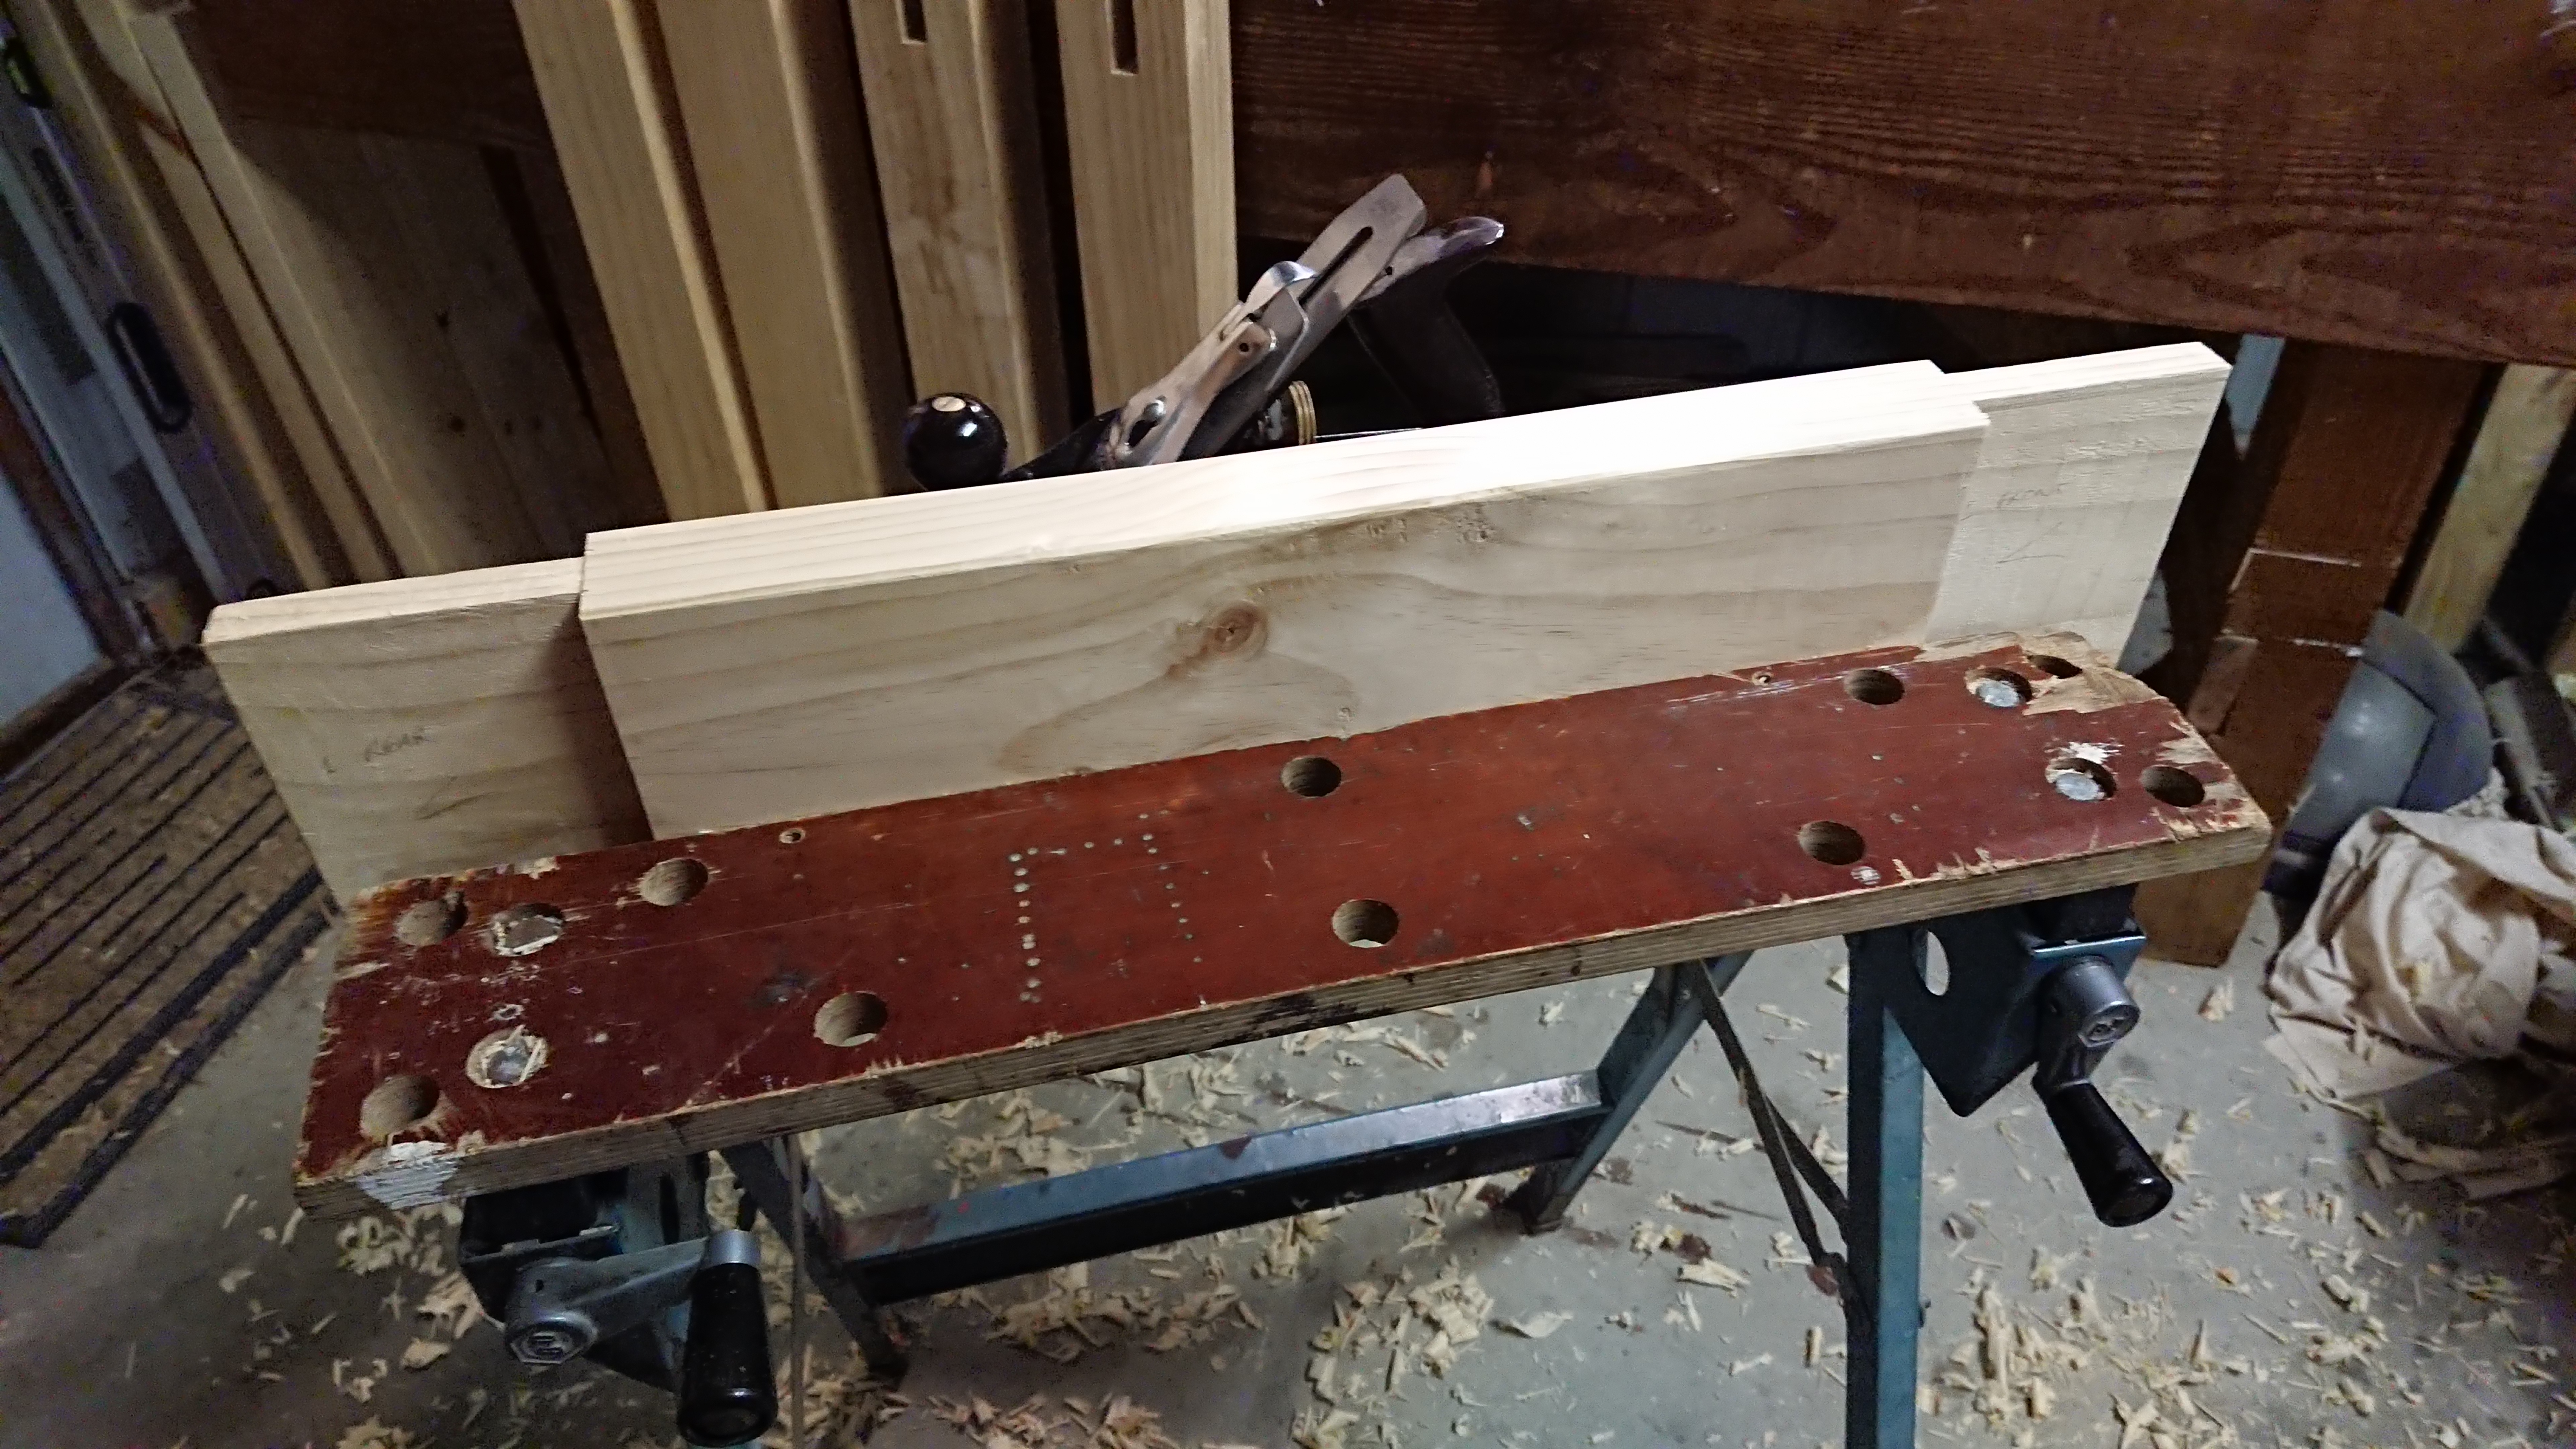
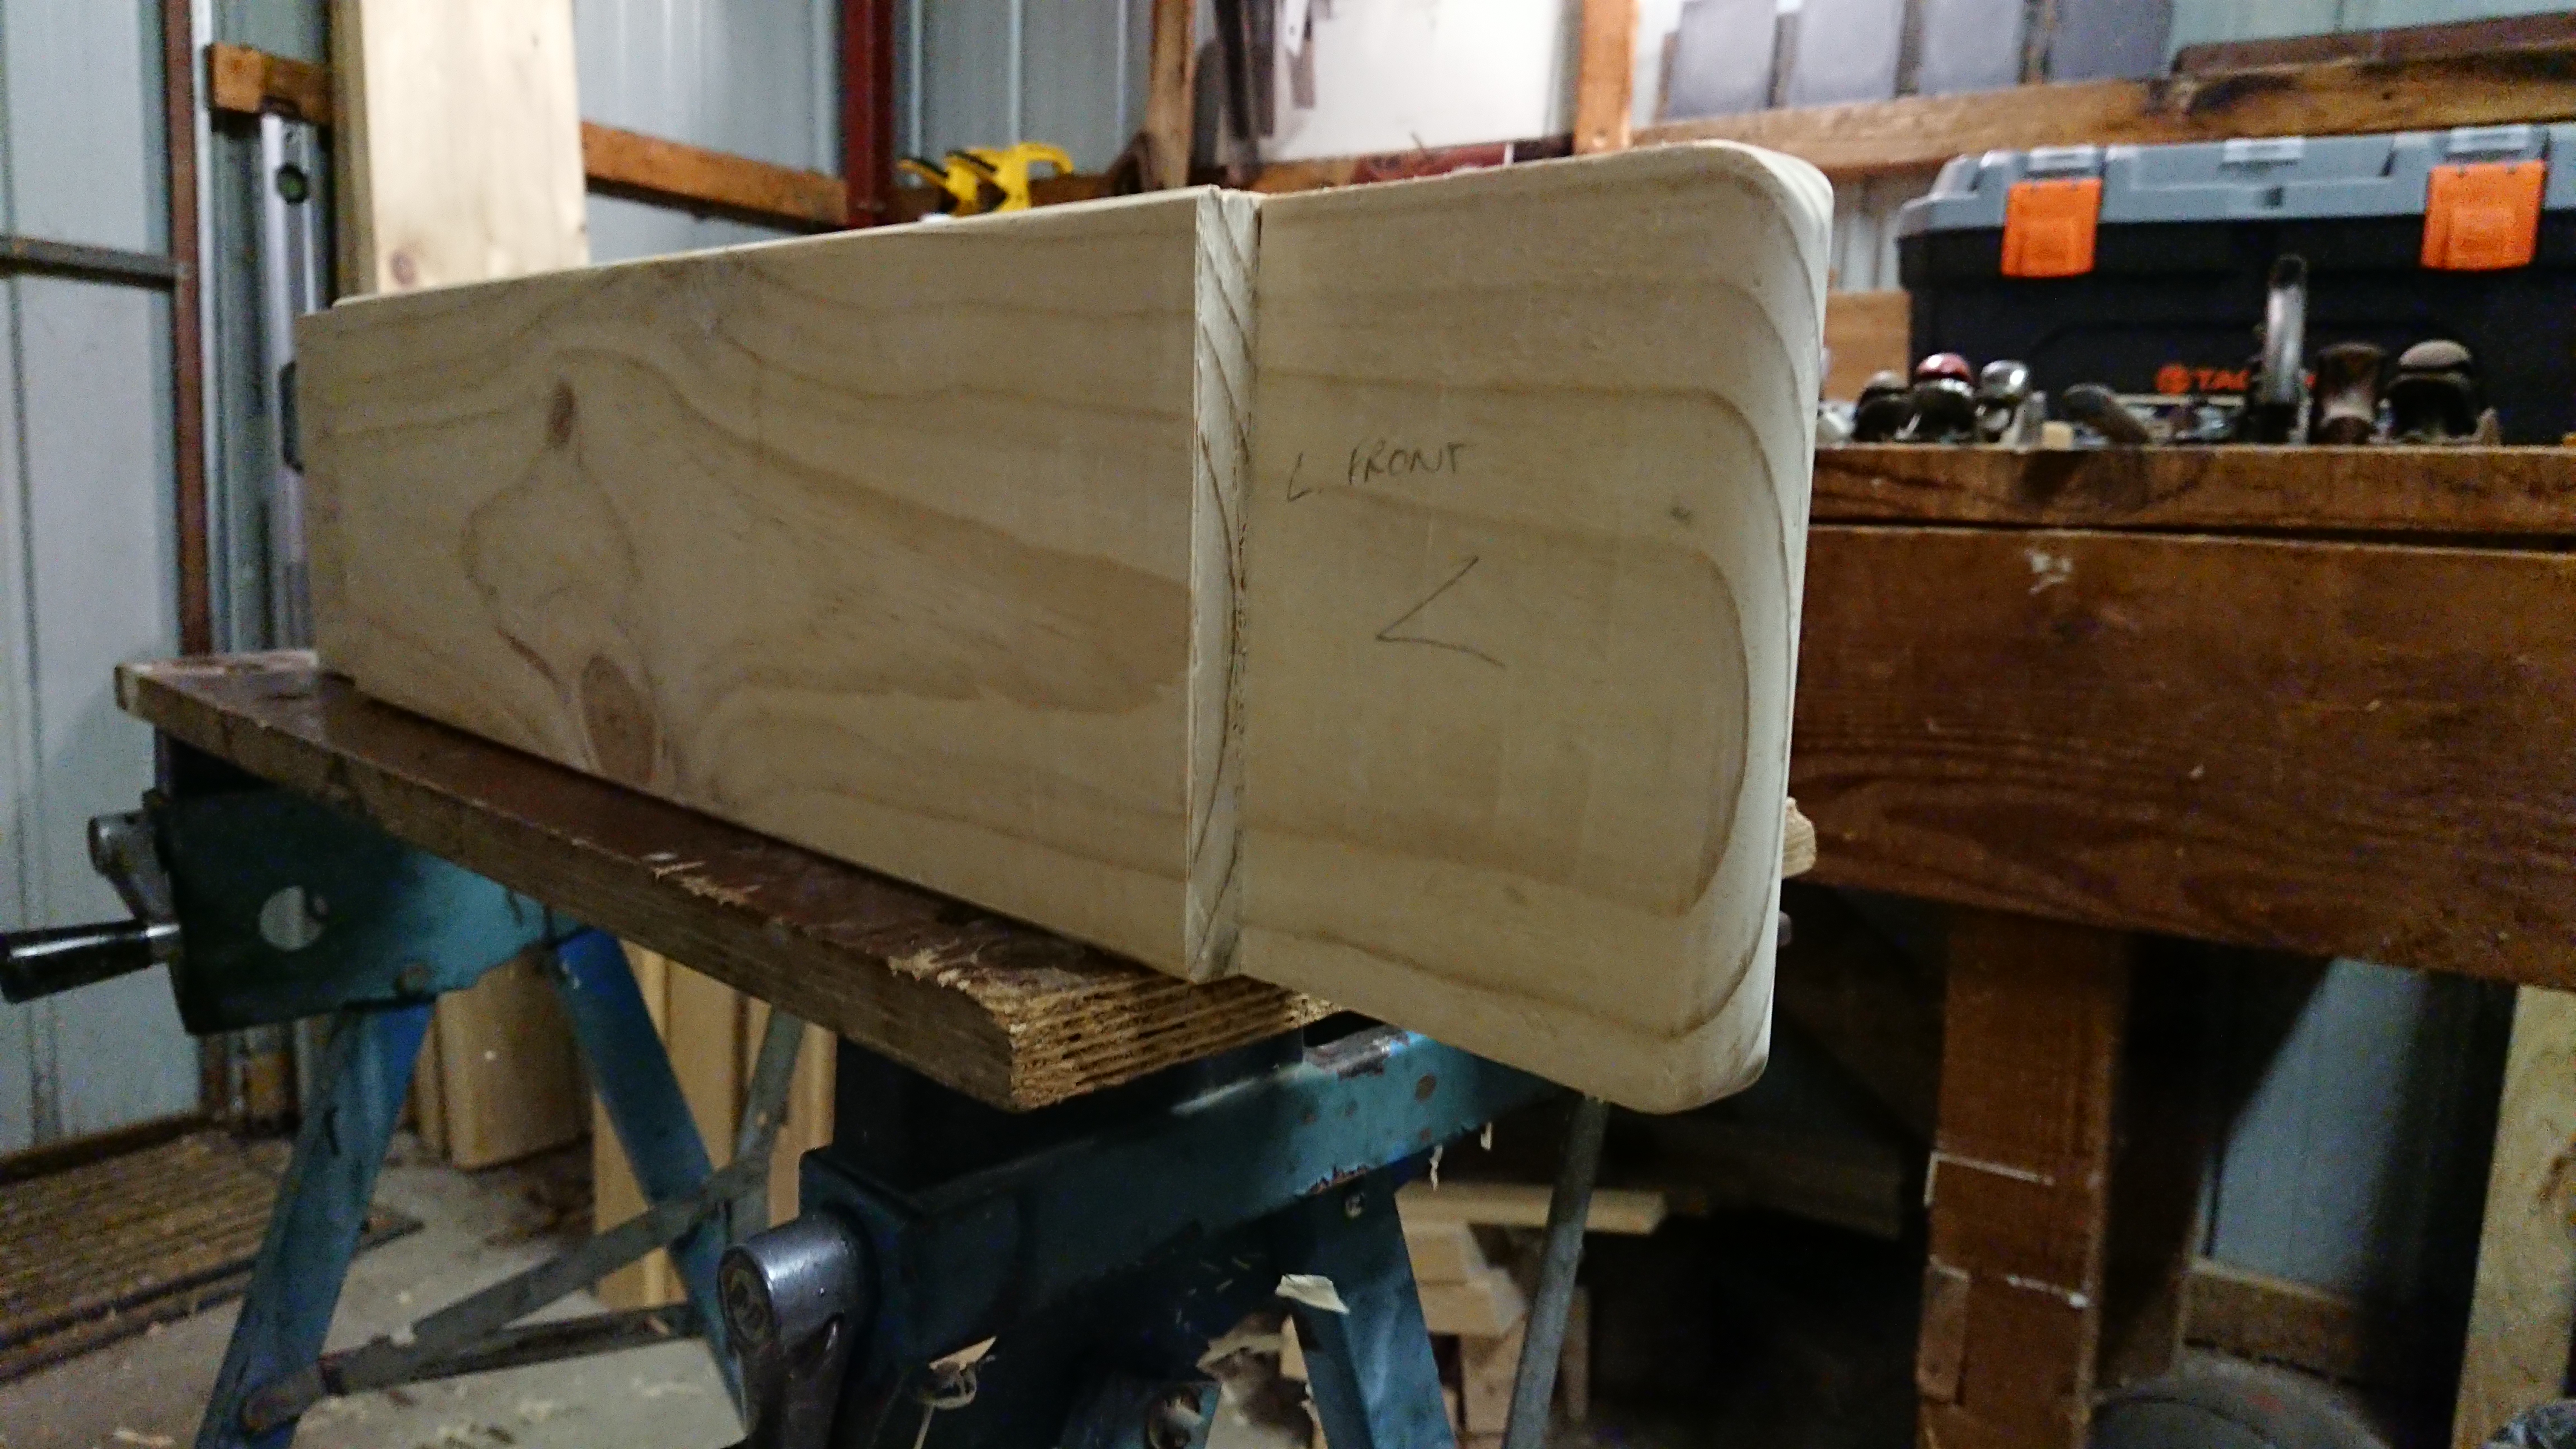
The next task was to plane all the pieces of the leg frame smooth, remove all the pencil lines, trim off the ends of the top rail tenons, and round over the protruding part of the bottom rail tenons.
The pieces all came up beautifully after planing them smooth. There’s something wonderful about watching the wood transform as you plane the surface to a glowy mirror finish.
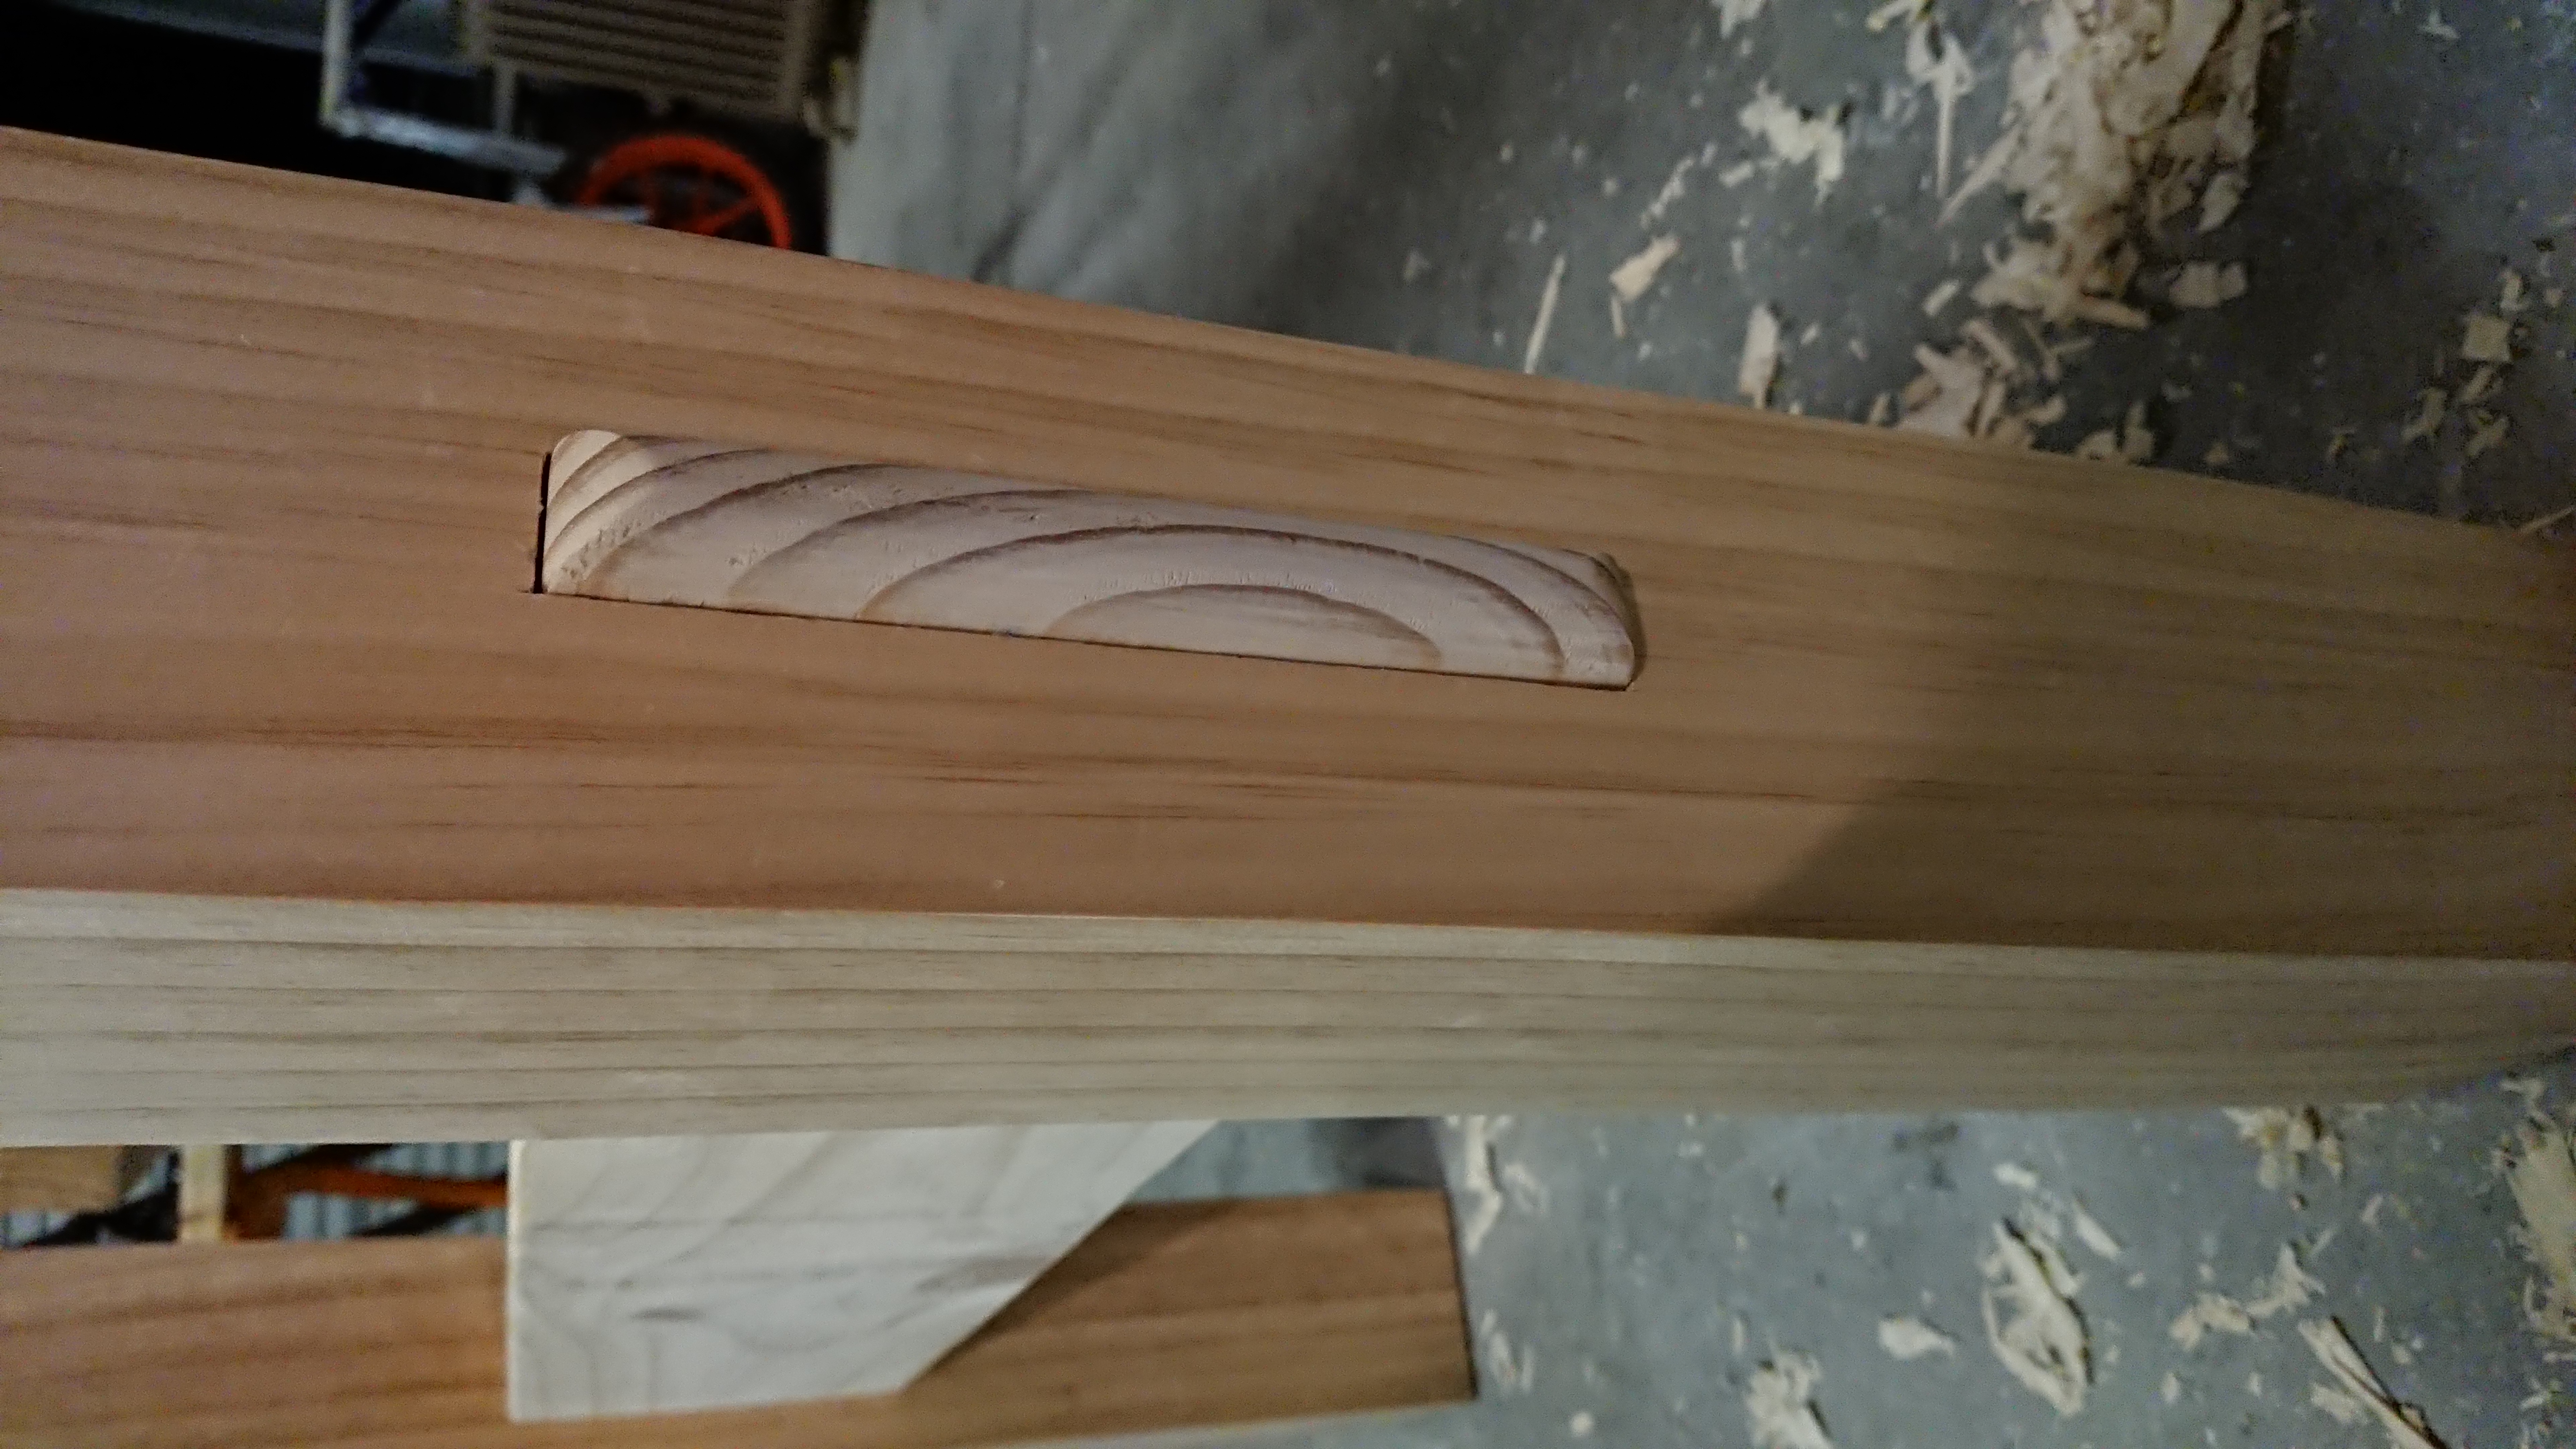
Then I got to work on creating the roundover on the ends of the bottom rail tenons. I used the plane to round over the sides of the tenon, and a combination of chisel and file to round over the top and bottom corners. A little sanding to smooth off and I was done. I’m very happy with the result.
Then I did a final dry run test assembly of the finished frame.
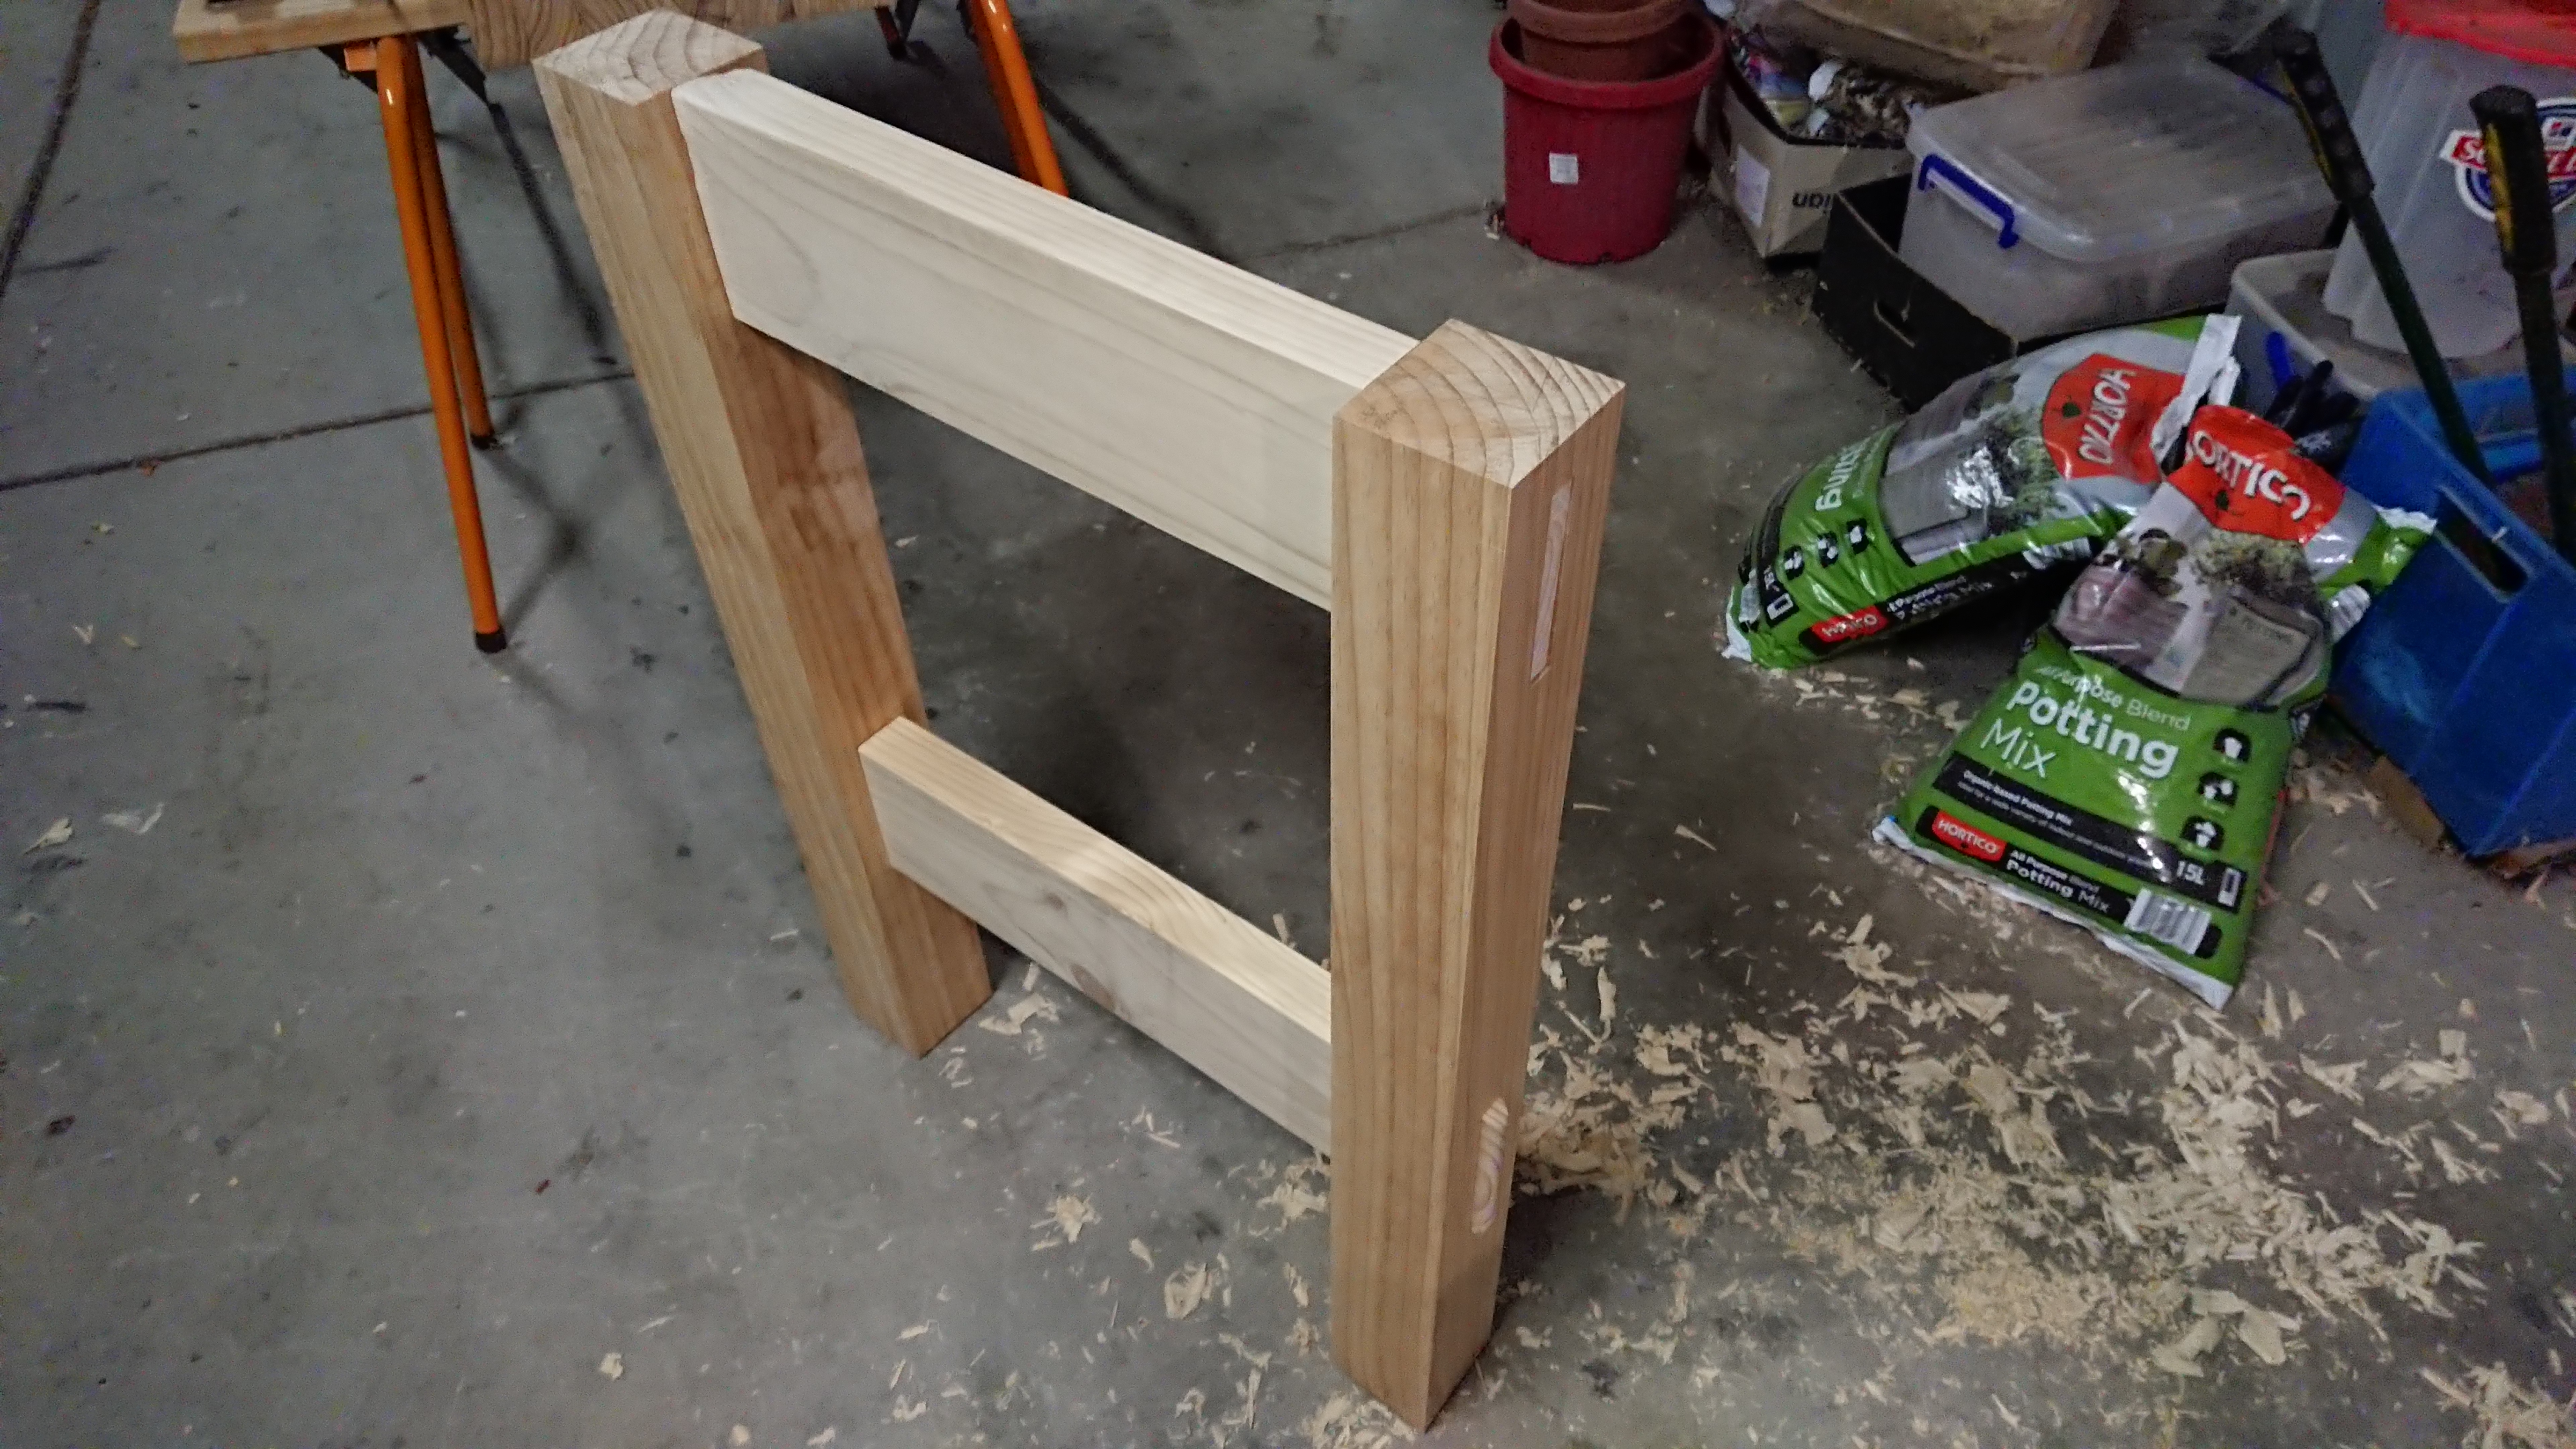
Everything looks great and I’m excited to get on to gluing this up in my next session.
Lessons learned
Check which face you are registering your gauge against! Especially when you flip a piece over to the other side. Seriously, I thought I had already learned that lesson, but apparently not.
What’s next
Gluing up the frame!