Fitting the third tenon
With both tenons on the top rail fitted, it was time to move on to the bottom rail for the same leg frame. As before, I laid out my tenon lines with the mortise marking gauge.
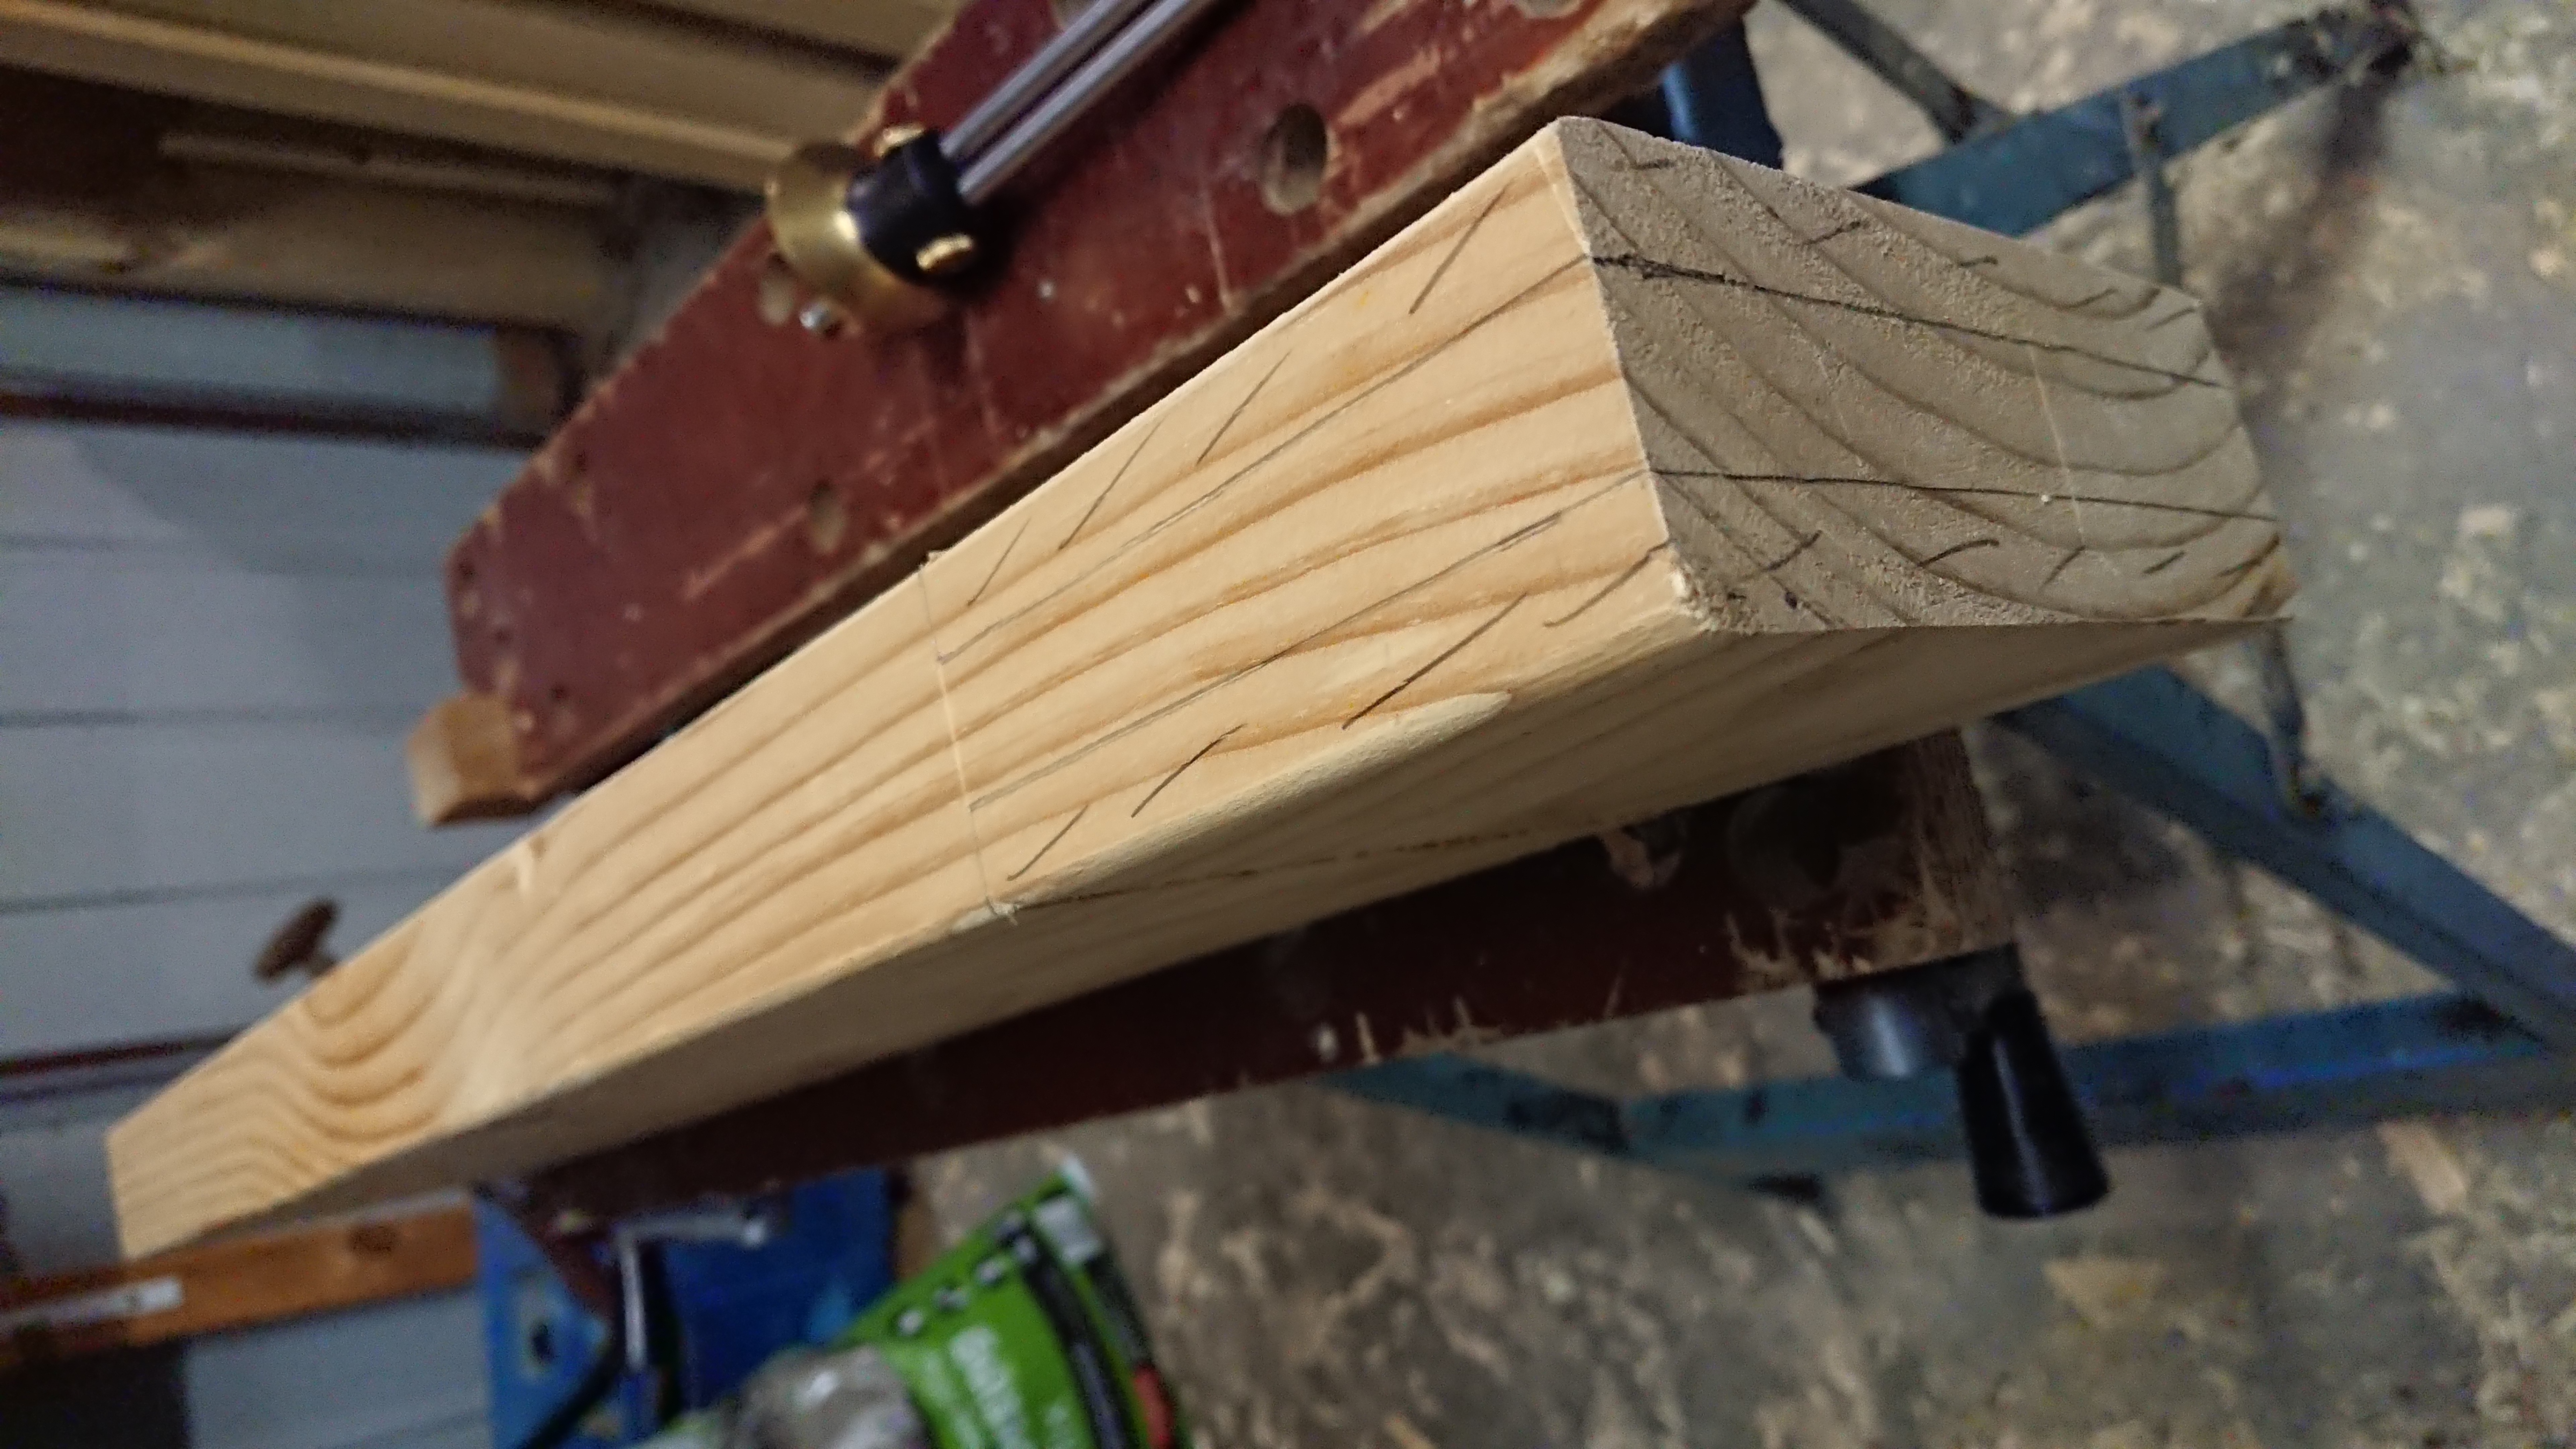
Looking at the grain, I thought that one of the sides would split quite well, but I was in for a bit of a surprise. The split went exactly as I expected on one side of the tenon, but when I went to split the other side, the split shot deep into the wood. I had to pull back and take a much shallower split, but even that shallow split went perilously close to my gauge line.
The awkwardness of the grain meant that I needed to take a lot more time and a lot of extra work with the chisel to get the tenon cheek down to the right depth.
On the other side, I used a saw. The practice with the first two tenons definitely paid off here, I was able to cut quite close to my line, and reasonably quickly and accurately.
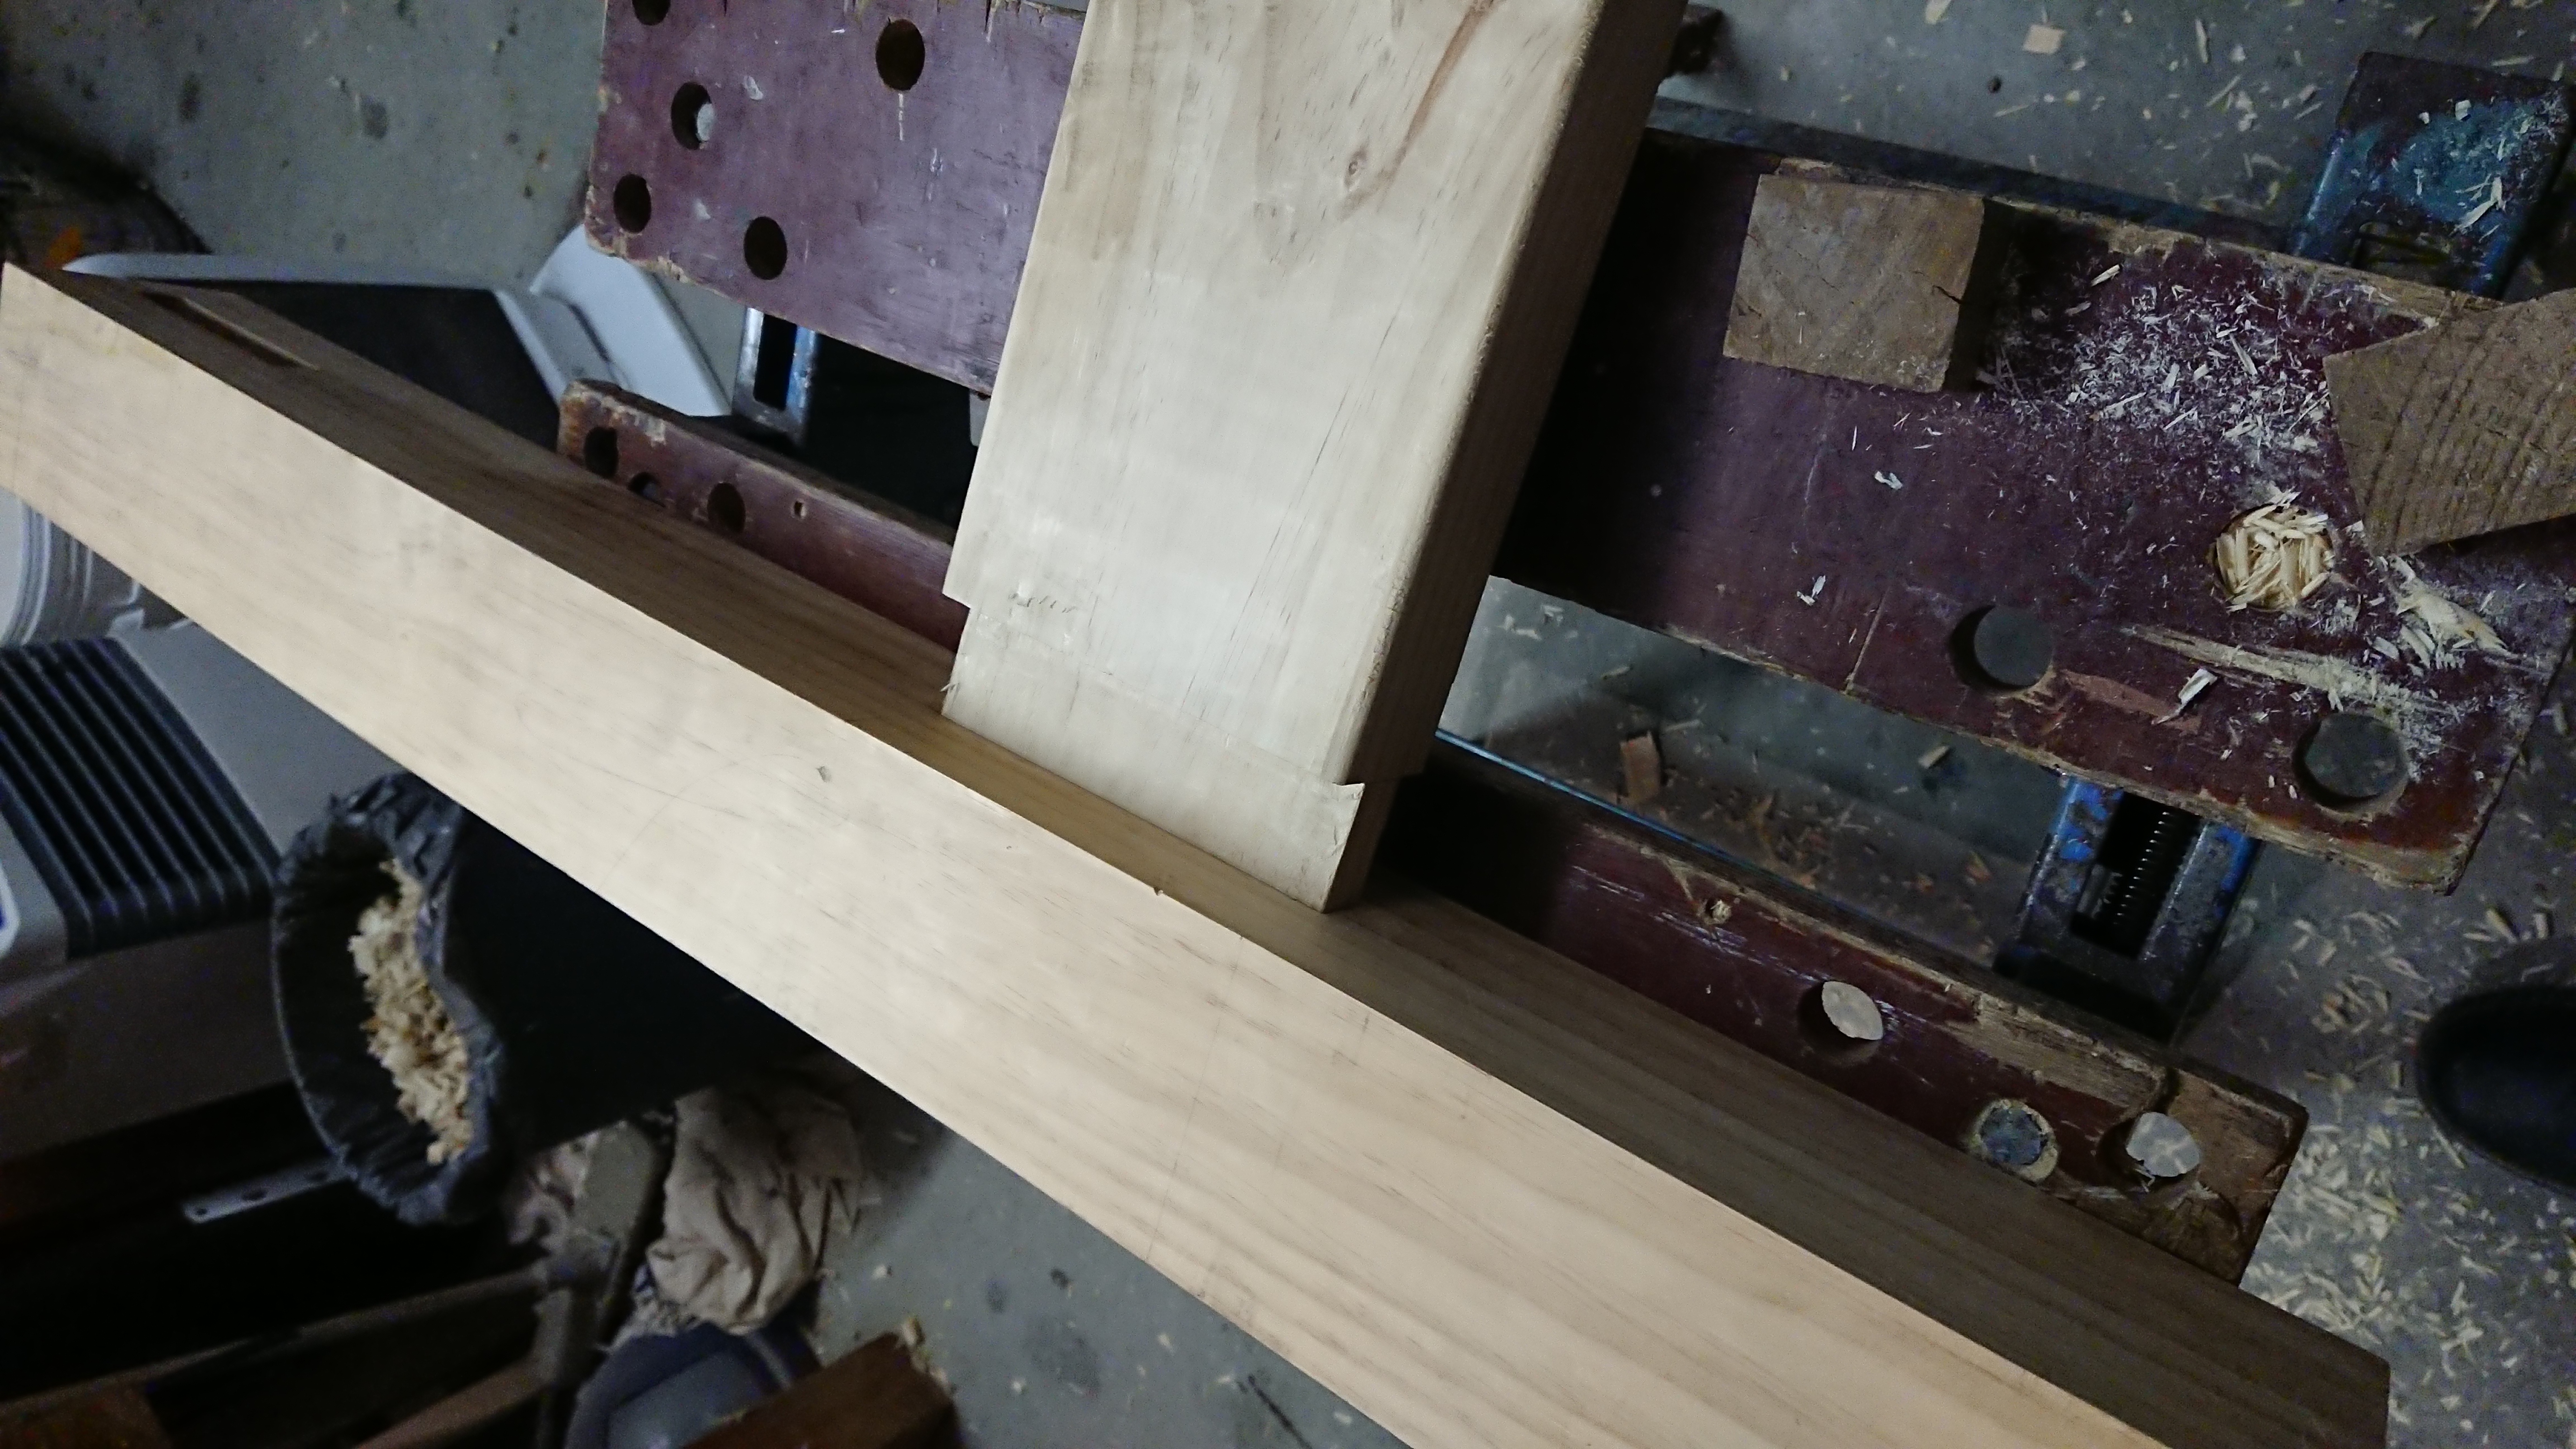
Now the mortise that this tenon was going into was the very first mortise I cut on this project, which was very badly skewed. So before attempting to fit the tenon, I took some time to refine the walls of this mortise. And boy did it need the refinement. The mortise was a real mess, it looked like I’d cut it with a rusty chainsaw. To be honest, I had my doubts about whether it would be able to form a decent joint.
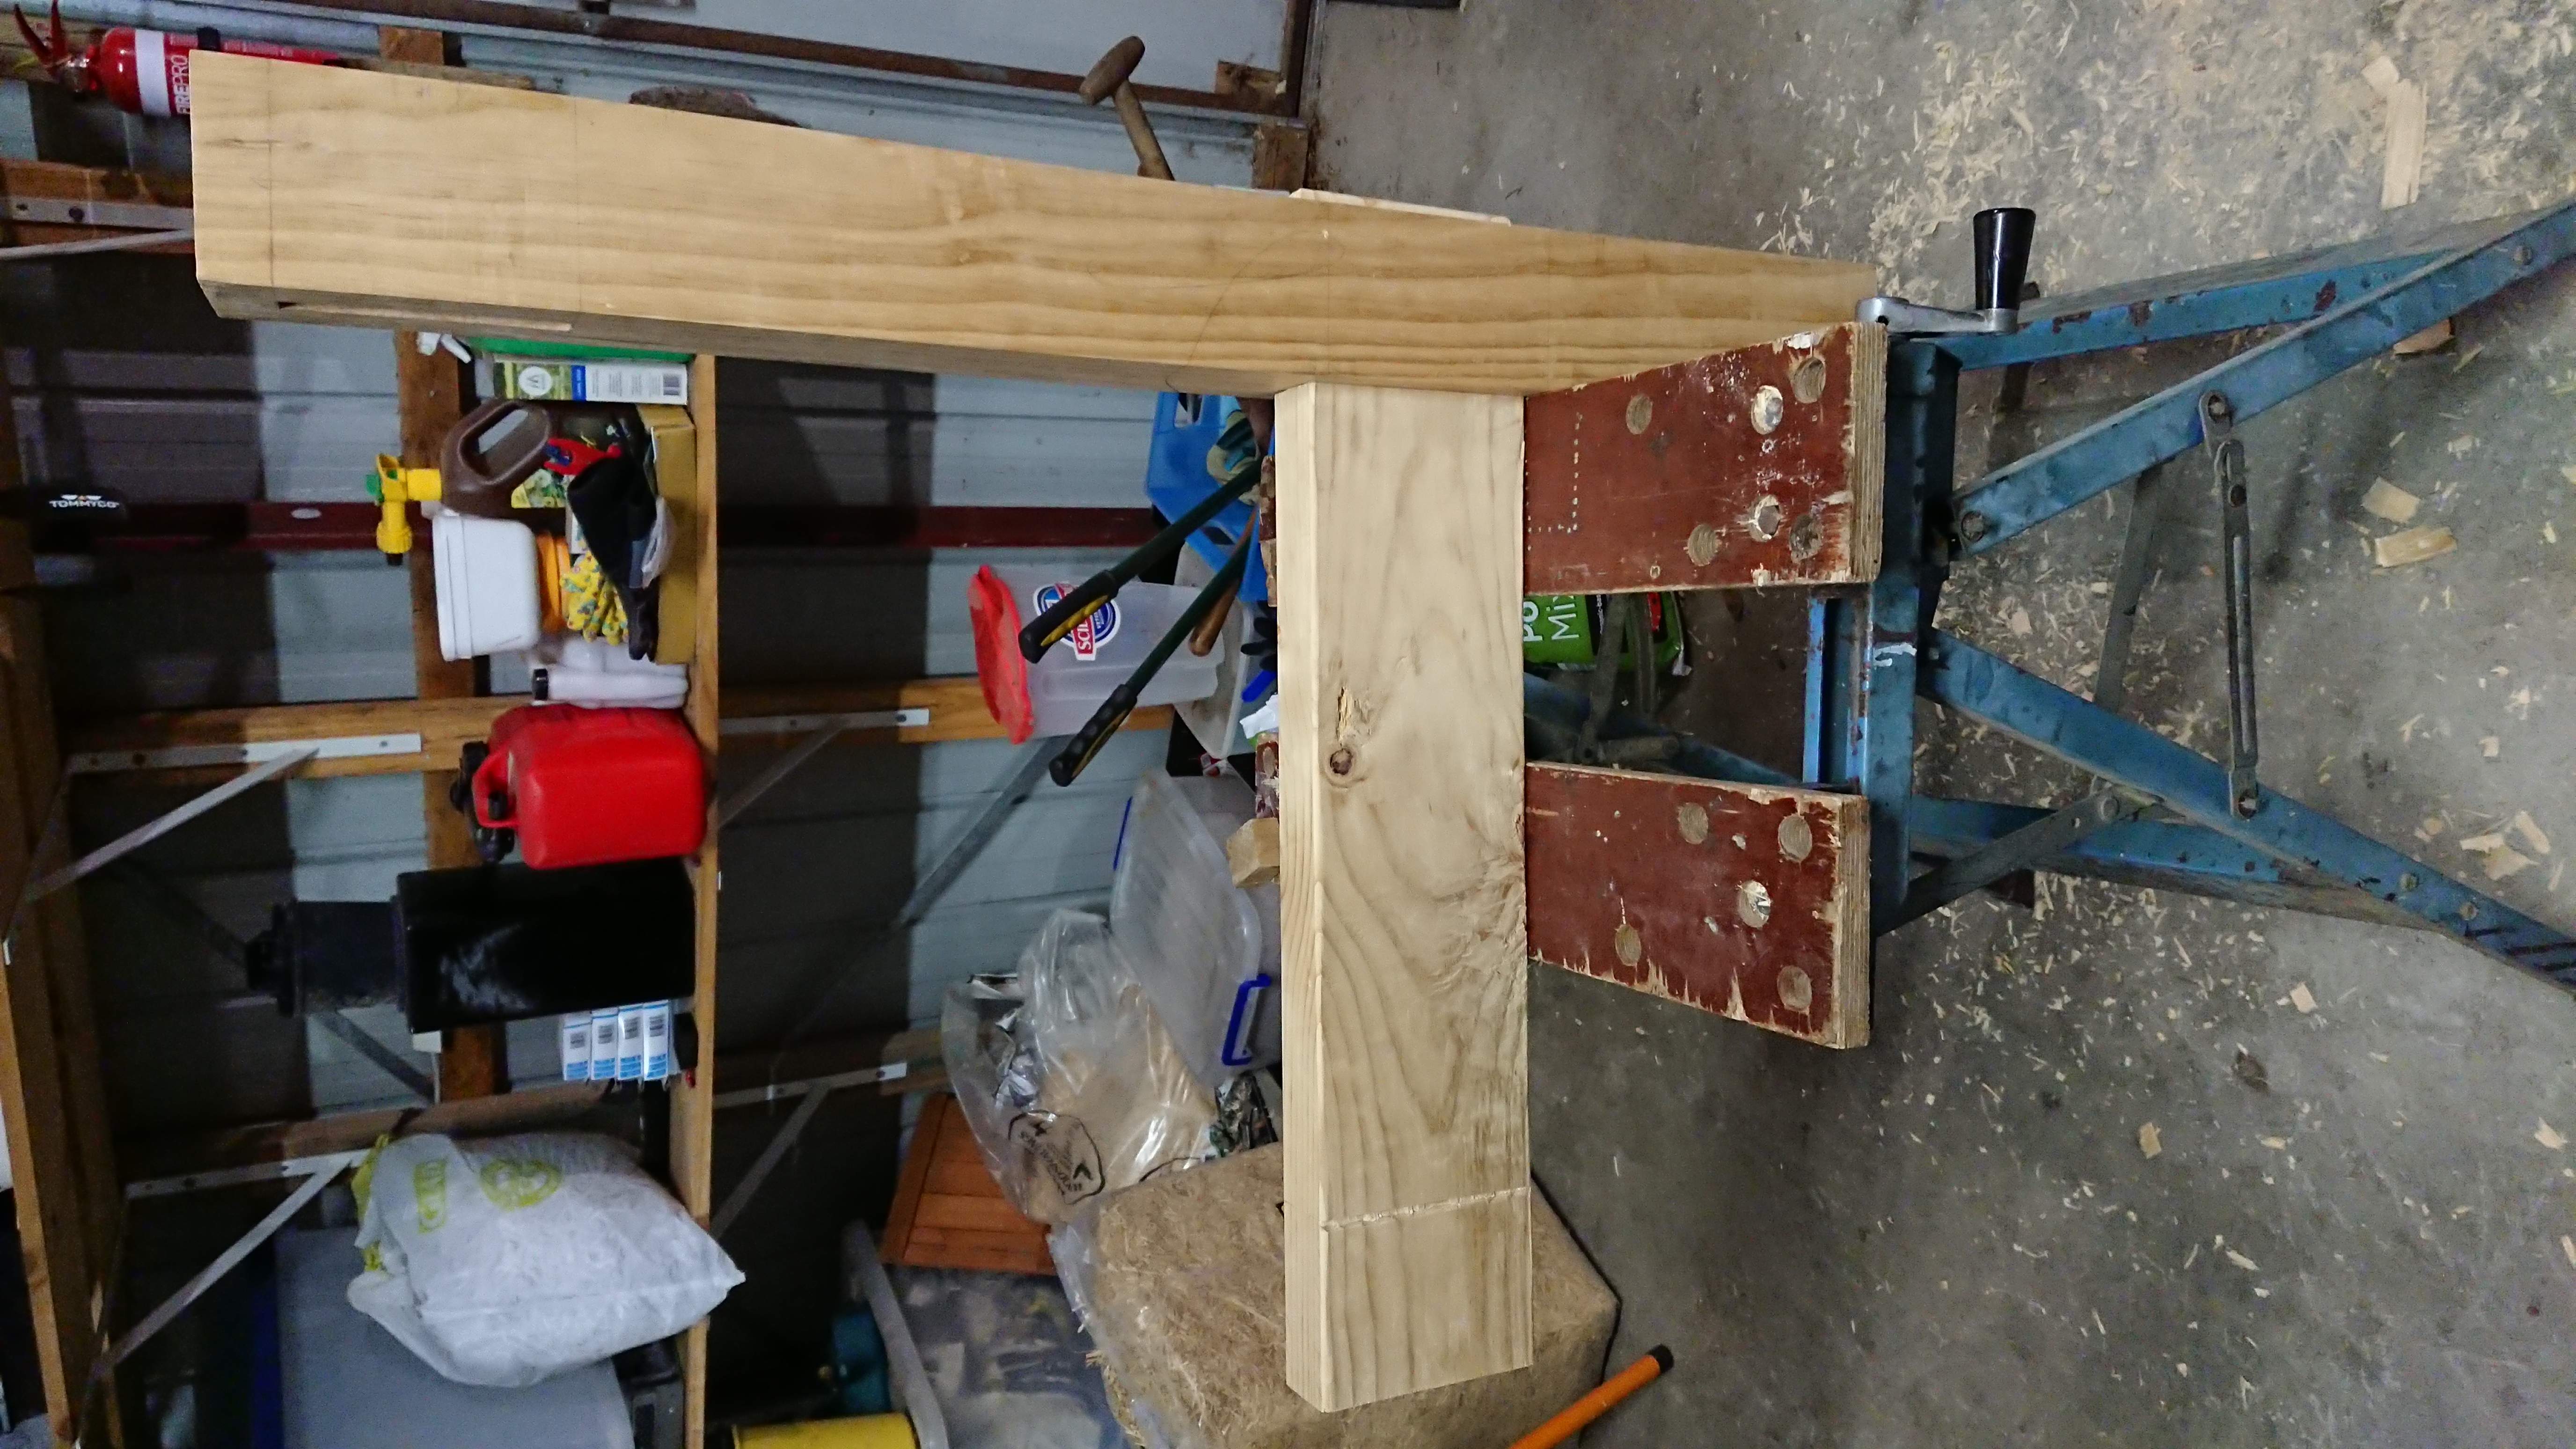
Once I was satisfied with the mortise walls, I started the process of smoothing down the tenon cheeks, and fitting the tenon to the mortise.
In the end, the fit was actually better than I expected, given the quality of the mortise. It seemed to hold the tenon very firmly, and in fact, was perhaps even a little too pinchy in the final inch or so. I might come back and refine a little more to relieve that, depending on how the fully assembled frame looks when I get it into the clamps.

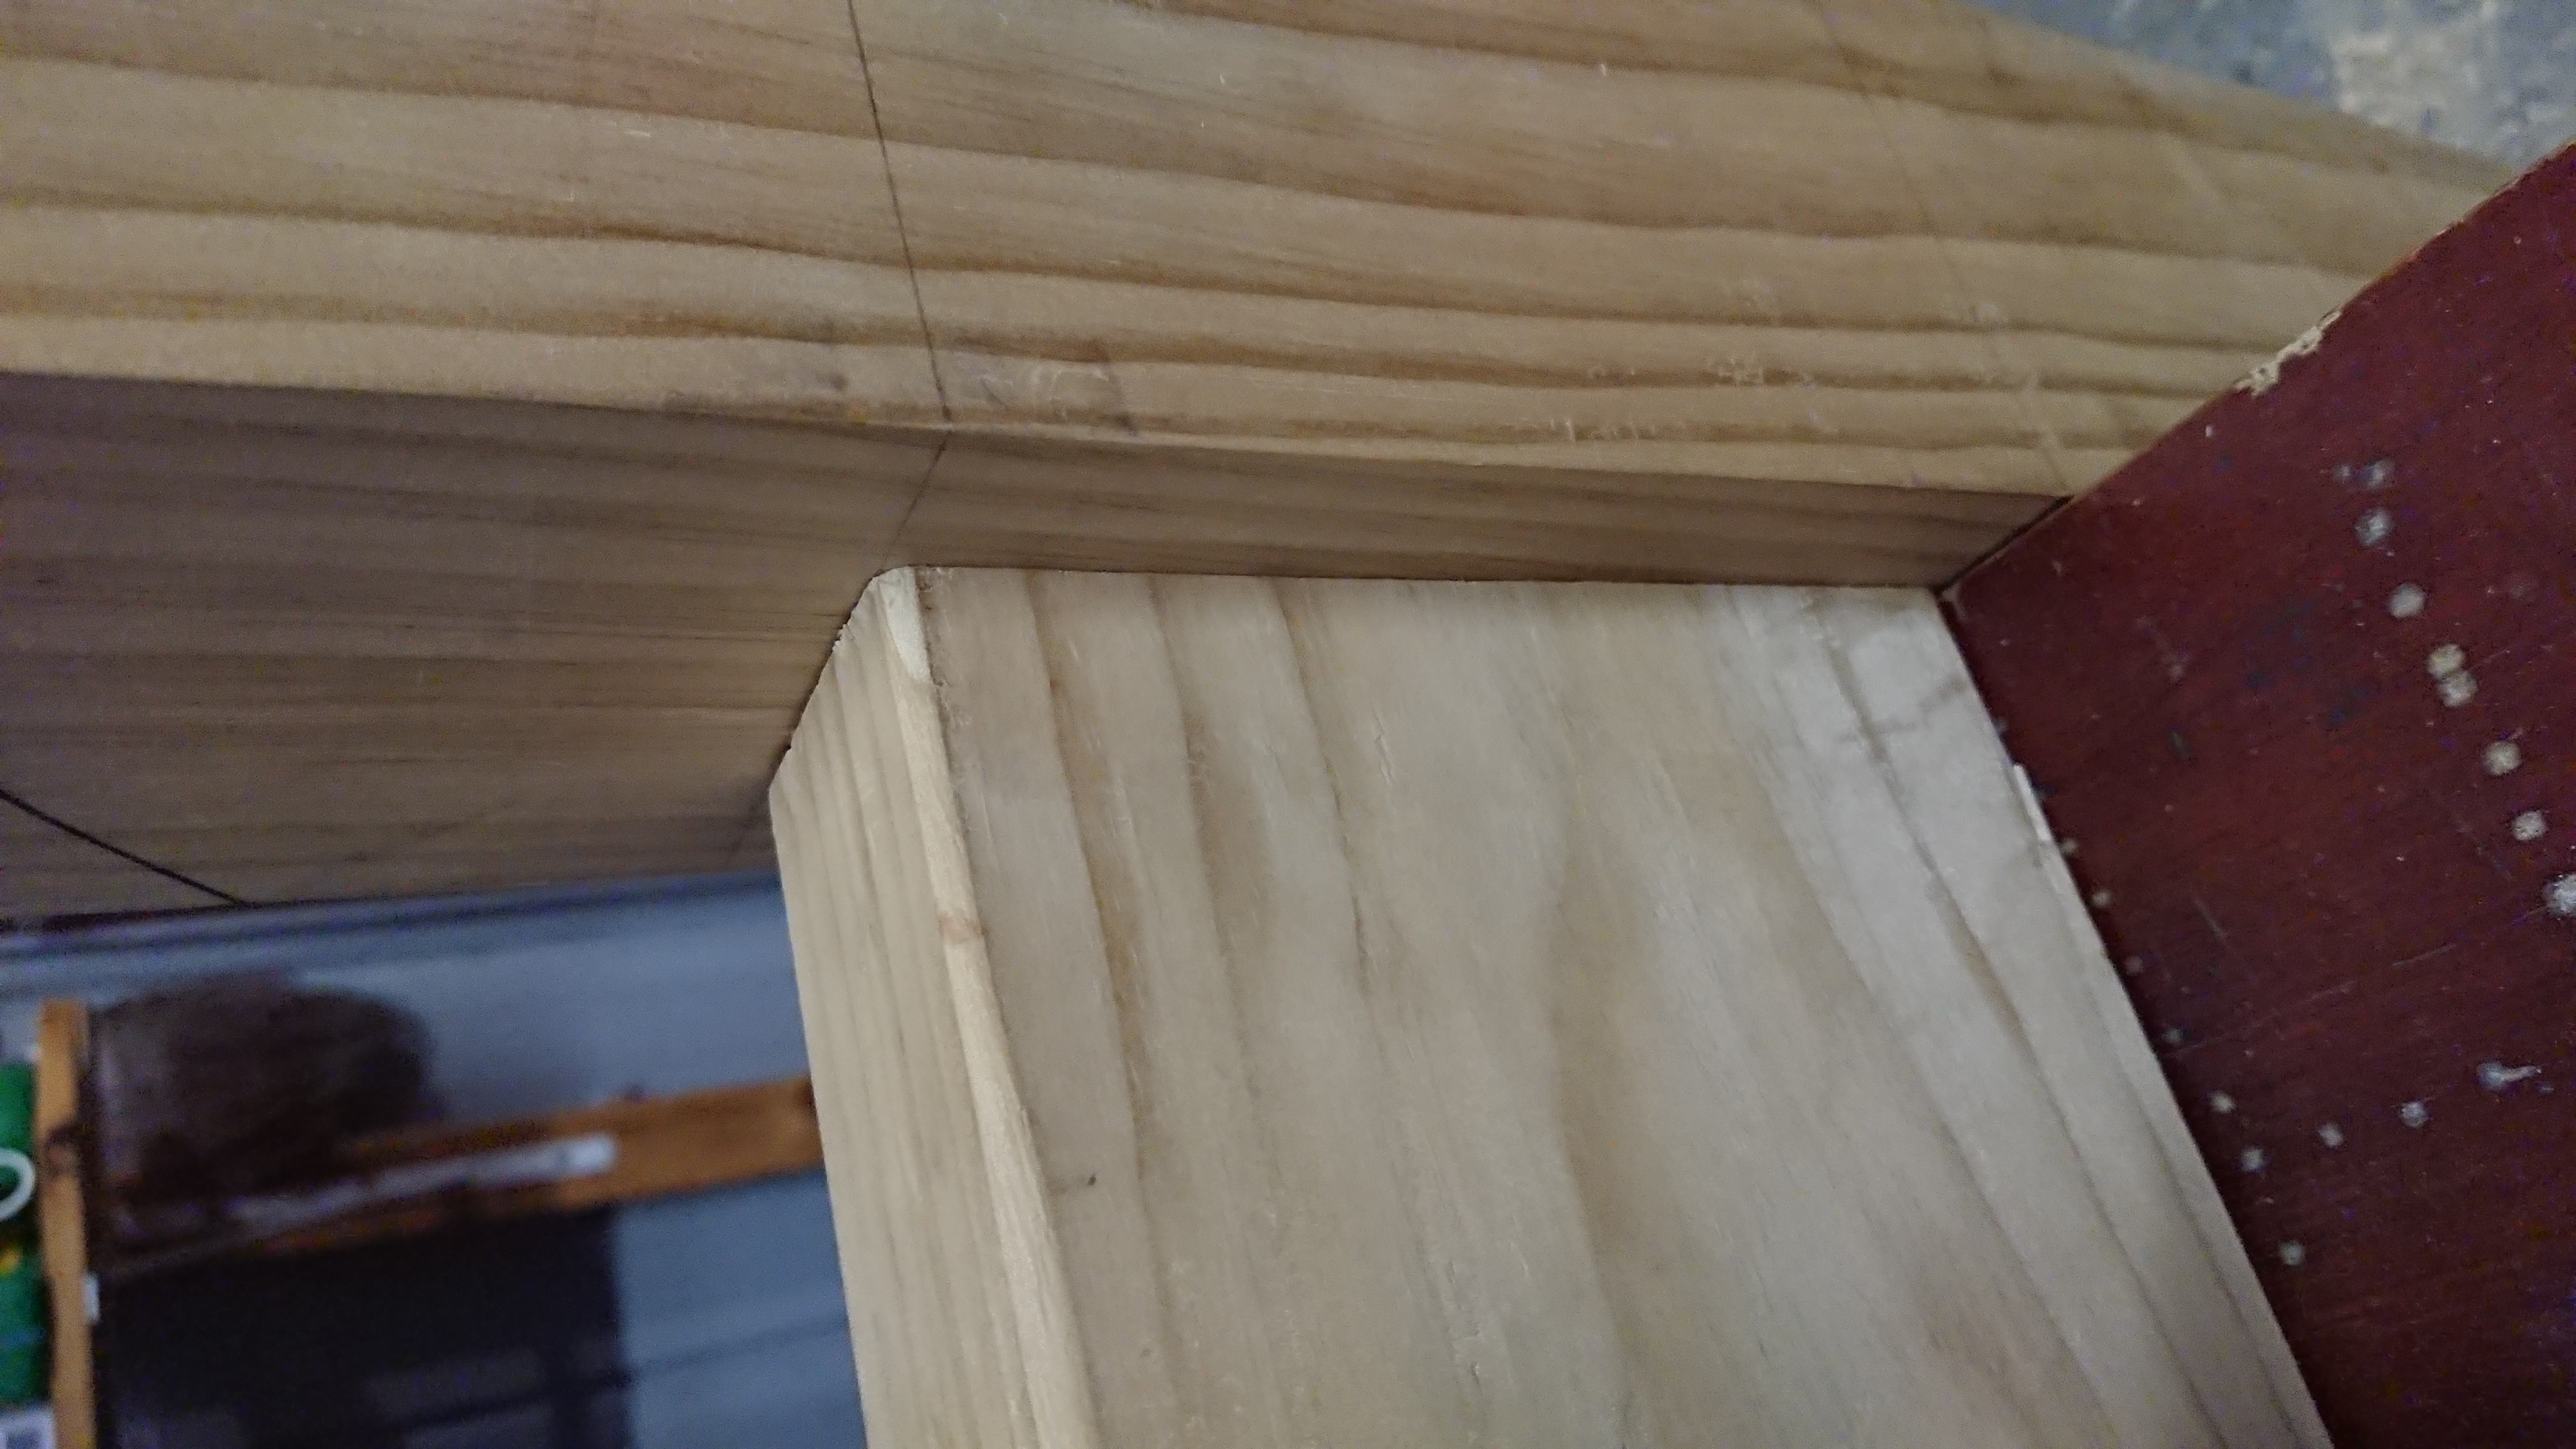
I did find that the rail piece was just a little bit wider than the mortise was tall, which meant that in order to fit the tenon, I had to trim a small amount off the top of it – only about a millimetre. I didn’t really find a good solution to doing that trim, the bench plane wasn’t helpful and I had difficulty getting my rebate plane to work with it. I ended up doing it mainly by eye with the chisel, which wasn’t ideal. I got there in the end though.
Lessons learned
- The growth rings are not a reliable indication of grain direction!
What’s next
The other tenon on this bottom rail, which will be final tenon for this leg frame assembly.