Fitting the fourth tenon & assembling the leg frame
Over the past few days I’ve been working on the 4th and final tenon of this first leg frame, on the bottom rail.
I chose to split down both sides of this tenon. One of the sides split very easily and straight down, which was very convenient. The other side was a bit like one of my previous splitting efforts – favourable on one end of the tenon, but reversing to unfavourable on the other side. This time I was prepared though, and took an exploratory split on both sides before committing, so it wasn’t a problem.
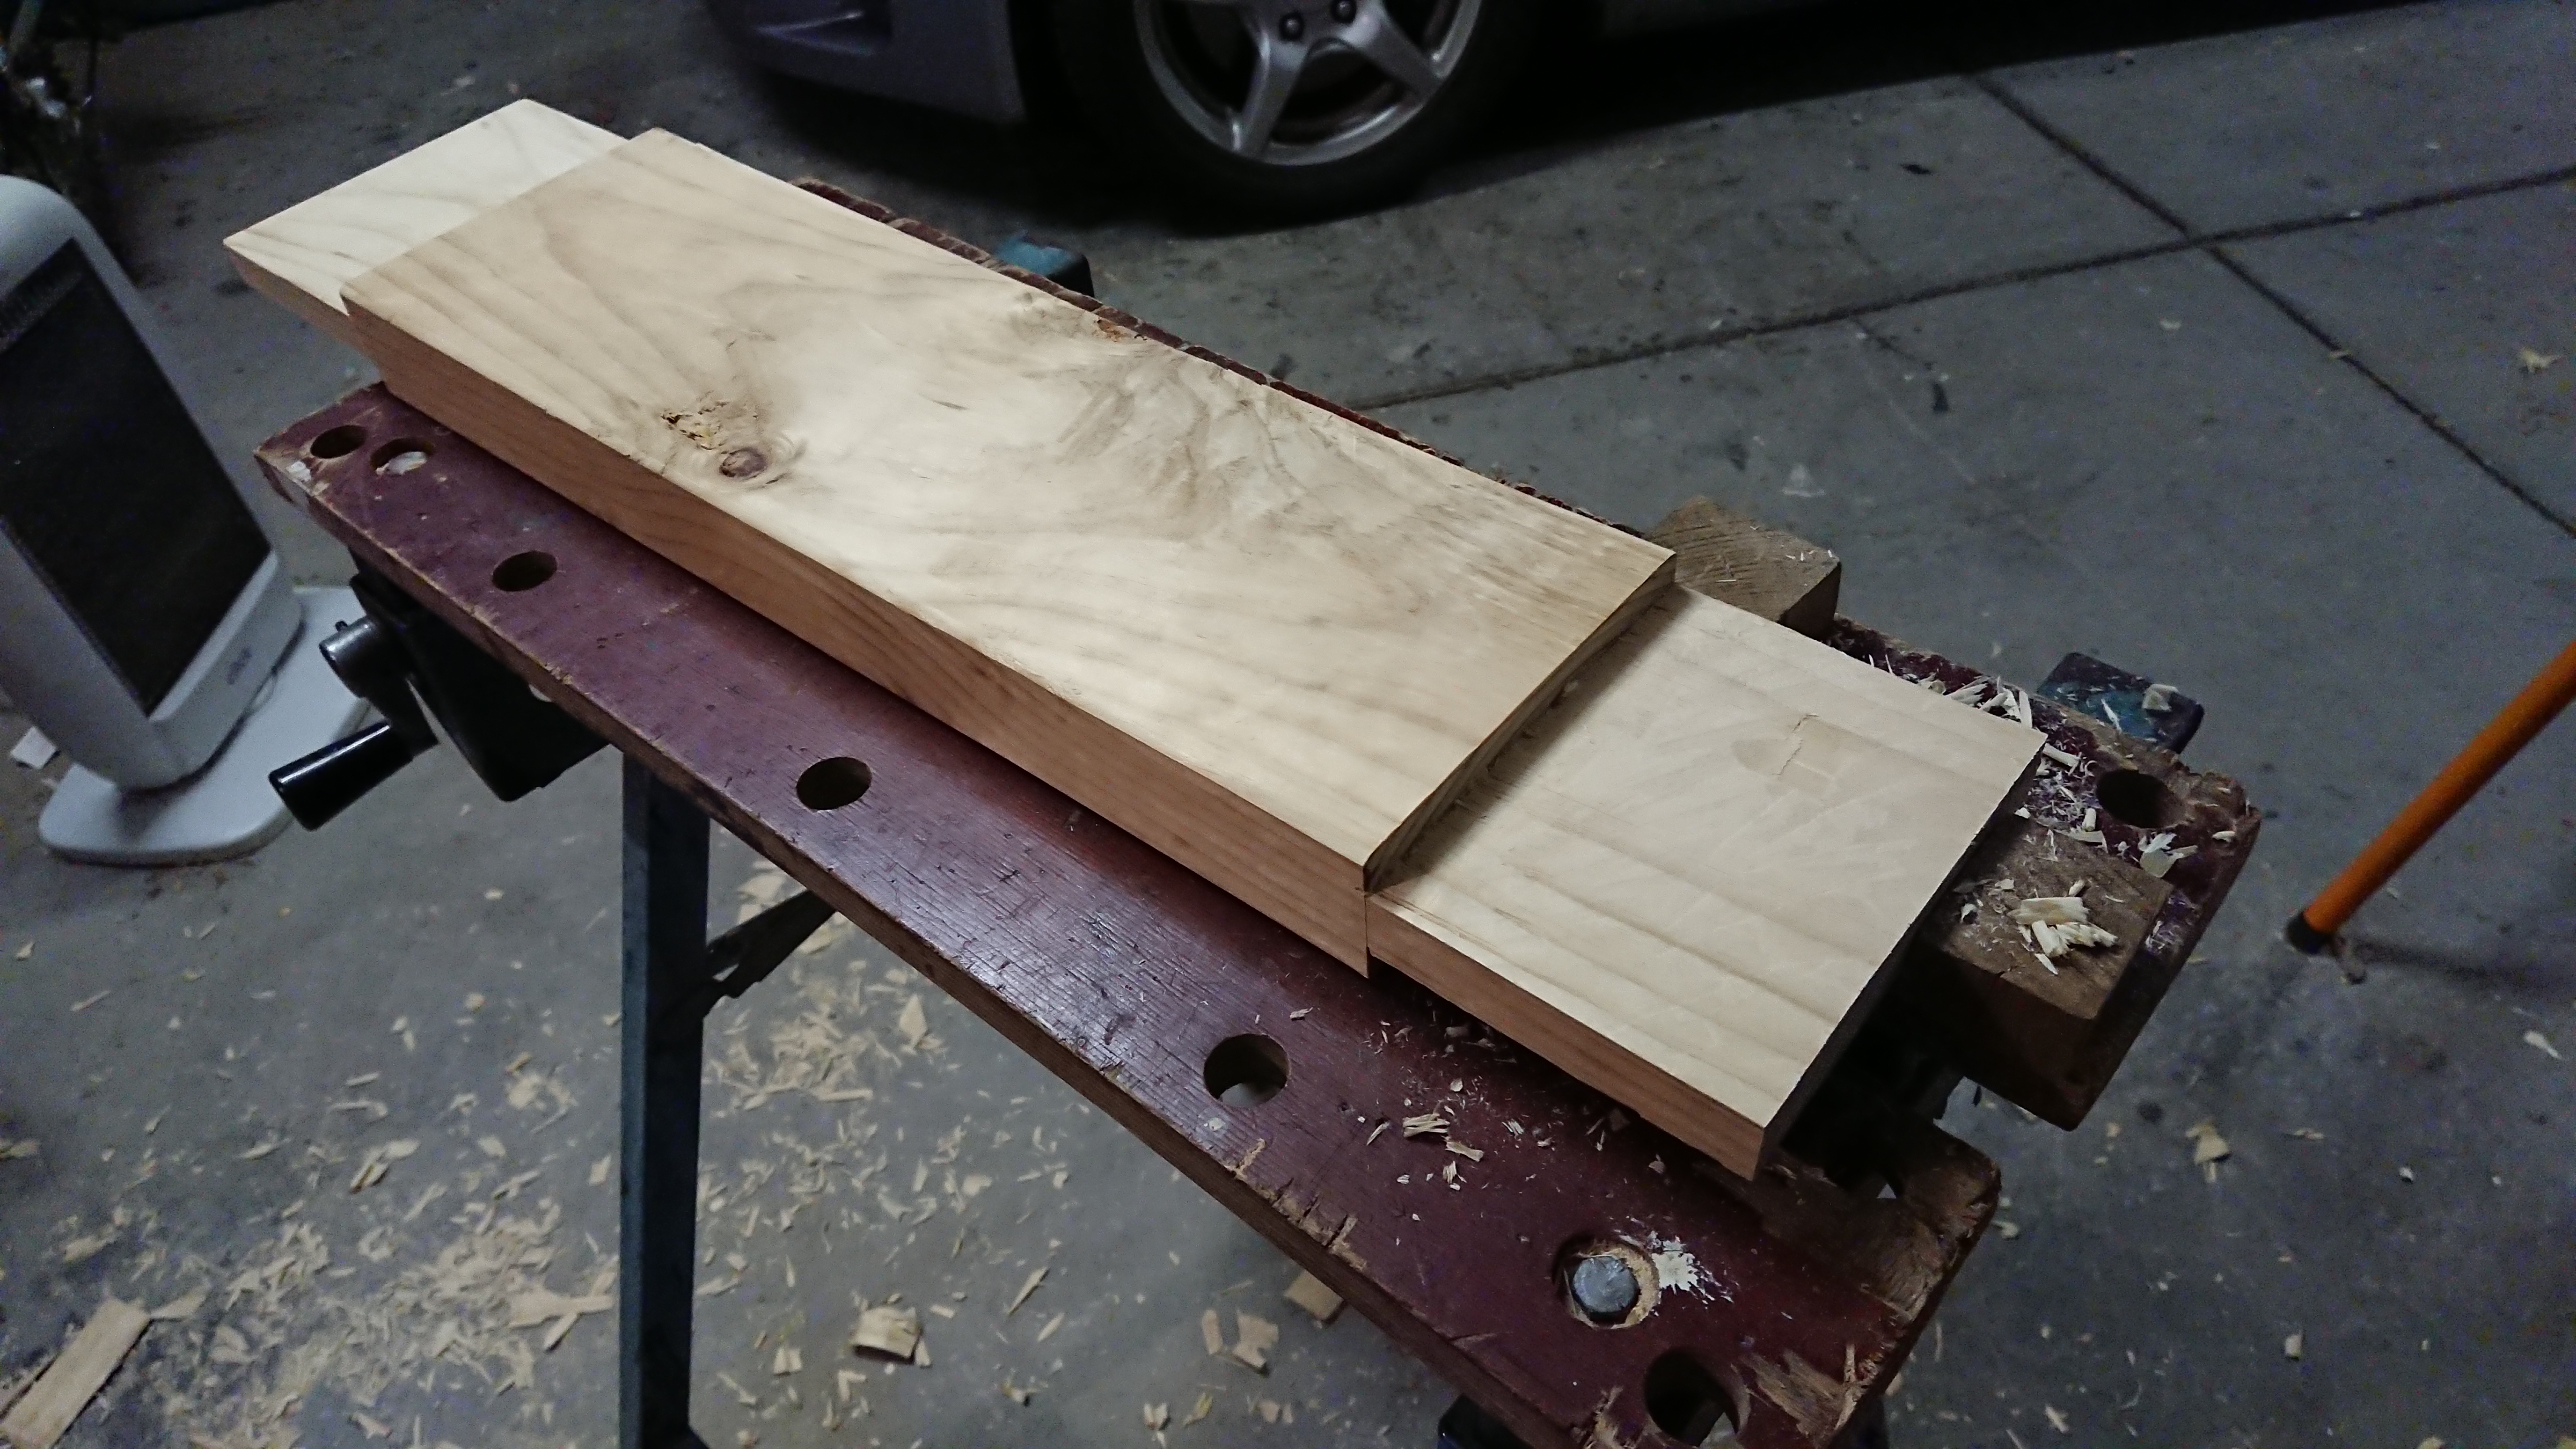
Then I got to work on fitting the tenon. This mortise needed a fair bit of work before it was clean enough for a fit, so I took the time to get that done and then gradually planed down the tenon cheeks until I got a positive fit.
This was a nice, crisp joint on the inside. Probably the best one of the lot, although the exit hole does look slightly baggy around the protruding tenon. I think this is probably due to me denting the edges of the mortise while I was levering out and cleaning up the mortise.
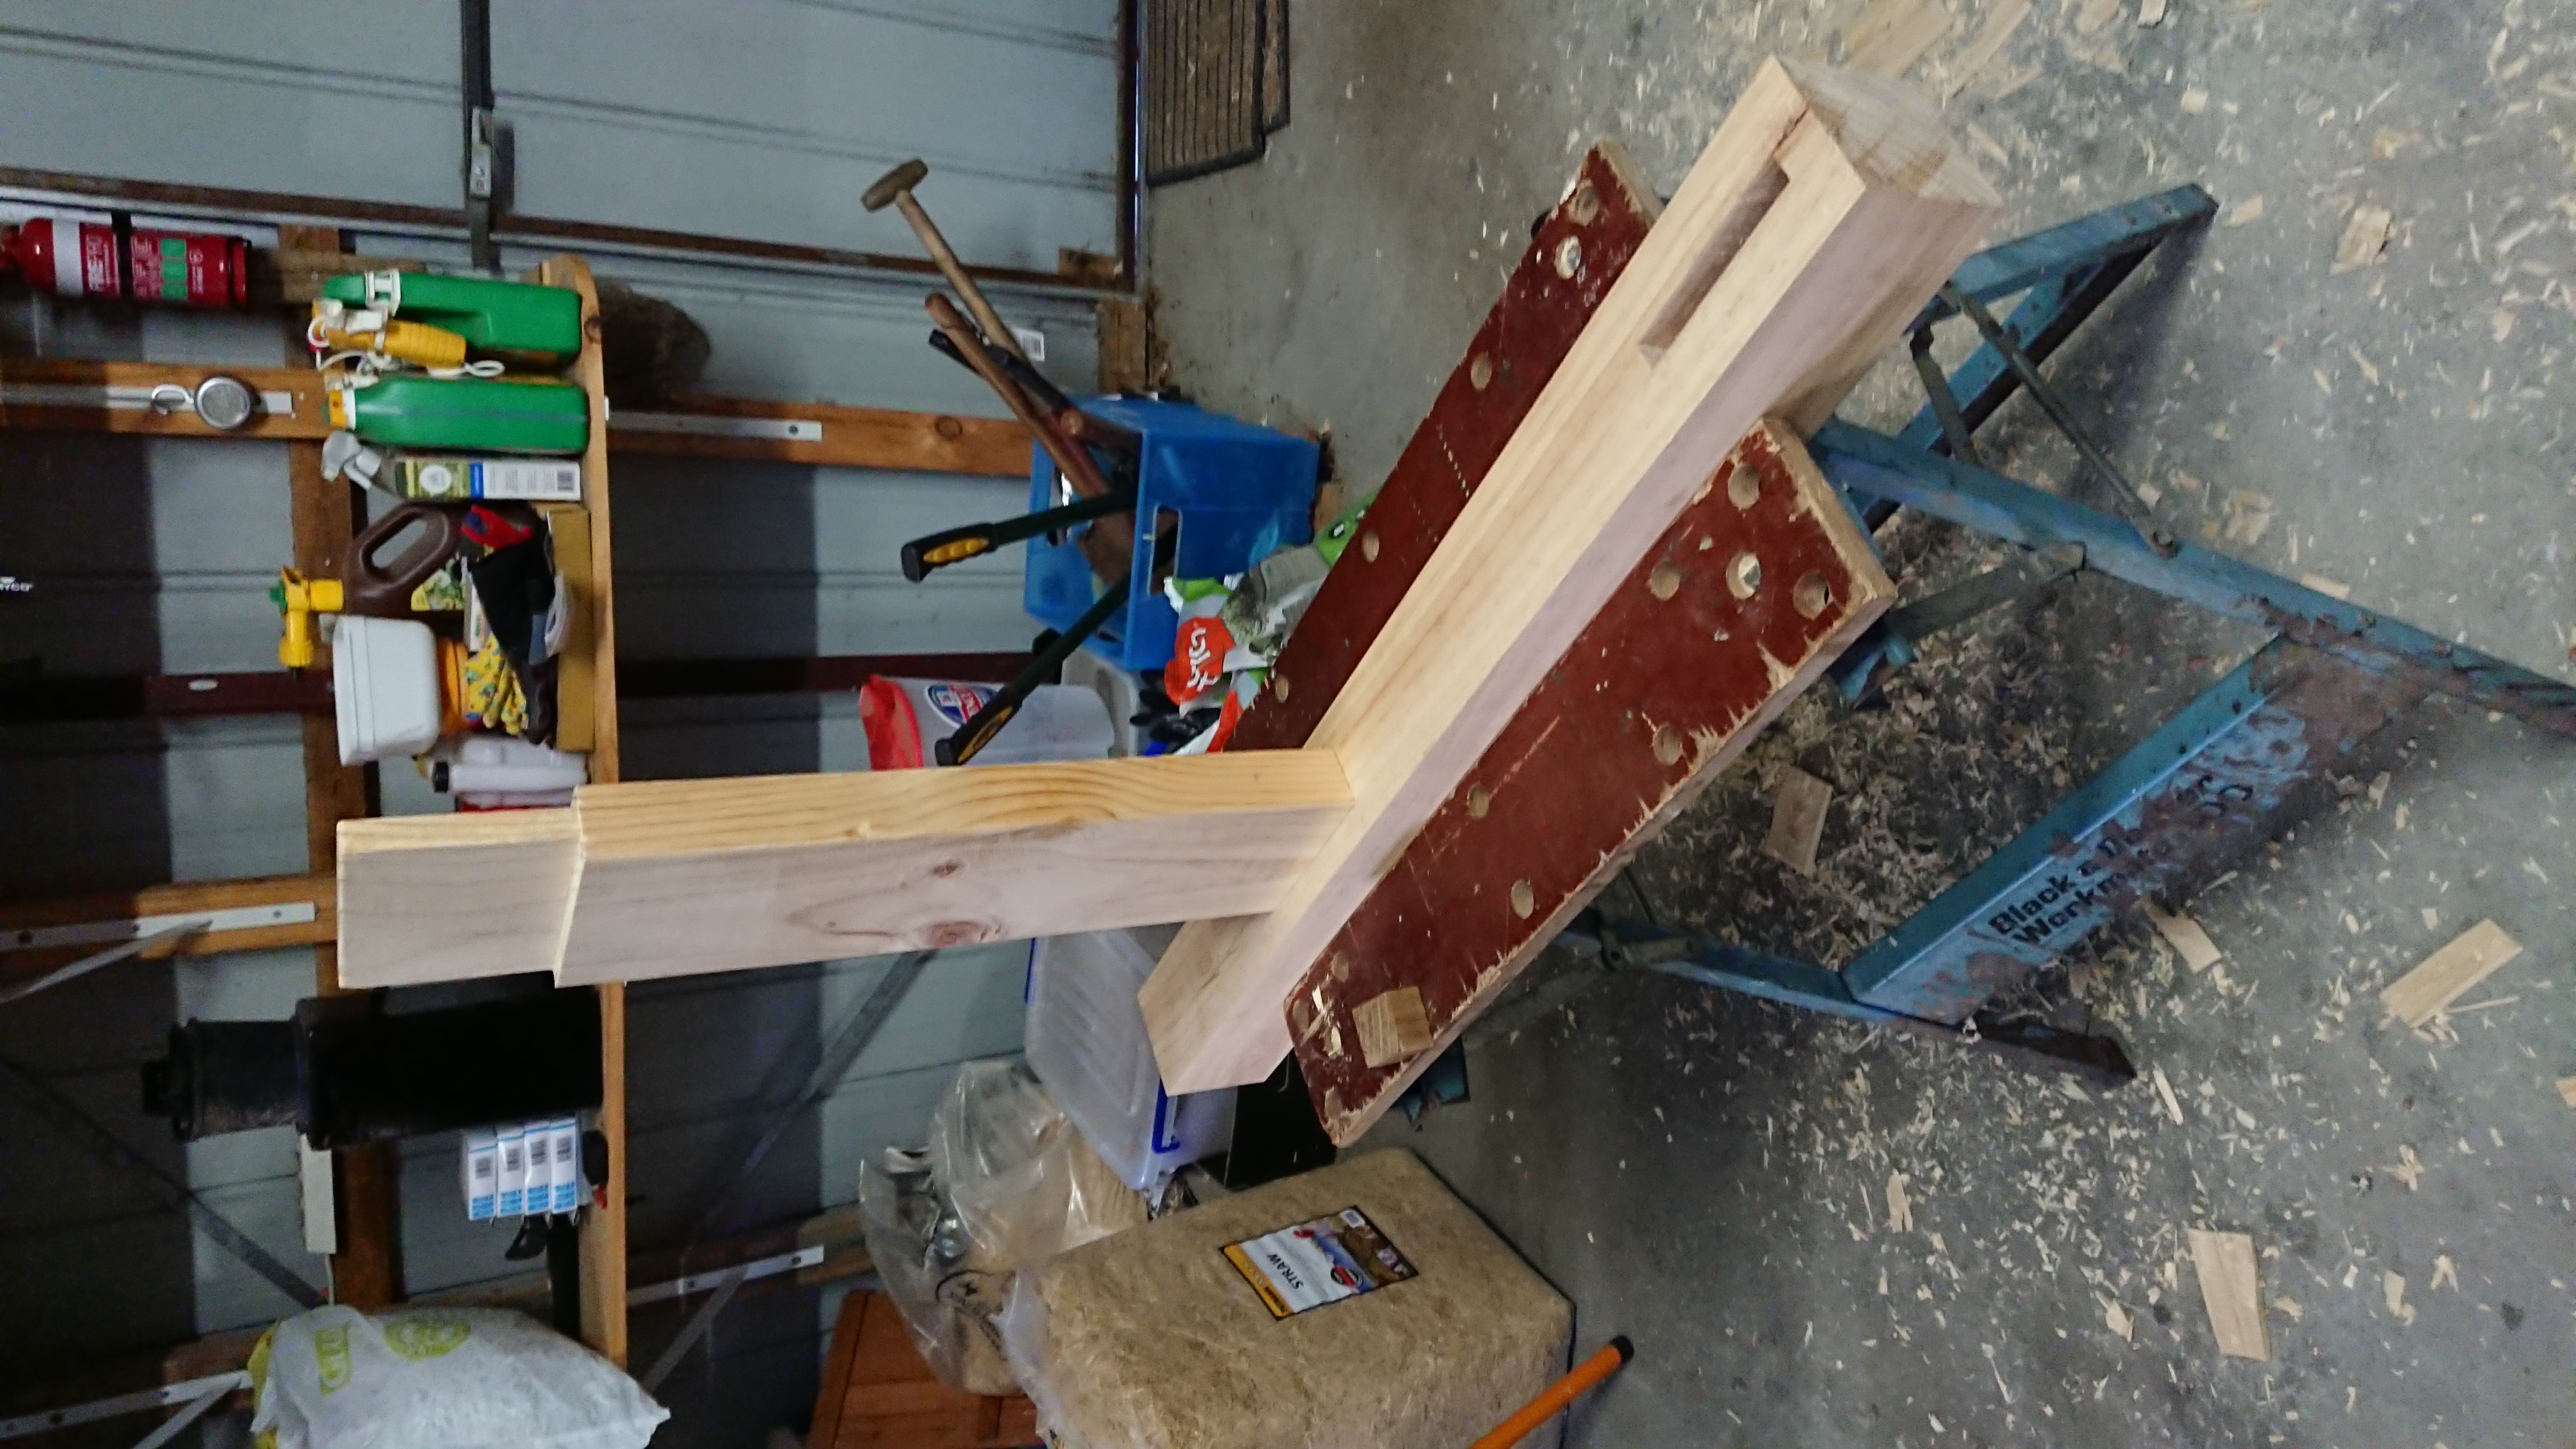
With the tenon fitted, it was finally time to assemble the leg frame, something I have been looking forward to for a very long time.
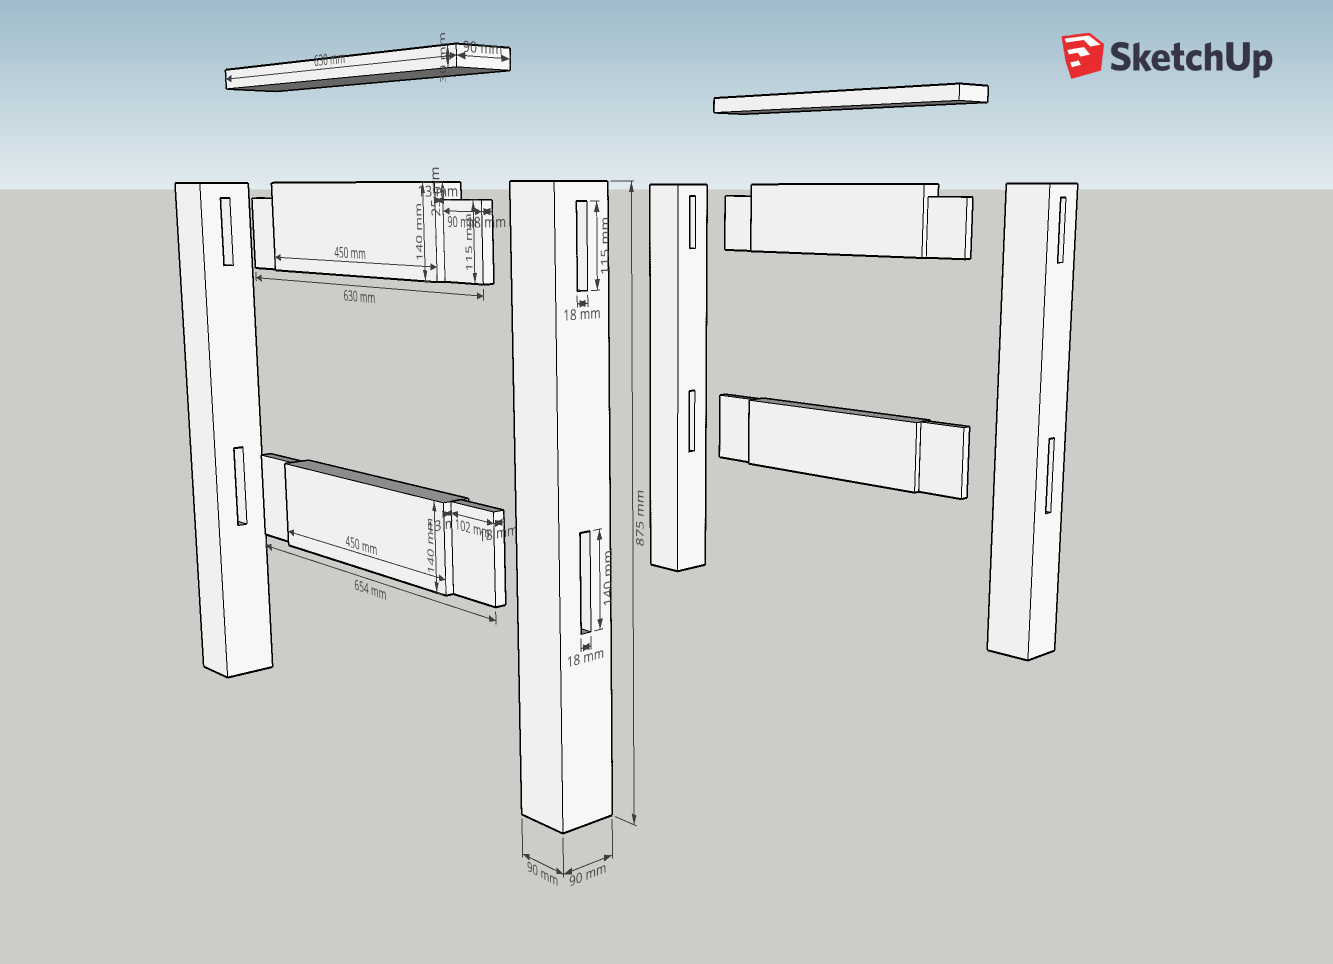
As a reminder, here is the exploded plan for the leg frame …
… and here’s what I have built:
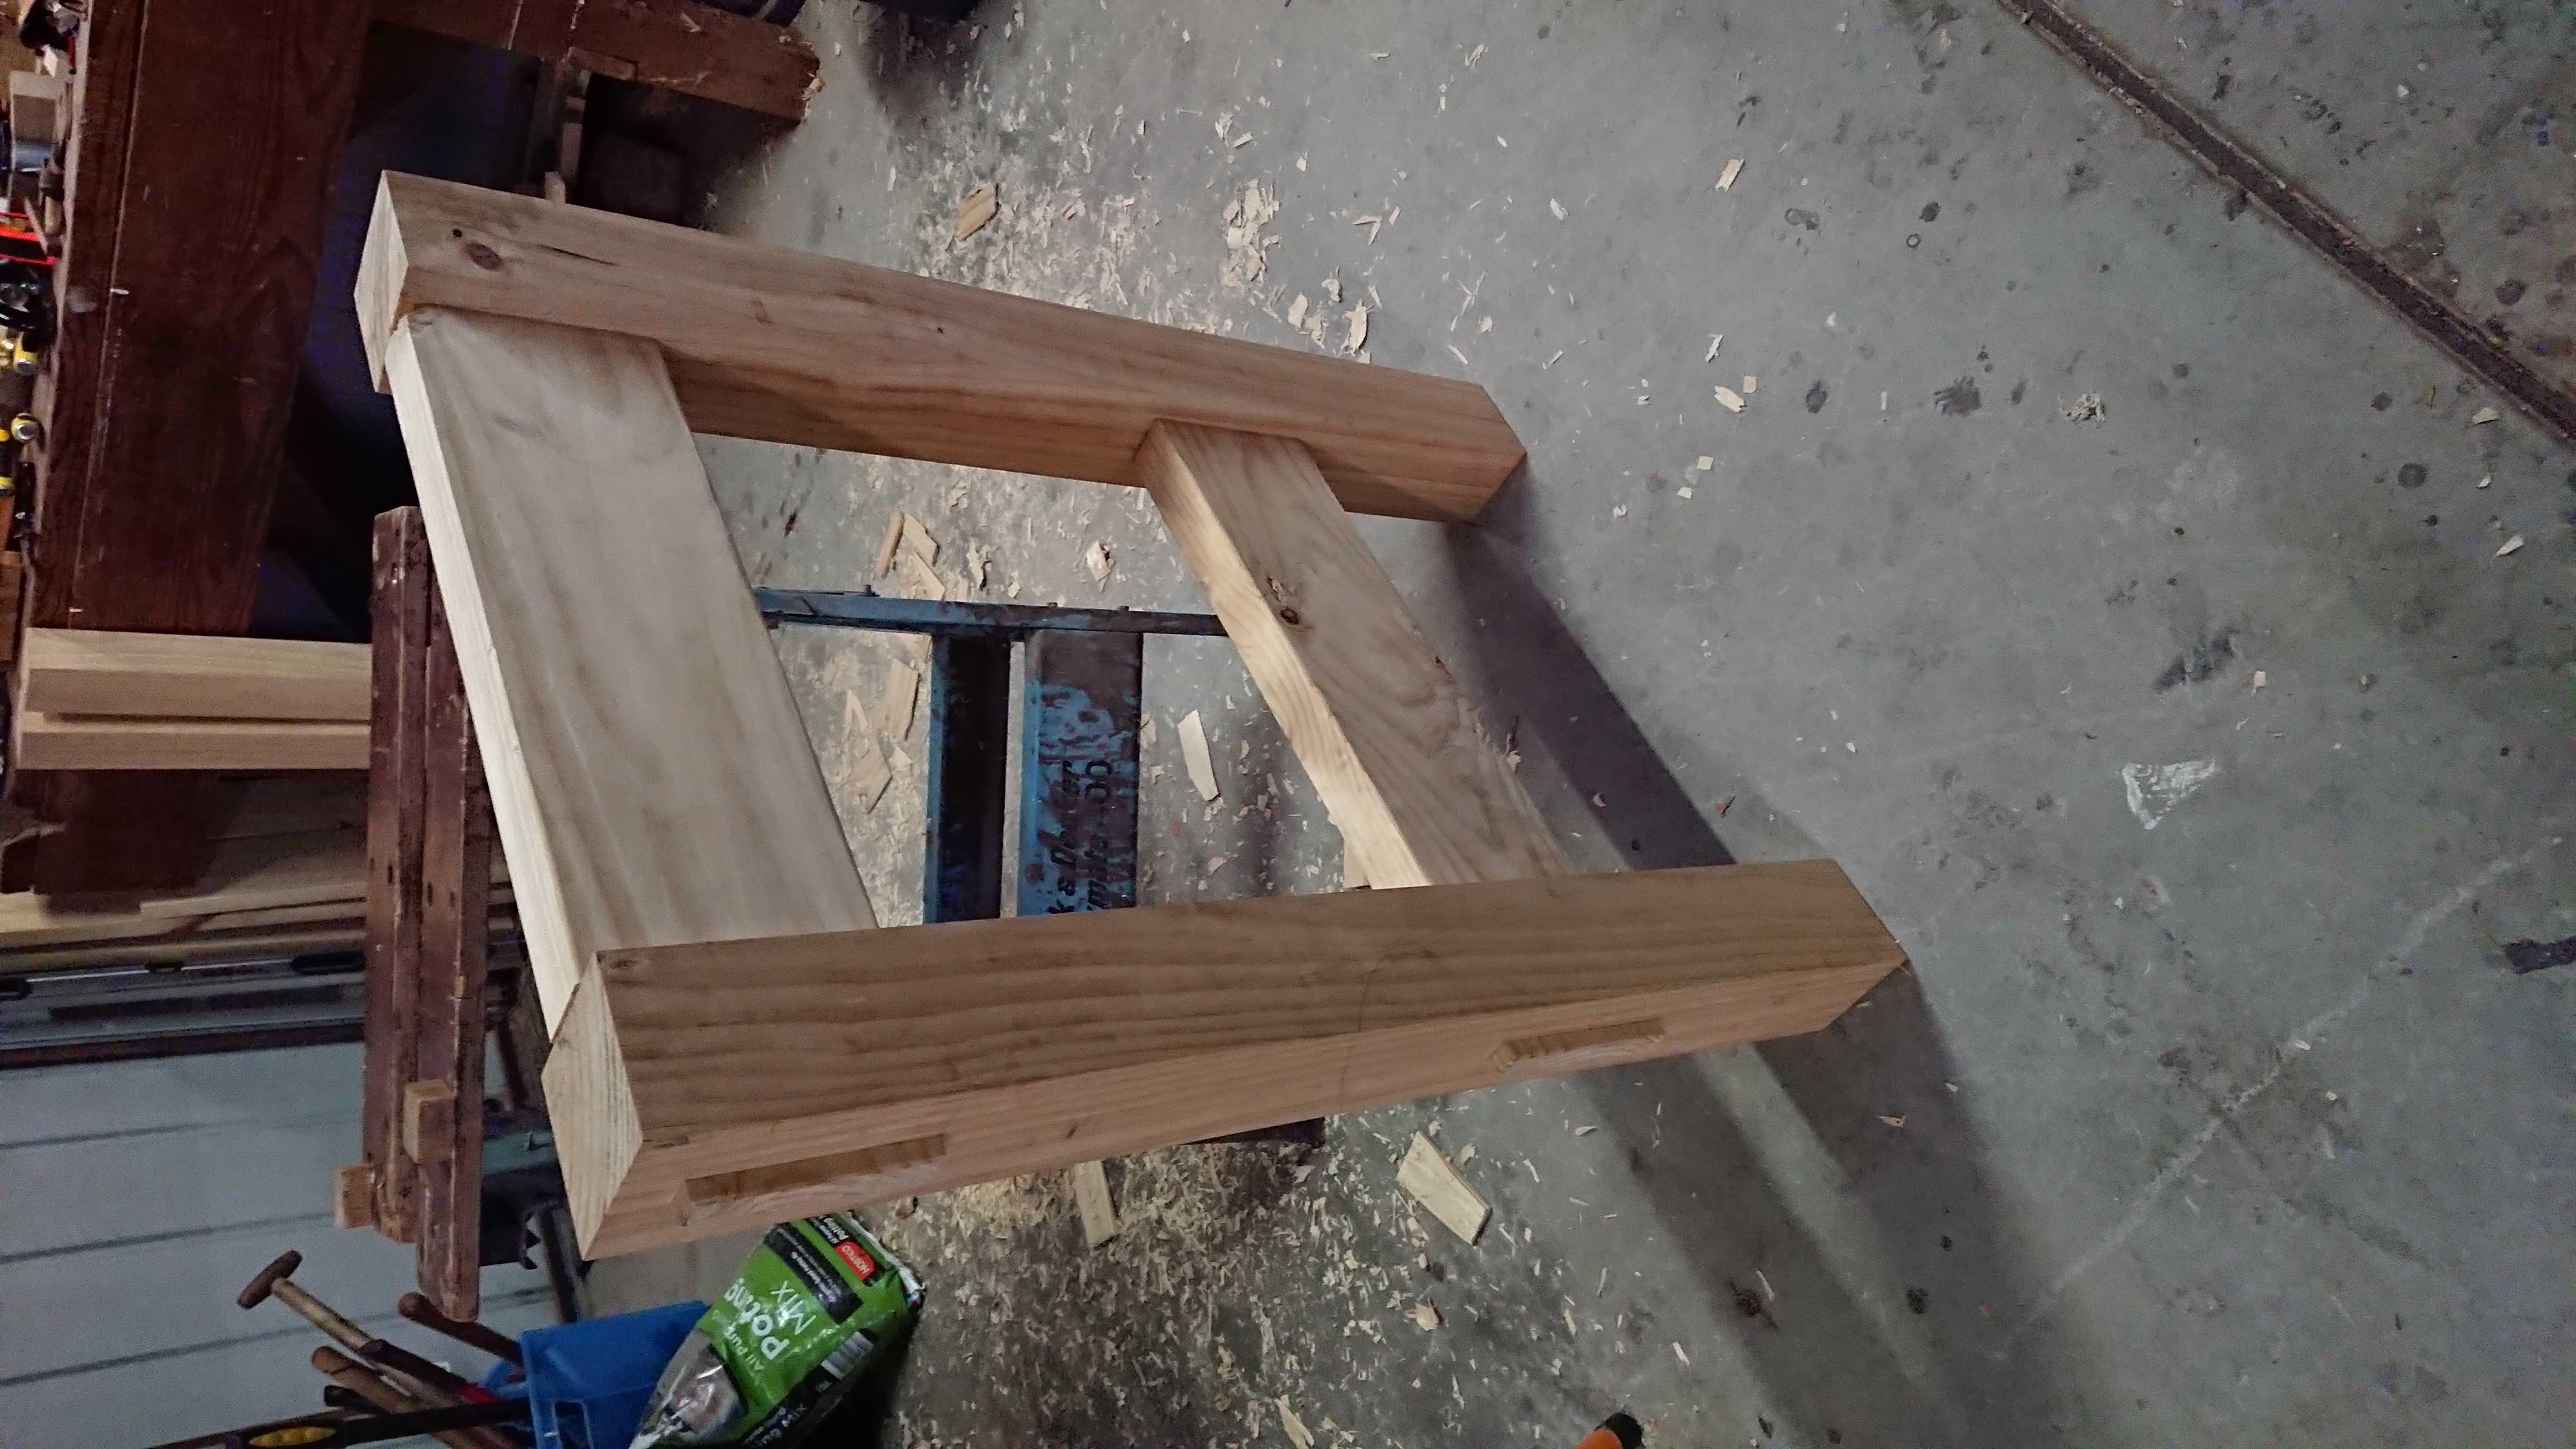
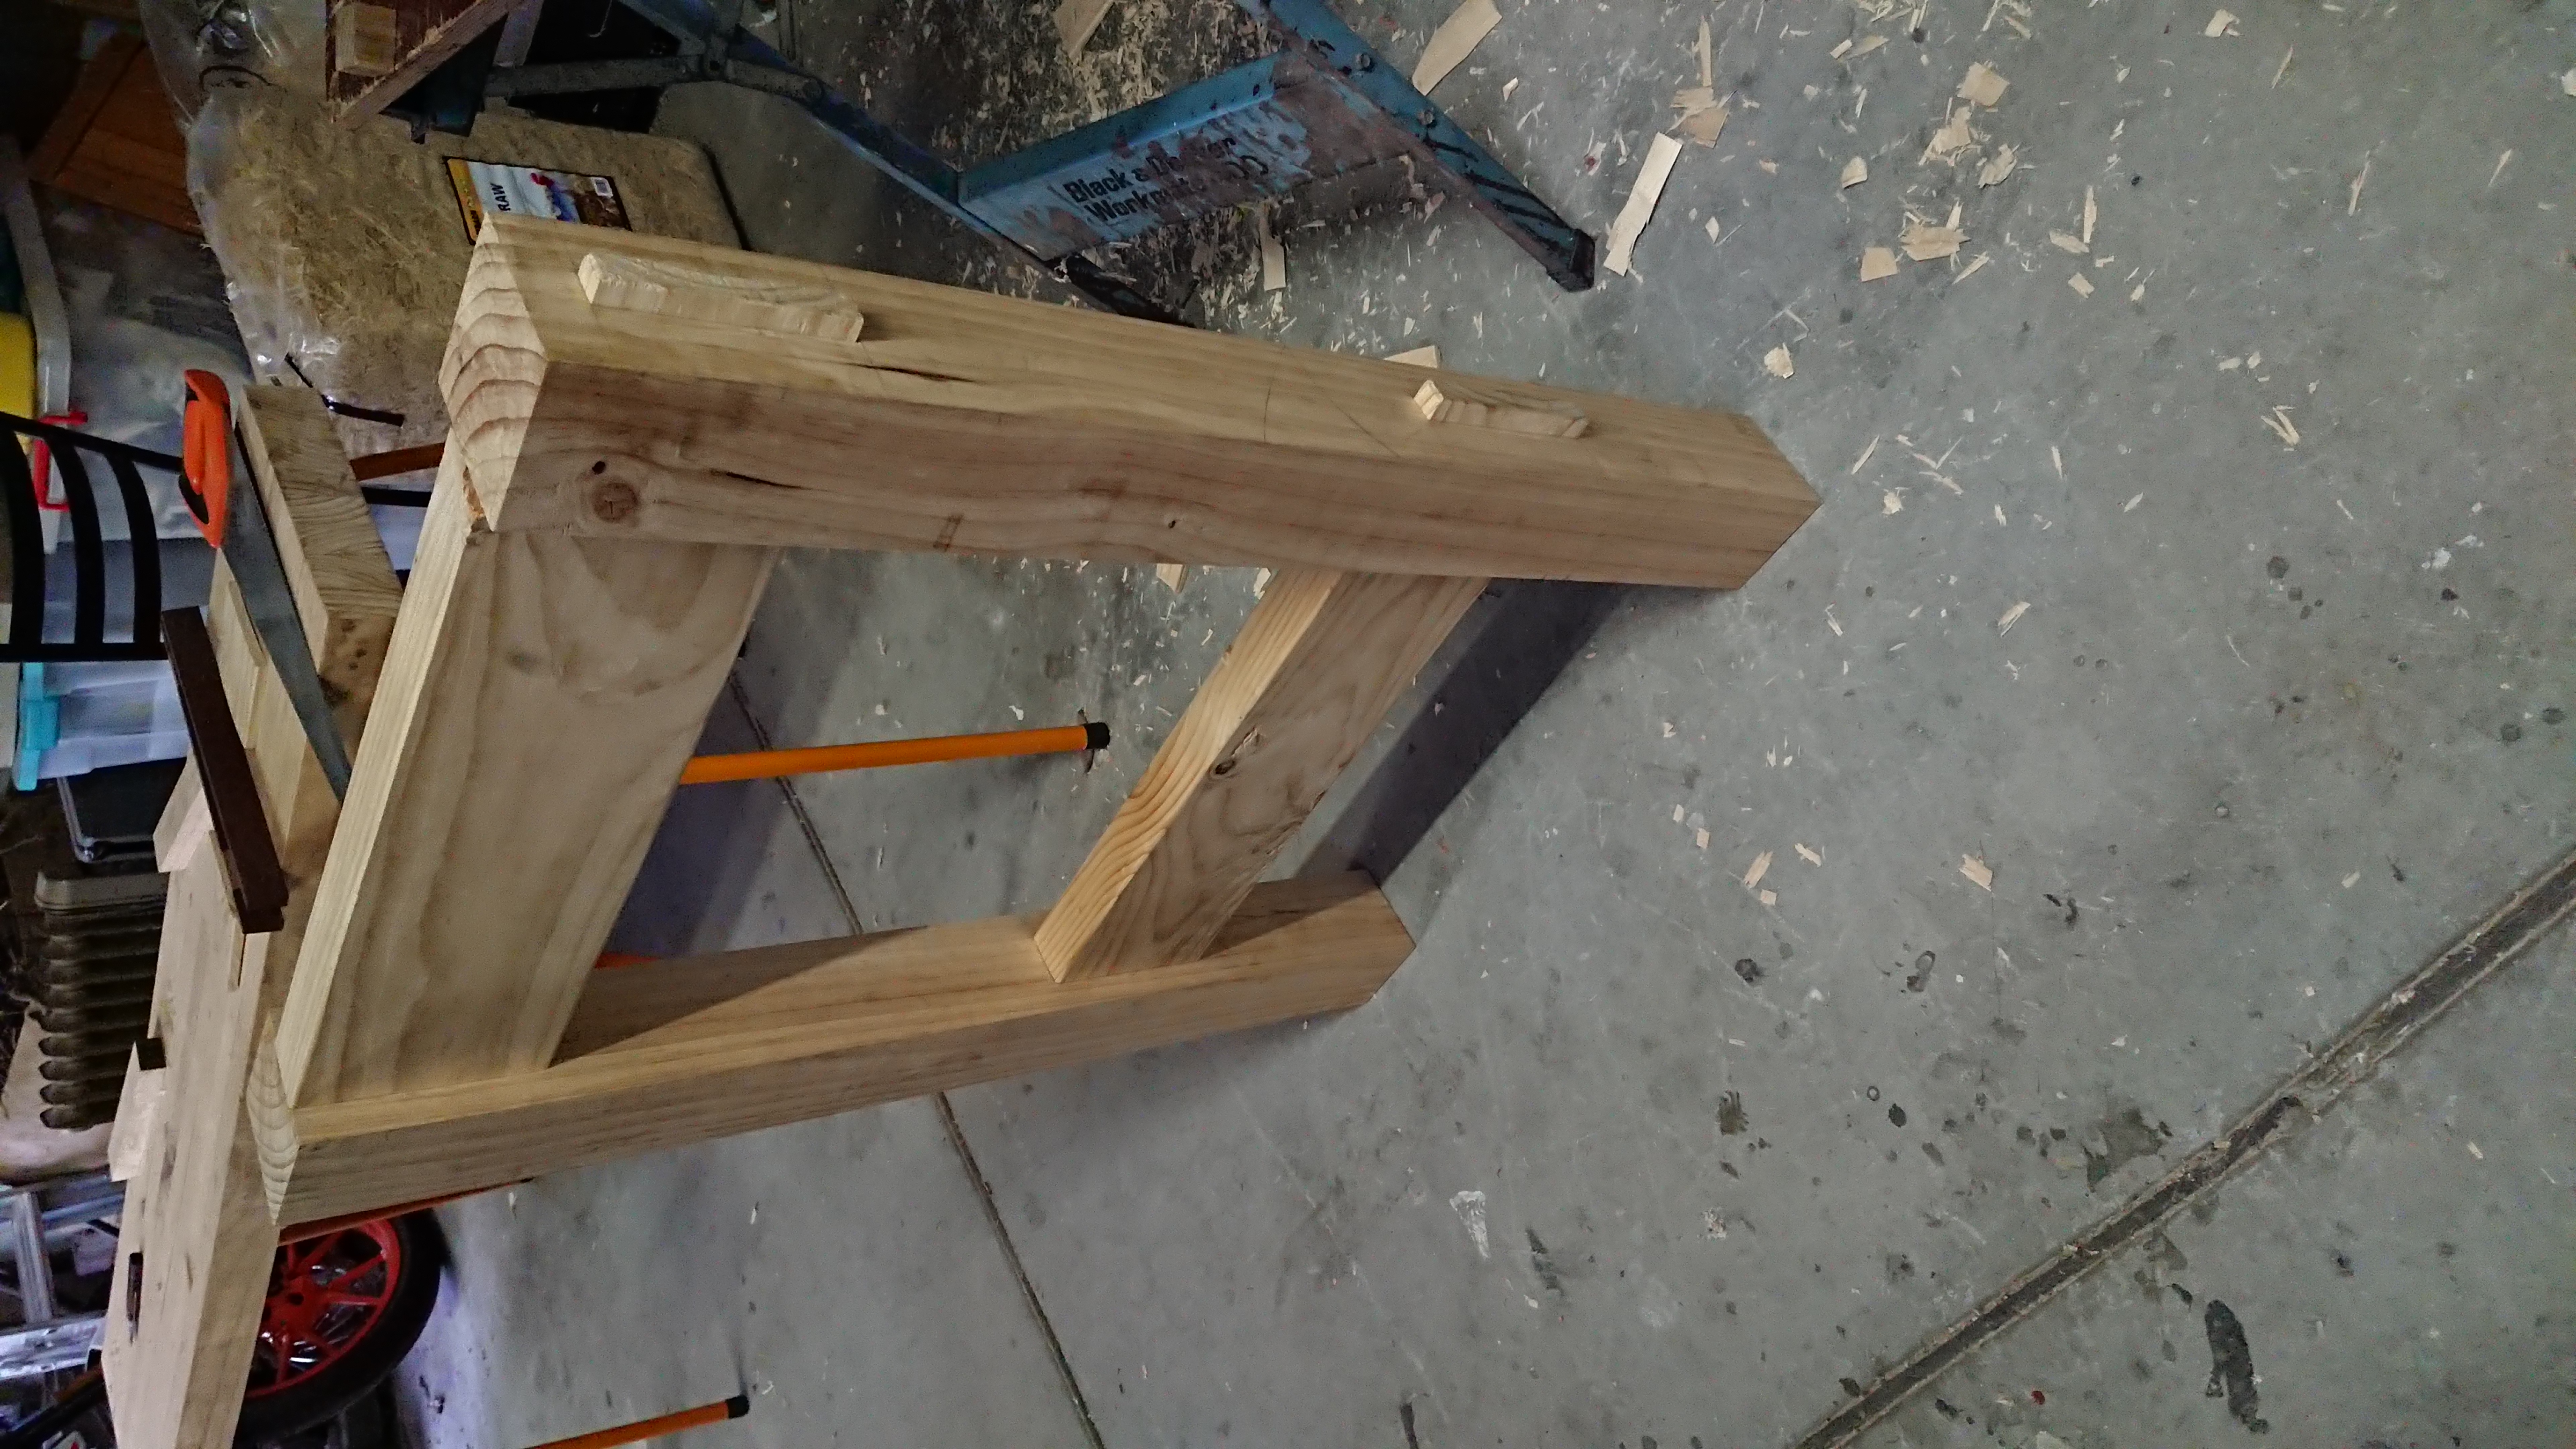
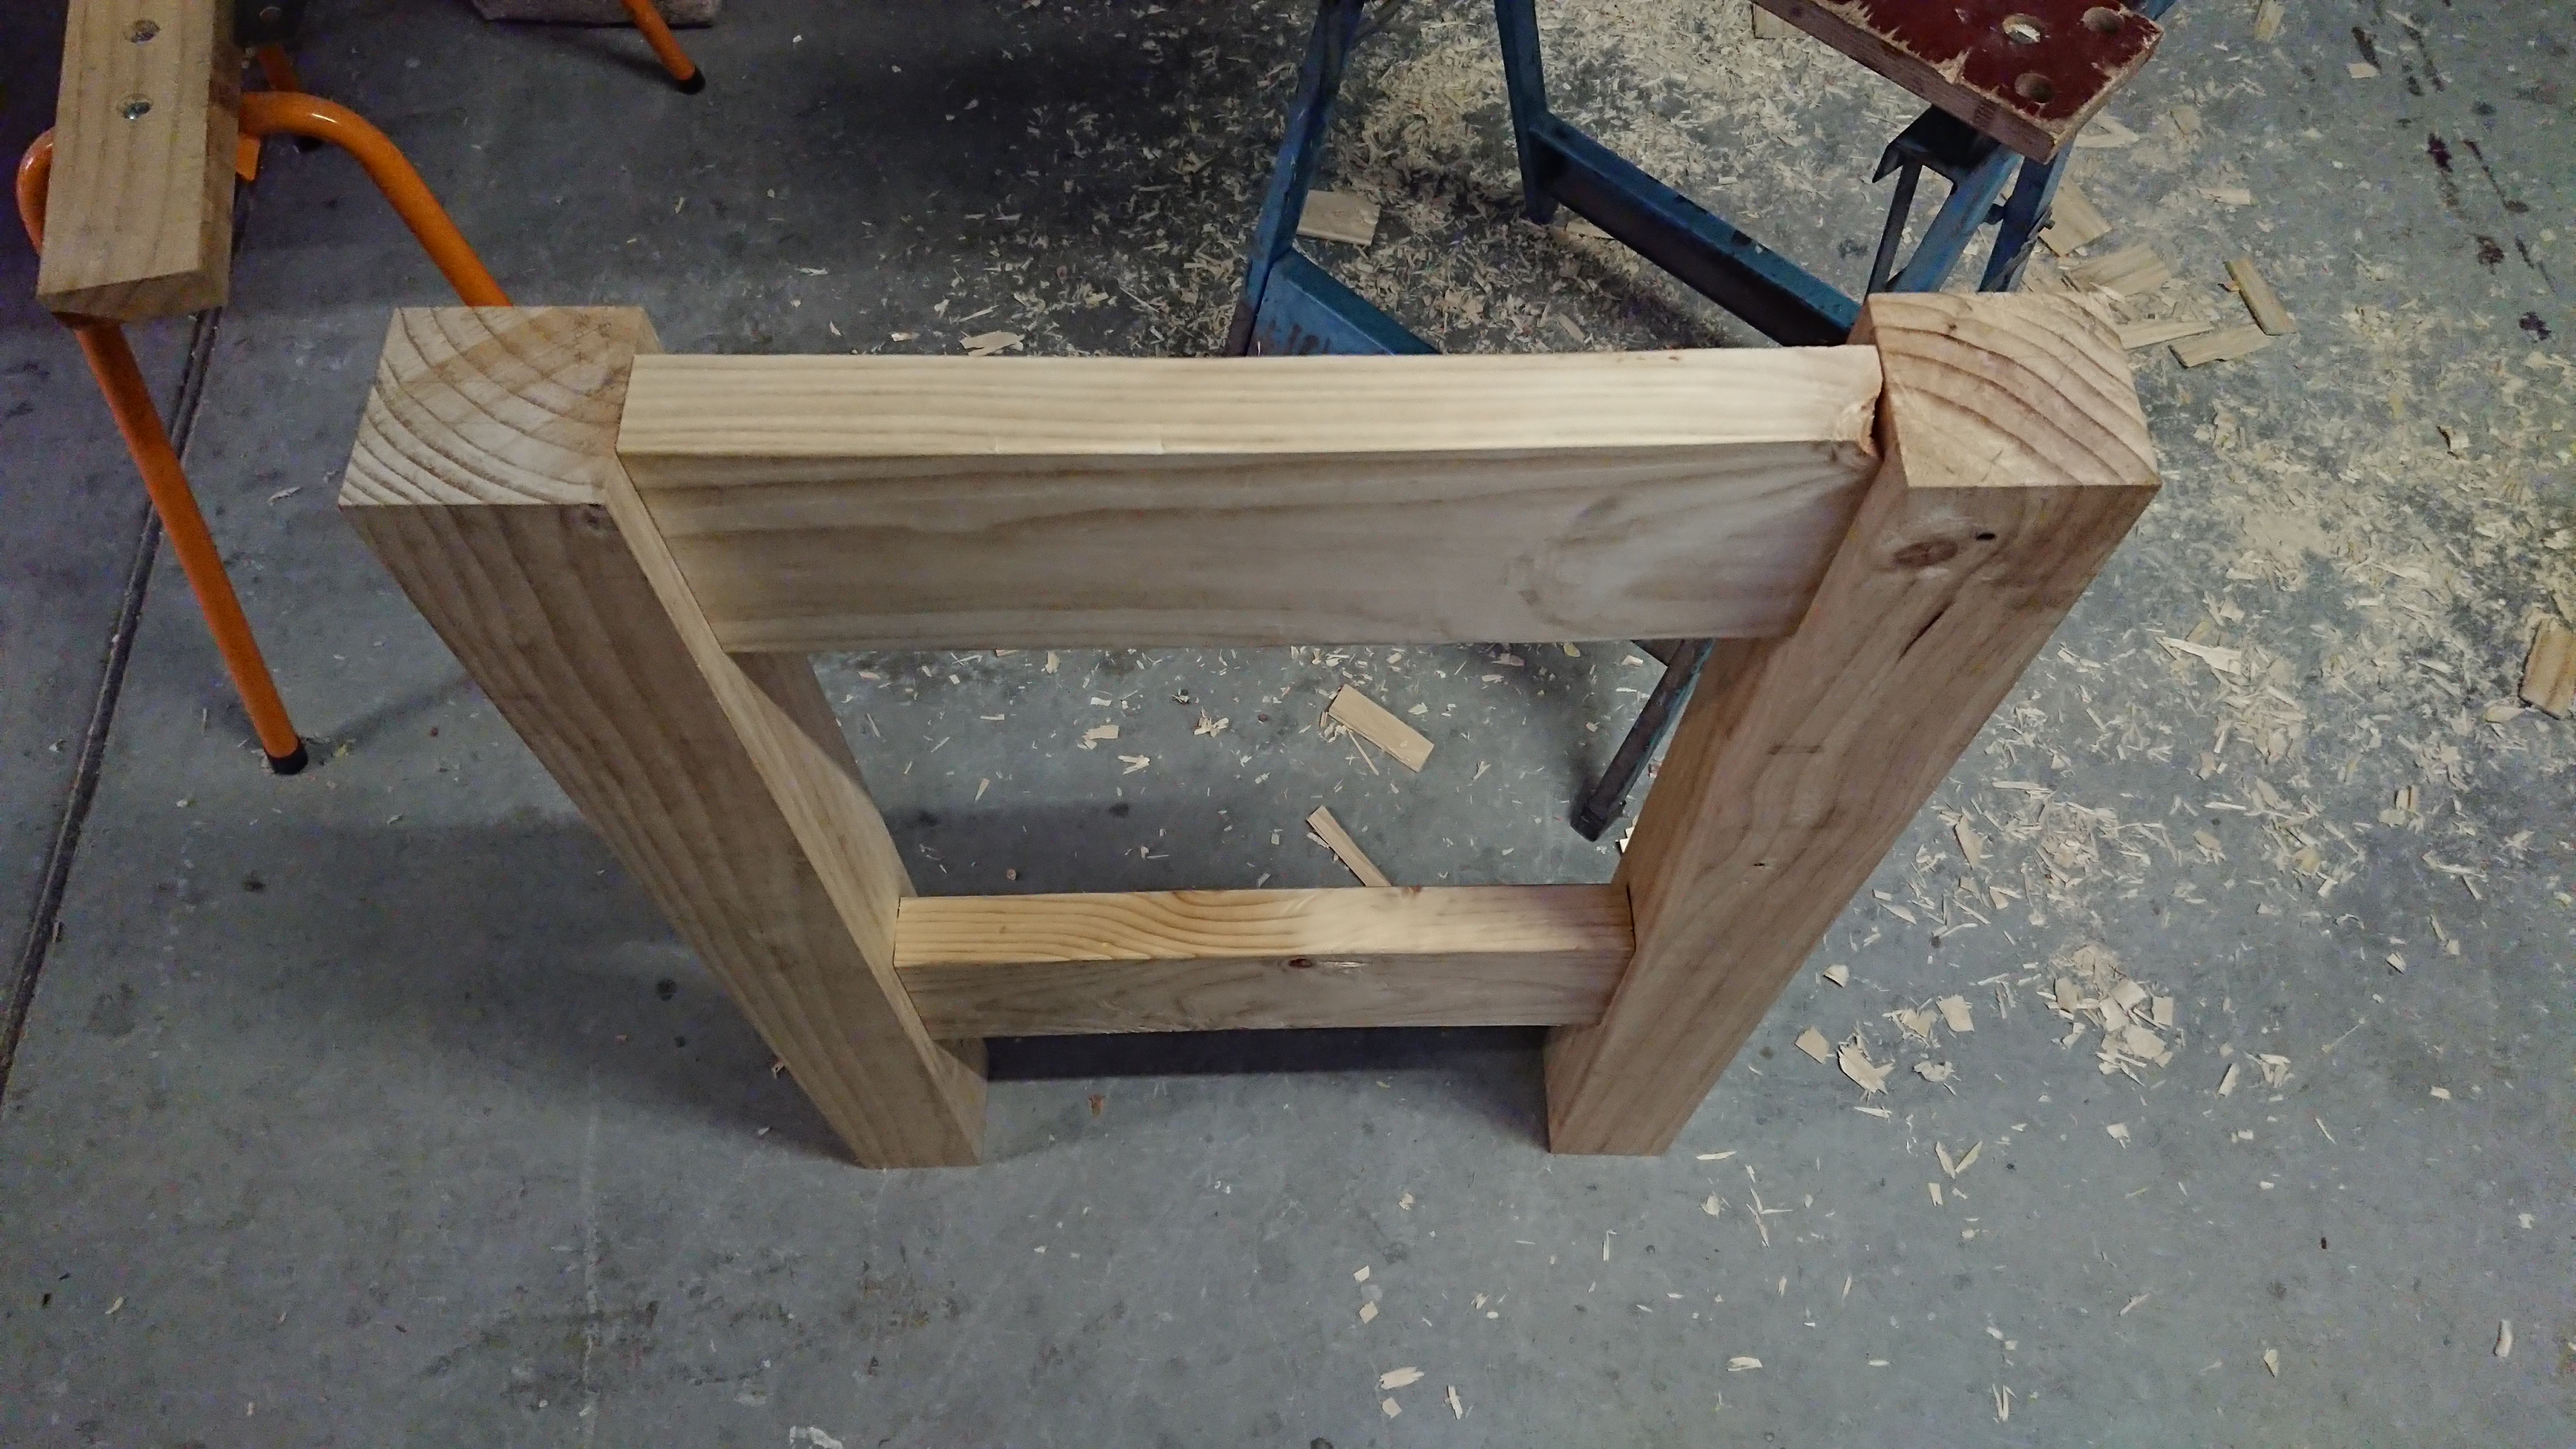
Overall I’m really excited to have reached this milestone. It’s the product of a huge amount of work, some mistakes and some learning along the way, plenty of sweat, a little blood and a whole lot of wood shavings and sawdust.
One thing I am not satisfied with is how the rear leg post is sitting. It appears to be rotated along its axis out of square with the rest of the assembly. I’m not sure if this is caused by pressure from the inside shape of the mortises, but correcting that is going to be the main issue before I can go ahead with gluing up.
What’s next
Test clamping up the frame, see if the clamping pressure can correct the rotation of the leg, otherwise I’ll need to troubleshoot it further.
Then, gluing up the frame!